Fish Finder Fishing: How to Read Sonar and Locate Fish
Read the bottom first, then the arches. This guide covers transducer setup, depth, bottom type, sonar types and fish arches so you can choose where to drop your line.
Wes Tanner
October 15, 2026 · 9 min read

Fish finder fishing comes down to three reads: the depth number, the bottom line, and anything that appears between them. Set the transducer so it points straight down into the water, watch the bottom line to learn what you are floating over, then look for arches and marks just above it. Fish and structure tell you where to drop your line.
This guide covers sonar types, setup, reading depth and bottom, spotting fish arches, and adapting the same method to a boat, kayak, dock or ice hole.
What a fish finder actually shows you
A fish finder, sometimes called a fish and depth finder, sends sound pulses into the water and draws the echoes that come back. The transducer does the sending and receiving. The screen turns those echoes into a scrolling picture of what is under you.
Do you need a transducer? Yes. Without it there is nothing to send or receive the pulses, so the screen has no data to draw. Some units use a cable to connect it, others connect wirelessly.
The screen scrolls as you move or as the water moves past. Newer returns appear on one edge and older ones slide away. What you see is a history of the last few moments, not a live camera.
The four things worth reading
- Depth: the number, plus the distance between the surface and the bottom line.
- Bottom contour: the shape of the line, which shows flats, drop-offs and humps.
- Fish arches and marks: returns between the surface and the bottom.
- Water temperature: useful for comparing one spot with another.
Choosing a fish finder: sonar types and features
Looking at fish finders for the first time, the feature lists can blur together. Start with what you want to see, then match the features. Every angler, from a bank walker to a boat owner, can narrow the choice with the table below.
| Feature | What it does | Where it fits |
|---|---|---|
| 2D CHIRP sonar | Sends a sweep of frequencies in each pulse and draws a picture straight below the transducer | Reading depth, bottom and arches on any craft |
| Down imaging | Draws a more picture-like view of structure under the transducer | Looking at timber, brush and ledges |
| Side imaging | Scans to the left and right of the boat | Covering wide areas from a larger boat |
| GPS and charts | Shows position and a map, and lets you save waypoints | Returning to the same structure on bigger water |
| Wireless transducer | Links sensor and screen without a cable | Kayaks, docks and ice holes |
GPS, charts and the chartplotter fish finder
A chartplotter fish finder combines sonar with a map display. It suits boat owners who want to mark a hump or channel edge and return to it. When choosing a fish finder with GPS and maps, check that the model includes the charts for your region and read the manual for how waypoints are saved.
Portability
A portable unit trades screen size and mapping for easy carry. If you fish from a kayak, dock or ice, a compact transducer and handheld screen are usually the practical match. For a larger boat with a console, a mounted display makes more sense.
Fish finder fishing: set up the transducer first
Most reading problems start with a poorly placed transducer. If it sits in bubbles, tilts sideways, or hangs in the wake, the picture turns noisy and the bottom line jumps around. Work through this checklist before you start fishing.
- Power on the unit and read the user manual for your model's controls.
- Clean the transducer face. Wipe off film, sunscreen or grime so the pulses pass cleanly into the water.
- Submerge it fully. The face must be under the surface with no air bubbles trapped against it.
- Point it straight down. A tilted transducer reads the bottom at an angle and misreports depth.
- Keep it out of turbulence. Avoid spots near the motor, paddle strokes or rough water.
- Secure it. Make sure the mount cannot slide or drop away when you cast or move.
- Check the depth reading against a spot you know, such as a dock edge or a marked line.
A compact option for small craft
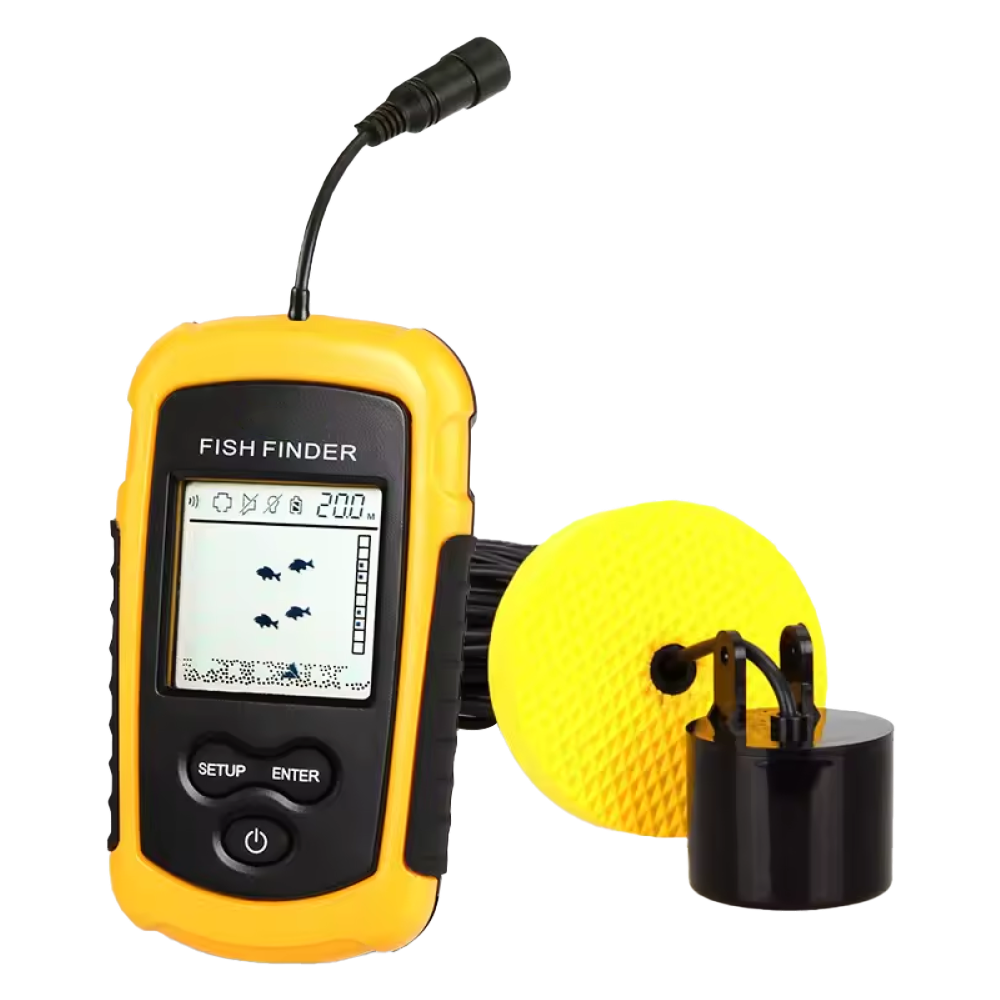
SonarPeak is a fish finder with a compact wireless transducer and a screen unit. The transducer has a suction mount that attaches without drilling, and because the sensor connects wirelessly, no cable runs between sensor and screen. That keeps your lines and kayak rigging clear when you cast or drop the transducer. It uses CHIRP sonar, which sends a sweep of frequencies in each pulse instead of a single frequency, and the screen shows fish arches, depth, water temperature and bottom contour.
 In this guideSonarPeak$129.99View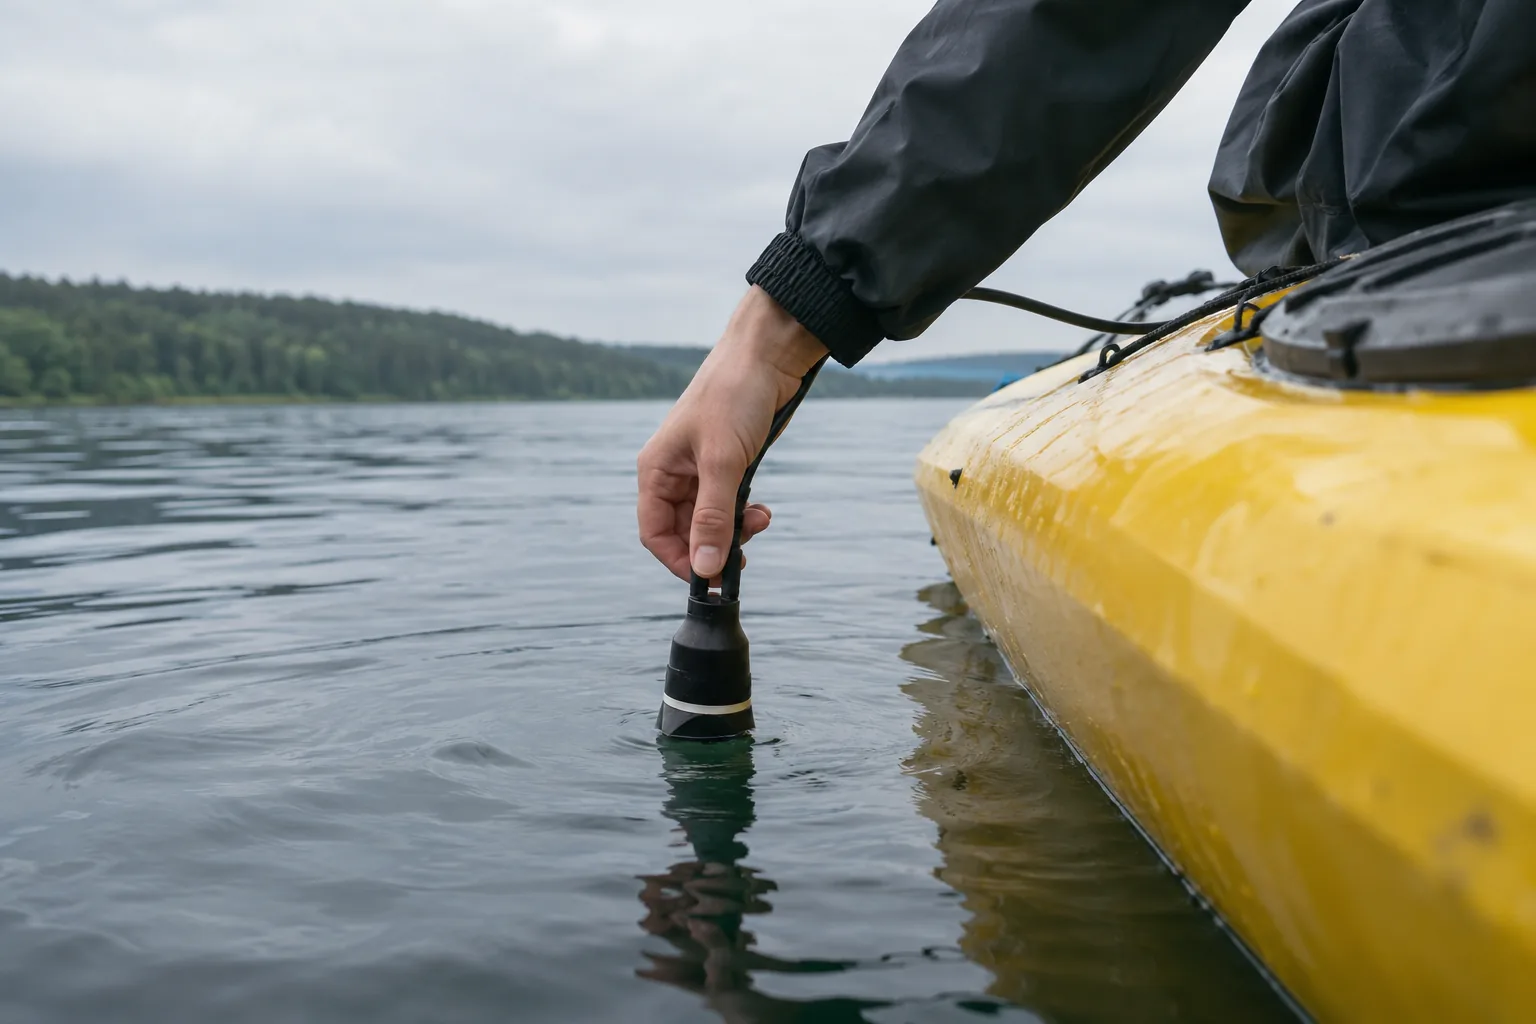
Read depth and the bottom line
Start with the bottom. It is the clearest signal on the screen and gives context for everything else. The fish finder depth number tells you how far down the bottom is, while the shape and thickness of the line tell you what it is made of.
A depth and fish finder screen is easiest to read when you slow down. Move at a crawl or drift, and watch how the line changes before you worry about arches.
| What you see | What it usually means | How to fish it |
|---|---|---|
| Thin, flat line | Soft bottom such as mud or silt | Look for fish holding off the bottom or along edges |
| Thick or double line | Harder bottom such as sand, gravel or rock | Worth a few drops, especially near changes |
| Jagged, uneven line | Rocks, ledges or rough structure | Fish carefully to avoid snags |
| Line dropping sharply | Drop-off or channel edge | Fish along the edge, not the middle of the flat |
| Rising hump | Bar, reef or underwater point | Mark it and work around it |
| Vertical spikes from bottom | Weeds, brush or standing timber | Fish the edges and gaps |
Changes matter more than any one reading. A fish finder is most useful where the bottom changes: soft to hard, shallow to deep, open to cluttered.
Field note
Write down or mark the depth where you caught fish. When the screen shows the same depth and bottom type elsewhere, you have a pattern to follow.
How to find fish on the screen
Once the bottom makes sense, look at the water above it. Fish show up as marks, and when a fish passes through the sonar cone, the screen often draws that mark as a fish arch.
Why arches form
The cone of sound is narrow at the top and wider lower down. A fish crossing it is first caught at the edge, then reaches the center where the return is strongest, then exits the other edge. The screen draws that sequence as an arch. If you are not moving or the fish hovers, you may see only a short dash or line.
Reading marks
- Full arches: fish moving through the cone.
- Dashes or short lines: fish holding in place or the boat moving slowly.
- Clouds or dense clusters: baitfish or debris, so look for larger marks near them.
- Marks hugging the bottom: they can blend into the bottom line, so a thick line may hide fish.
- Marks at the same depth in several places: a layer worth targeting.
Arch size is only a rough hint. Distance from the center of the cone, angle and settings all change how a mark looks. Use it as information on where to try, not as confirmation of size or species.
Imaging views
An imaging fish finder shows structure more like a picture than a set of arches, using down or side imaging. Learn the 2D view first. Once arches and bottom lines make sense, the imaging views are easier to interpret.
Adjust settings only when the picture needs it
Many units give a usable picture on automatic. Change settings one at a time so you know what helped.
- Sensitivity: turn it down if the screen fills with clutter, up if the picture looks empty.
- Range: keep it close to the actual depth so marks are not squeezed together.
- Scroll speed: a higher scroll setting spreads marks out sideways, which can make arches easier to spot when you are drifting.
- Noise or surface filters: reduce speckle from motors and rough water.
If the screen looks messy, check the transducer position before changing settings. Placement is the first thing to rule out.
Using a fish finder on a boat, kayak, dock or ice
Fish finder fishing works the same way everywhere: read the bottom, then the marks. What changes is how you mount the transducer and how you move.
Using a fish finder on a boat
With a fish finder on a boat, the transducer usually mounts on the transom or hull. Keep it low and clear of the motor wash. Larger systems pair sonar with a chartplotter display, which adds a map and position so you can save waypoints for good structure. A basic sonar-only unit is enough to learn on, whatever the size of the boat.
Kayaking fish finder
A kayaking fish finder has to stay out of paddle strokes and fishing lines. A compact transducer with a suction mount lets you attach it without drilling, and a wireless link keeps cables off the deck. Check the mount again after launching, because wet surfaces can shift the hold.
Dock and shore
From a dock, drop or cast the transducer on the water side and let it settle pointing down. Scan along the dock edge first, then the corners and the deeper side. Note where the bottom changes and fish.
Ice
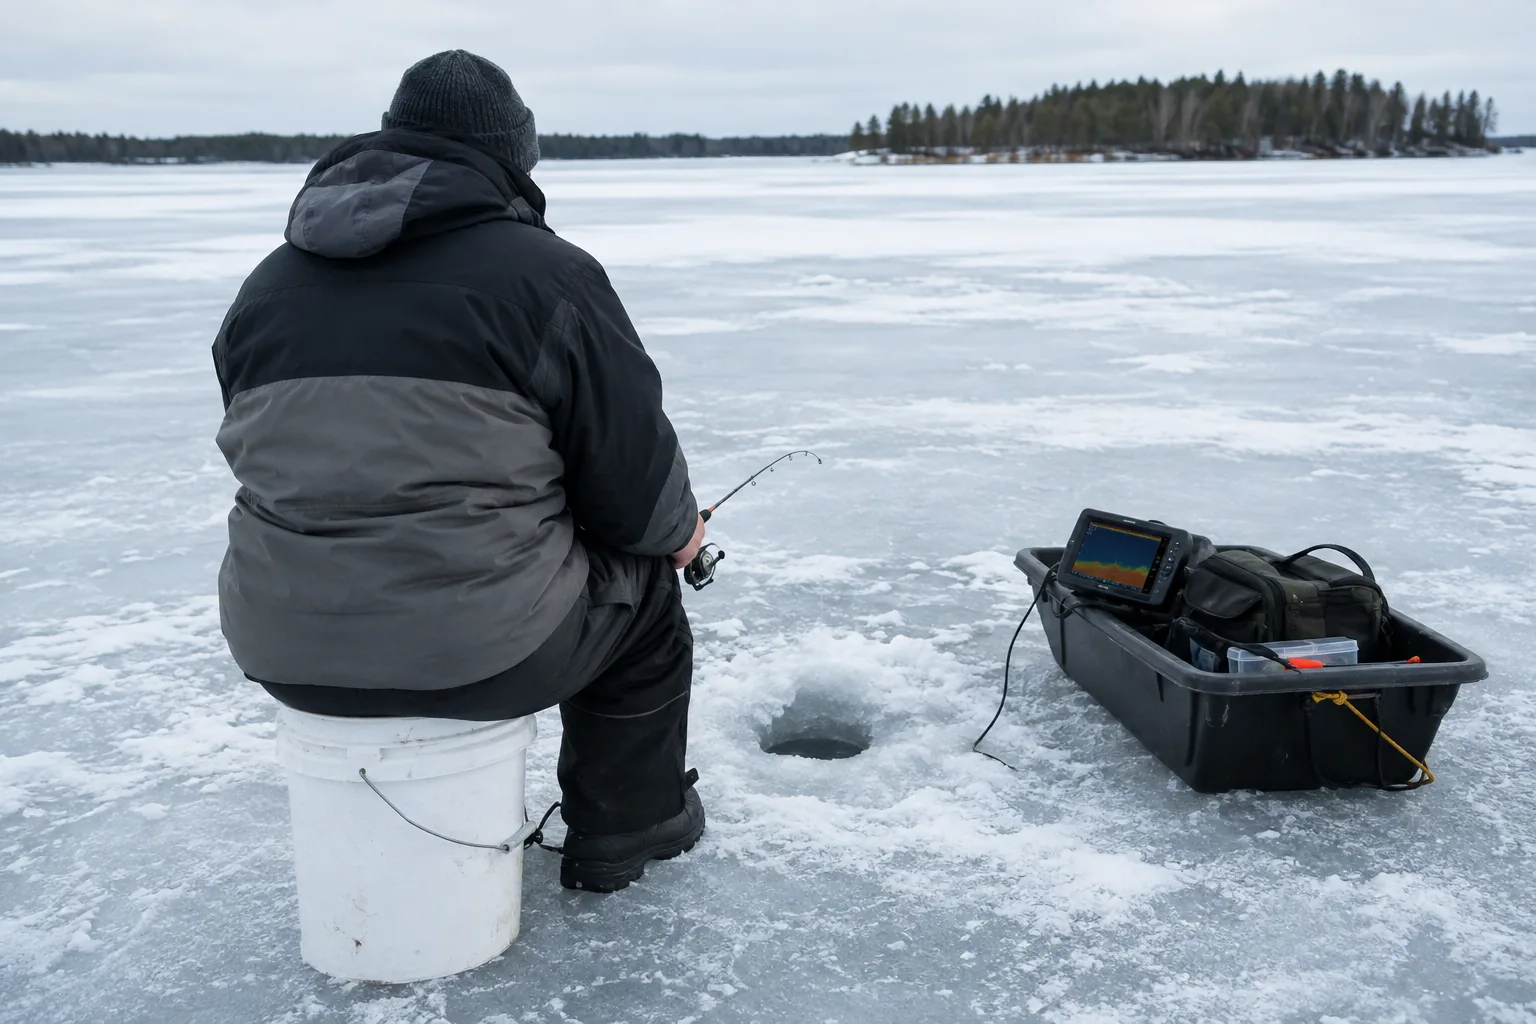
For ice fishing with a fish finder, drop the transducer through a clear hole so it hangs below the ice and points down. Let slush and bubbles clear before reading. A screen watched over the hole can show your bait, the bottom and any fish approaching, which helps you adjust depth. Follow ice guidance for your area, and ask local authorities if you are unsure about conditions.
Common mistakes and a care routine
- Air bubbles on the transducer face: dip it, wipe it and re-check.
- Moving too quickly: quick travel stretches the picture and hides detail.
- Ignoring the bottom: without bottom context, marks are only blips.
- Tilted mounting: the depth and the shape of the bottom come out wrong.
- Maxed-out sensitivity: everything looks like fish.
- Staying on one mark too long: if nothing happens, move to the next change in depth or bottom.
SonarPeak has a sealed construction, but handle it like any electronics. Between spots, keep it away from hooks and lures.
For care in general, follow the user manual for cleaning and storage of your unit. As general habits after a trip:
- Rinse the transducer with fresh water and wipe it dry, unless your manual says otherwise.
- Wipe the screen unit and check any connection wire.
- Power down and store the unit as the manual directs.
- Keep everything together in your tackle bag so no parts go missing.
Once fish finder fishing becomes a habit, pair it with the right rod and reel. Our guide to fishing reel types helps with that choice, and the Fishing Gear collection covers the rest of your kit.