Types of Camera Shots: How to Film Them With an Action Camera
The main types of camera shots are wide, medium, close-up, POV, tracking and low angle. Here is how to film each one with an action camera on a hike, ride or paddle.
The Kesslund Team
October 29, 2026 · 7 min read · Updated October 30, 2026
The main types of camera shots are the wide shot, medium shot, close-up, POV shot, tracking shot and low-angle shot. Each one answers a different question for the viewer: where are we, who is here, what are they doing, what does it feel like. With a small action camera on a hike, ride or paddle, you get each shot by changing three things: the distance to the subject, the height of the lens and whether the camera moves.
This guide skips the film-school theory and gives you the mount position and the settings to check for every shot, then a short shot list you can carry on the trail.
Types of Camera Shots at a Glance
Use this table as a field reference. Distance names (wide, medium, close) describe how much of the subject fills the frame. Angle names (low, eye level, high) describe where the lens sits.
| Shot | What it shows | Outdoor example | Where to put the camera |
|---|---|---|---|
| Extreme wide / establishing | The whole place, subject tiny | A ridgeline with your group on the trail | On a rock or tripod, far from the group |
| Wide | Full body plus surroundings | A paddler crossing a cove | On the shore, at chest height |
| Medium | Waist up | Tightening a pack strap | Held at arm's length or propped on a log |
| Close-up | Face or one object | A boot in mud, a hand on a paddle shaft | Within a foot or two of the subject |
| POV | What the person sees | The trail ahead on a ride | Helmet or chest |
| Tracking | Camera moves with the subject | Walking beside a friend on a path | Handheld while walking, or on a bike or boat |
| Low angle | Lens near the ground, looking up | Wheels or boots passing the lens | On the ground or a low mount |
Film lists run from seven shot types to more than twenty, and the numbers differ because some lists count angles and movements as shots. The six above cover what you need outdoors.
Wide and Establishing Shots
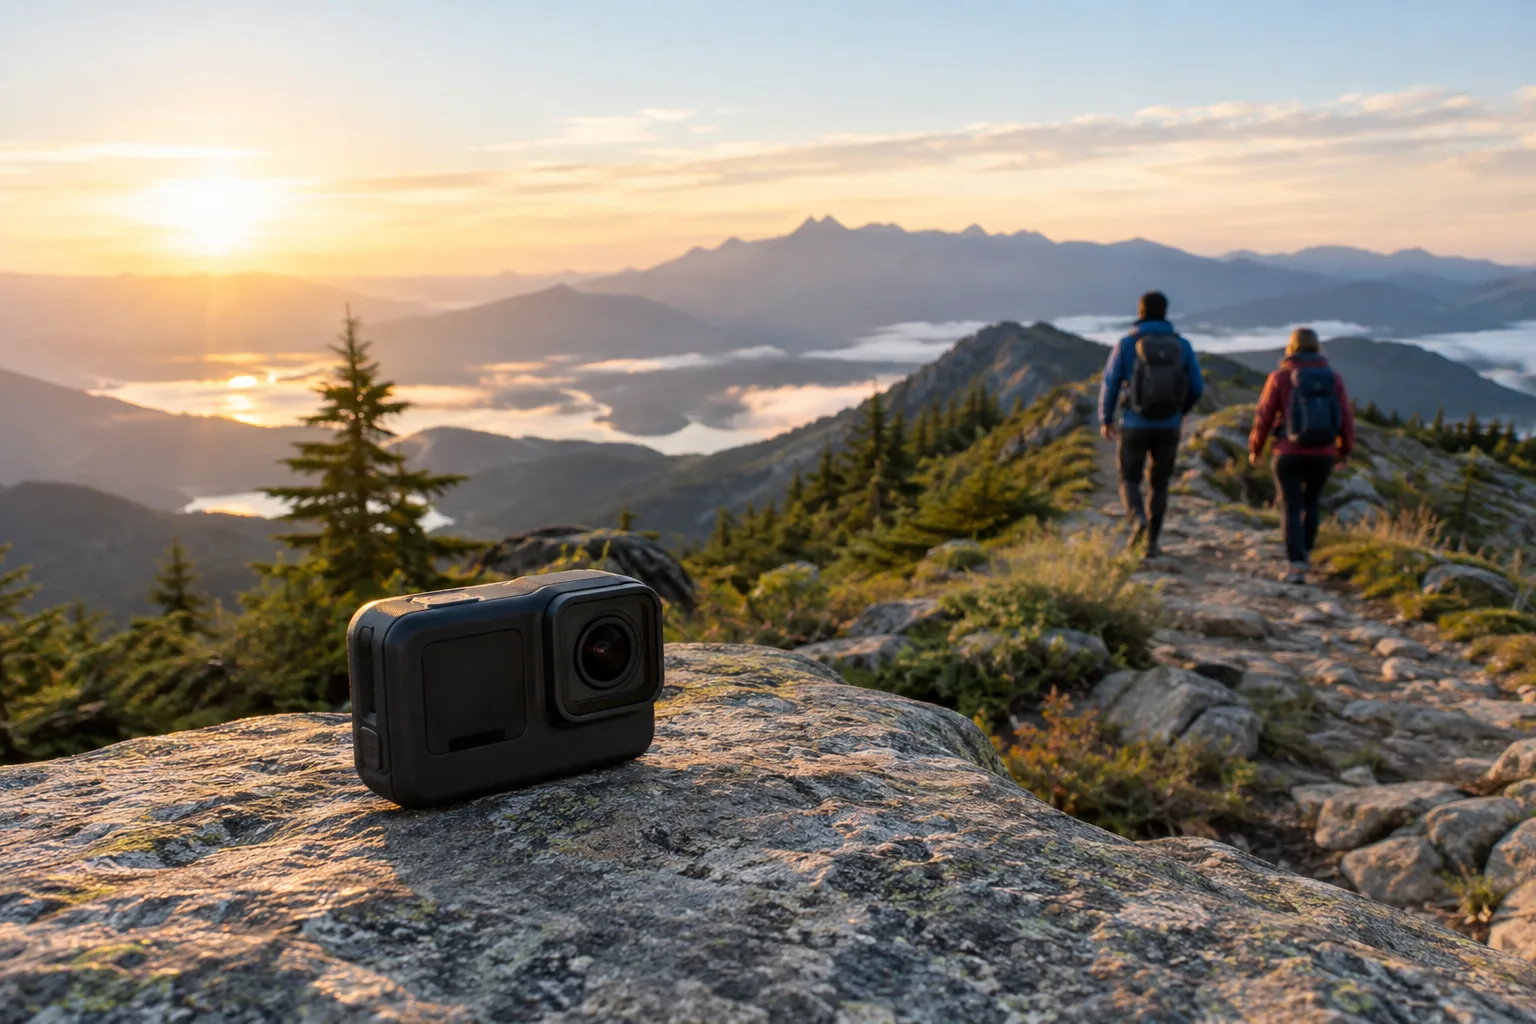
A wide shot shows the subject and the place together. An establishing shot is the widest version, placed first so viewers know where the story happens. Open a trip video with a lake, a trailhead or a campsite before any action.
How to film it
- Set the camera on a rock, a log or a tripod and leave it still while the scene plays out, so the editor has a long, steady clip.
- Place the subject in the lower third of the frame so the landscape has room.
- Choose the widest field of view your camera offers, then check the edges for a strap or your own thumb.
- Keep the horizon level; a tilted horizon reads as a mistake.
If your camera has a 4K mode, use it for wide scenes, since small details across a big landscape are where resolution shows.
Medium Shots and Close-Ups
A medium shot frames someone from the waist up. It suits explaining, such as showing how you set up a stove or adjust a strap, because hands and face both stay in view. Prop the camera at chest height about an arm's length or two away.
A close-up fills the frame with one detail: a face, a reel handle, a boot lace. Close-ups carry the emotion and texture that wide shots lose, including facial expressions and body language. An extreme close-up goes tighter still, such as water beading on a jacket sleeve.
- Move the camera closer instead of zooming digitally, which lowers detail.
- Check the minimum focus distance in the manual; very near subjects can look soft.
- Hold still for a few seconds so the editor has a usable clip.
POV Shots: Filming What You See
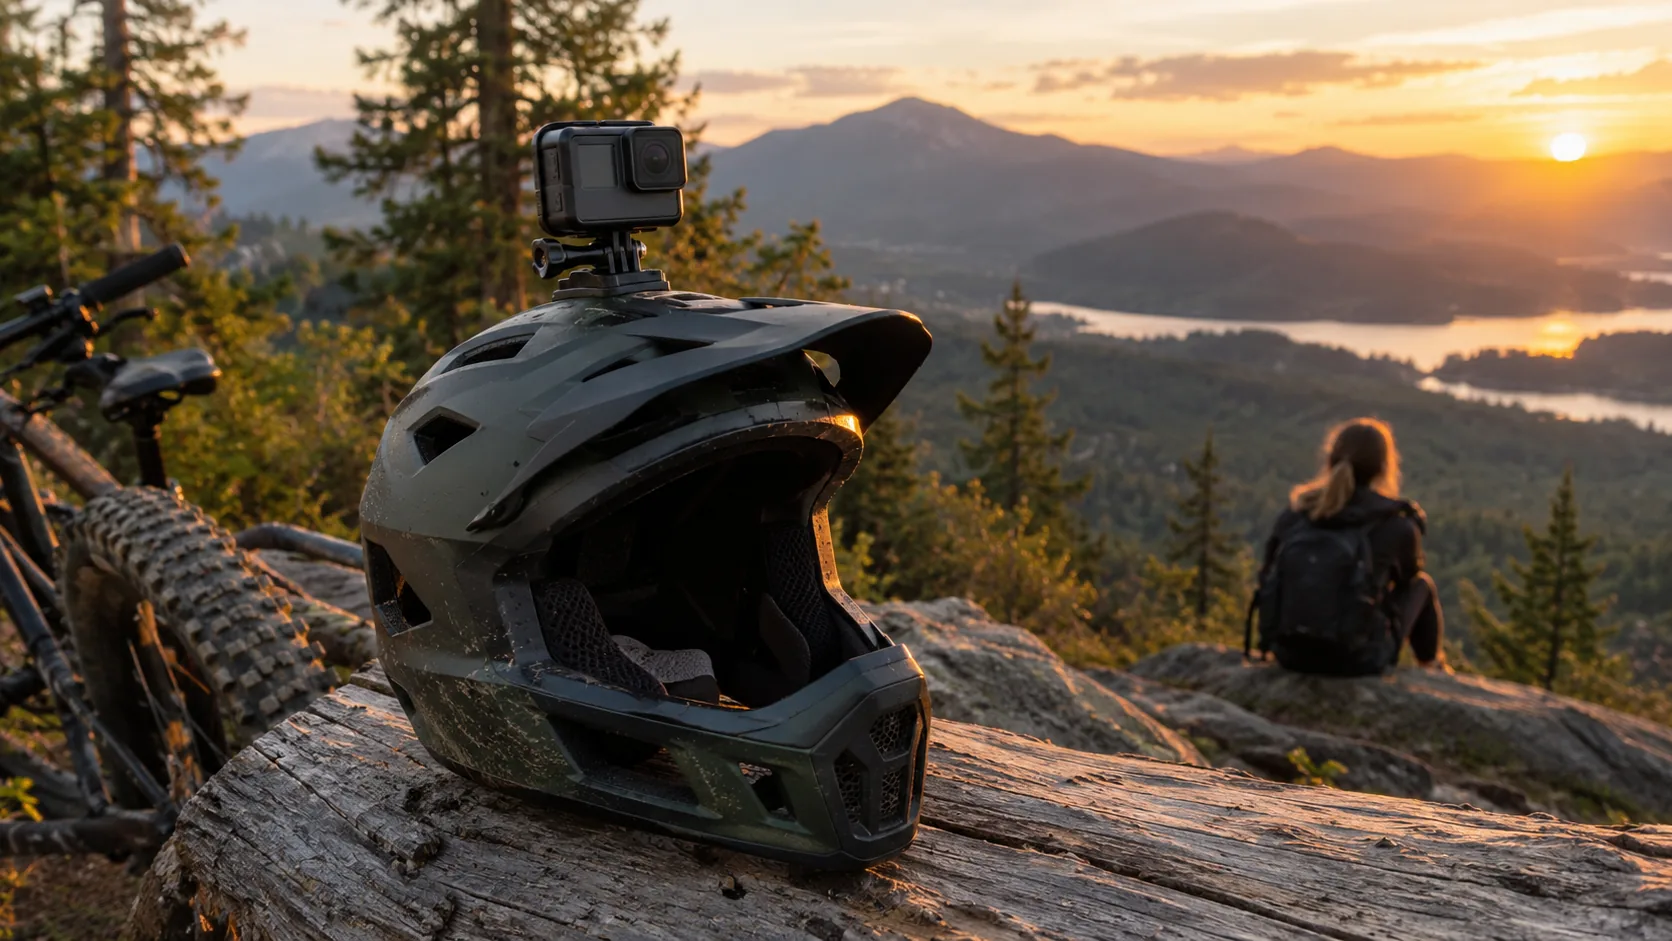
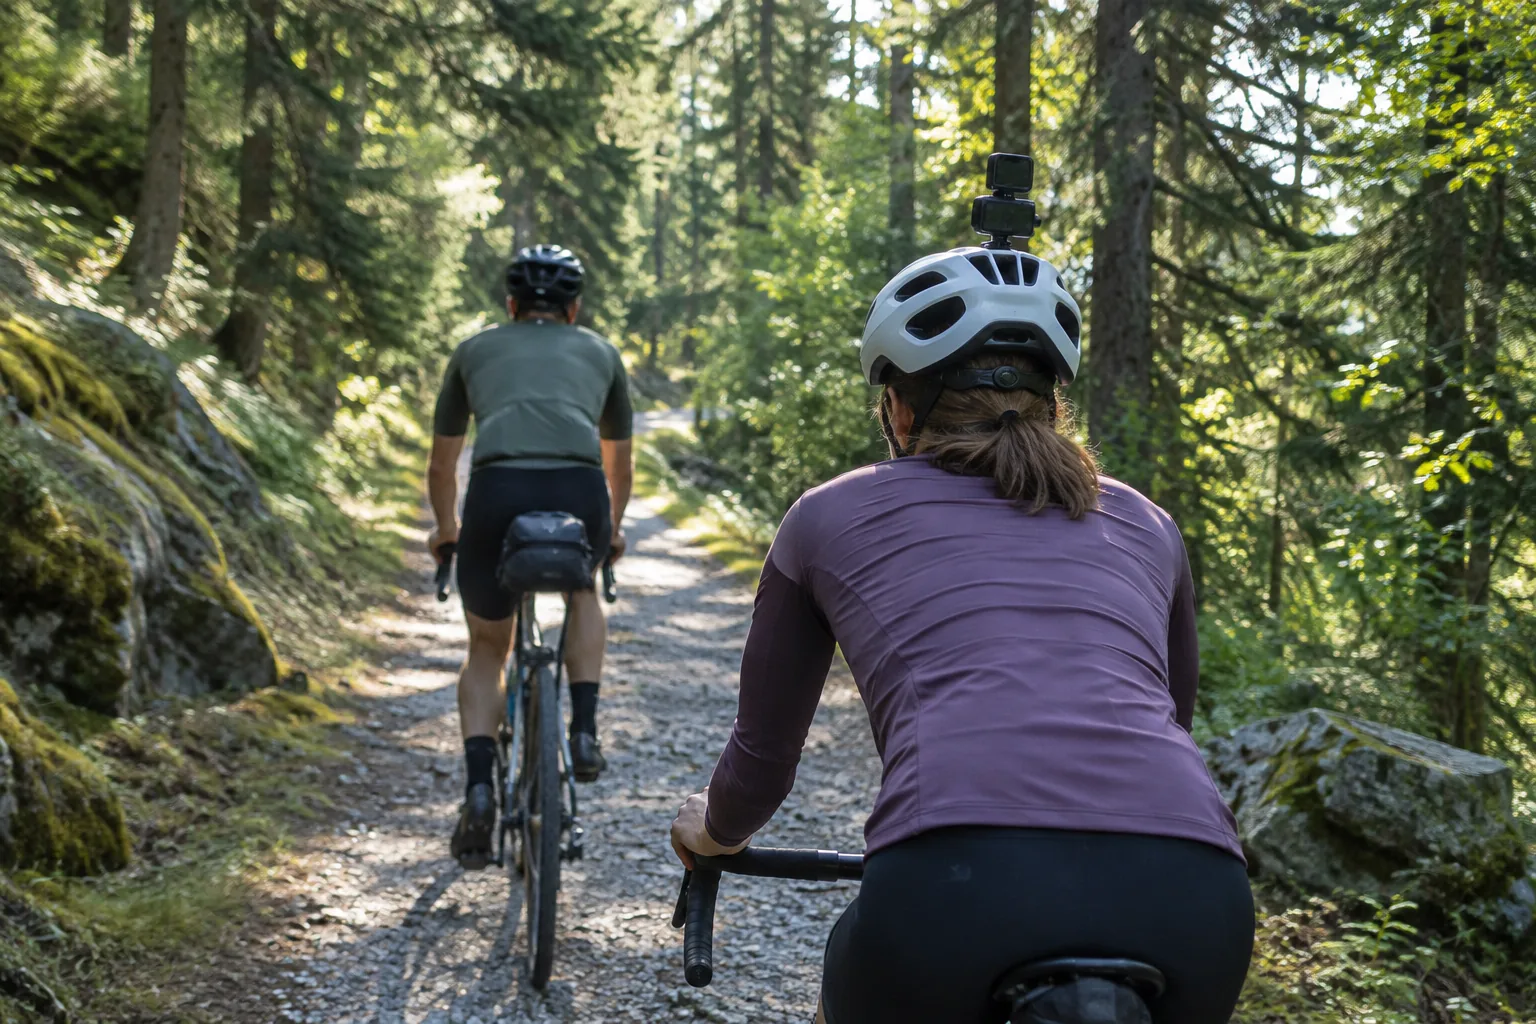
A POV shot puts the viewer in your eyes. On a bike it is the trail rolling toward you; on foot it is your hands on a map or a trekking pole planting ahead. Helmet, chest and handlebar positions each give a different height, so pick one for the whole scene. For the mount options in detail, read What Is a POV Camera? Uses, Mounts and How It Differs.
SummitLens is a helmet camera that records video in 4K. Its universal mount clips onto a ski, bike, MTB or climbing helmet with no tools or adhesive, so you capture the trail or route from your own point of view. Press record, then connect over Wi-Fi to preview clips on your phone after the ride.
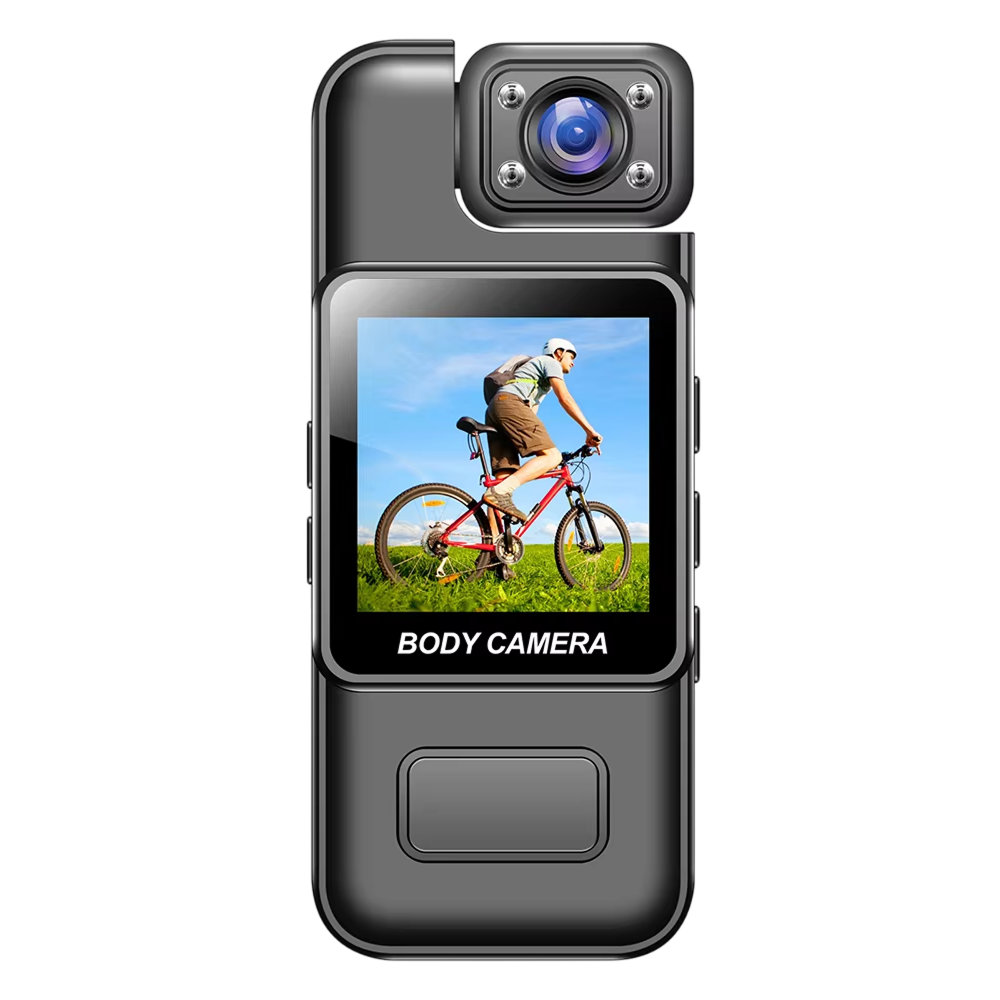 In this guideSummitLens$89.99View
Checks before a POV take
- Charge the camera over USB-C and pack the cable.
- Clip the mount onto the helmet and fit the protective housing before you head out.
- Tilt the lens so the horizon sits about a third of the way down the frame.
- Wipe the lens; a smudge shows on every frame.
- Record a short test clip, then look at it on your phone.
Field note
Film the same moment twice: once as a POV shot, once from a still camera beside the trail. Cutting between the two makes a short ride feel like a story.
Tracking Shots and Camera Movement
A tracking shot follows the subject as it moves. Camera movement is what separates a trip video from a slideshow, but it is also where footage turns shaky, so keep each move simple.
Three ways to track on the trail
- Walk-beside: hold the camera low, elbows tucked, and walk heel to toe next to a friend.
- Lead and follow: have your partner ride or walk ahead while you film from behind with a chest or helmet mount.
- Boat-to-boat: film another paddler from your own boat, keeping the camera low and close to the water.
Pan means turning the camera on a fixed spot, for example from a lake to your campsite. Turn slowly and start and end on something worth looking at. Turn on image stabilization if your camera has it, and keep the same frame rate setting through a whole sequence so clips match when you edit.
Low, Eye-Level and High Angles
Camera angles change how big or small the subject feels. Eye level feels neutral. A low angle makes boots, wheels and hulls look larger. A high angle looks down and makes the subject seem small within the landscape.
| Angle | Lens height | Use it for |
|---|---|---|
| Ground level | On the dirt or a deck | Boots, tires or a paddle passing the lens |
| Low angle | Knee height, tilted up | Climbers, jumps, tall trees |
| Eye level | Chest to eye height | Conversation, camp scenes |
| High angle | Above the subject, tilted down | A switchback seen from above, a tent from a ledge |
For a low angle, rest the camera on a pack or a flat stone rather than holding it, and tilt it up a few degrees. The pack you carry matters here too. ShutterCrest has an access opening that lets you reach your camera while wearing the pack, so you can grab a low or high angle when the scene appears.
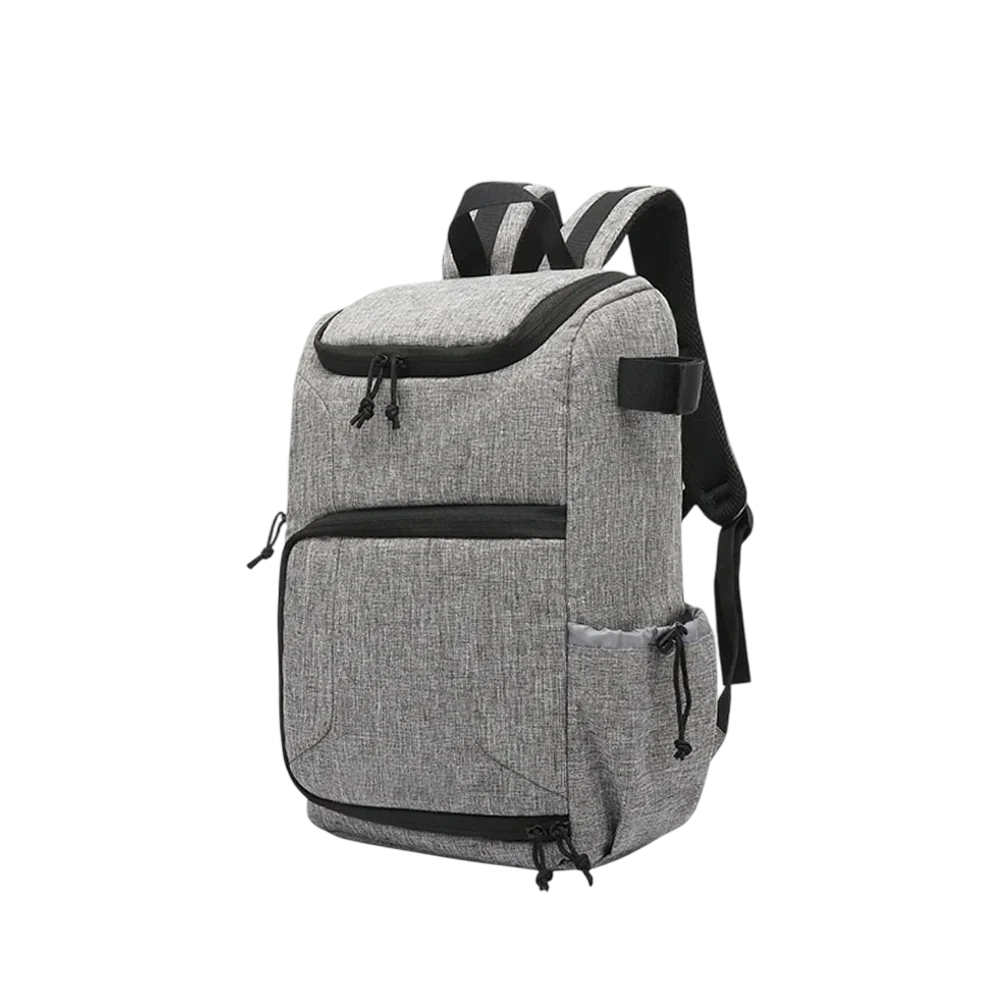 In this guideShutterCrest$119.99View
Build a Shot List for a Hike, Ride or Paddle
If you wonder how to write camera shots in a script, list them as one line each: shot type, subject, angle or movement, and a note on the mount. A trip shot list keeps the same format and fits on a phone note.
- Establishing: extreme wide of the trailhead or put-in, camera on a rock.
- Wide: group starting out, camera at chest height.
- Medium: packing or adjusting gear.
- Close-up: hands, boots, a map, a paddle blade.
- POV: a long take of the trail from a helmet or chest mount.
- Tracking: a friend moving along a clear stretch.
- Low angle: wheels, feet or a hull passing the lens.
- Closing wide: the view at the end of the day.
Shoot each item as a short clip with a clear start, middle and end of the move. You can browse more mounts and cameras in the Action Cameras & POV collection.
Common Mistakes With Camera Shots Outdoors
- Shooting everything wide. Mix in at least one close-up for every wide shot.
- Moving while zooming. Pick one: move the camera or change the framing.
- Skipping the pre-trip routine. Charge the battery and clear space on the card the night before.
- Ignoring the lens. Dust, sunscreen and water spots blur a whole clip.
- Starting the clip and moving at once. Hold the camera still at the start and end of each clip.
Follow the manual for any mount or clip, and check straps and clips for wear before you ride or paddle with a camera attached.