Cycling With a Backpack: Fit, Hydration and Heat Tips
Cycling with a backpack works with snug straps, heavy items against your back and a ventilated panel. This guide covers fit, load placement, hydration and sweat, and when frame bags fit better.
The Kesslund Team
November 19, 2026 · 8 min read
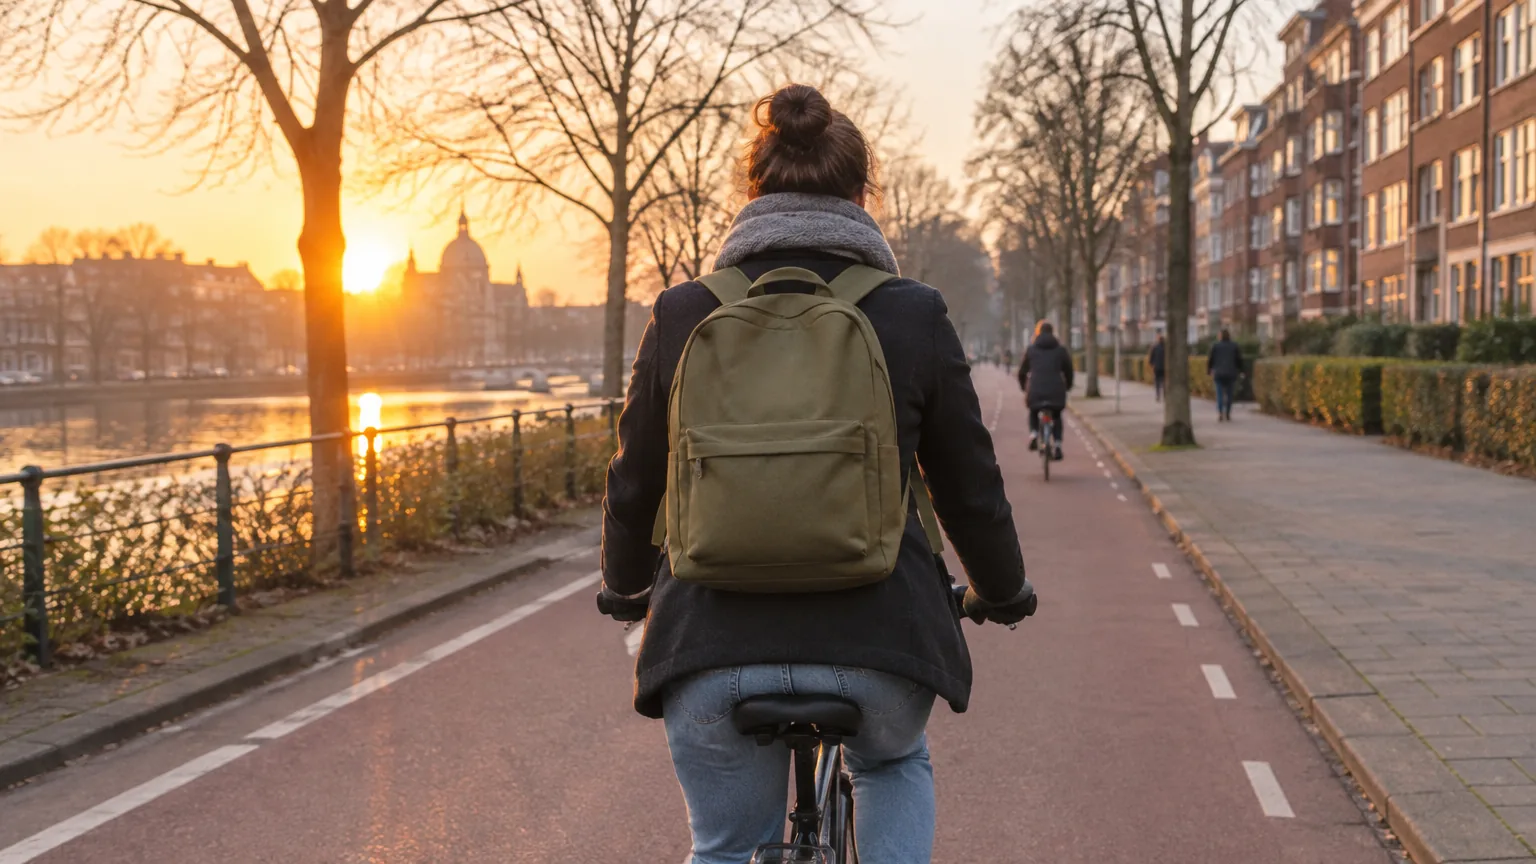
Cycling with a backpack works when the pack sits snug and centered on your back, the heavy items ride close to your spine, and the straps hold everything still over bumps. Set the shoulder straps and any chest or cross-body strap before you leave, keep the load small, and pick a ventilated back panel for warm days. This guide covers the fit steps, load placement, hydration choices, back sweat and the point where a frame bag is the right call.
When to choose a pack over frame bags
A backpack carries what you need to take off the bike: a laptop sleeve, a change of clothes and shoes, lunch, keys and a phone. Frame bags, saddle bags and rack bags hang on the bike, so they work well for tools, spare tubes and gear you leave attached. The choice comes down to what you carry and where you go once you step off the saddle.
| Option | Works well for | Watch out for |
|---|---|---|
| Backpack | Short commutes, errands, carrying items into an office or shop | Warmth against your back, weight on the shoulders on long rides |
| Frame bag | Tools, tubes, snacks, long rides where you want your back clear | Must fit your frame; not made for carrying into a building |
| Saddle bag | A small repair kit that stays on the bike | Small volume; tools only |
| Rack and pannier bags | Heavy loads, groceries, daily commuting with a rack | Needs a rack; you detach it at each stop |
You can combine them: a small repair kit on the bike and a light pack for the items that go with you. If you carry a heavy load every day, a rack with panniers moves the weight off your shoulders. For a light day load, a pack keeps everything within reach.
How to set up for cycling with a backpack
Do the setup with the pack loaded the way you will ride. An empty pack fits differently from a full one, so fill it first, then adjust.
- Loosen all straps, put the pack on and tighten the shoulder straps until the pack sits high on your back, not sagging toward your hips.
- Fasten the chest strap or cross-body harness, then tighten it until the pack stays centered when you twist your torso.
- If the pack has a hip belt, snug it so some weight transfers off your shoulders.
- Sit on the bike in your riding position. Check that the pack does not press on the saddle or rub on your helmet when you look over your shoulder.
- Ride a short loop, then stop and re-tighten anything that shifted.
A bike puts you in a forward lean, so a pack that felt fine standing can slide up your neck or sag on your lower back. If it moves, shorten the straps a notch and check that the load is packed tight. Follow the manual for your pack's adjustment points.
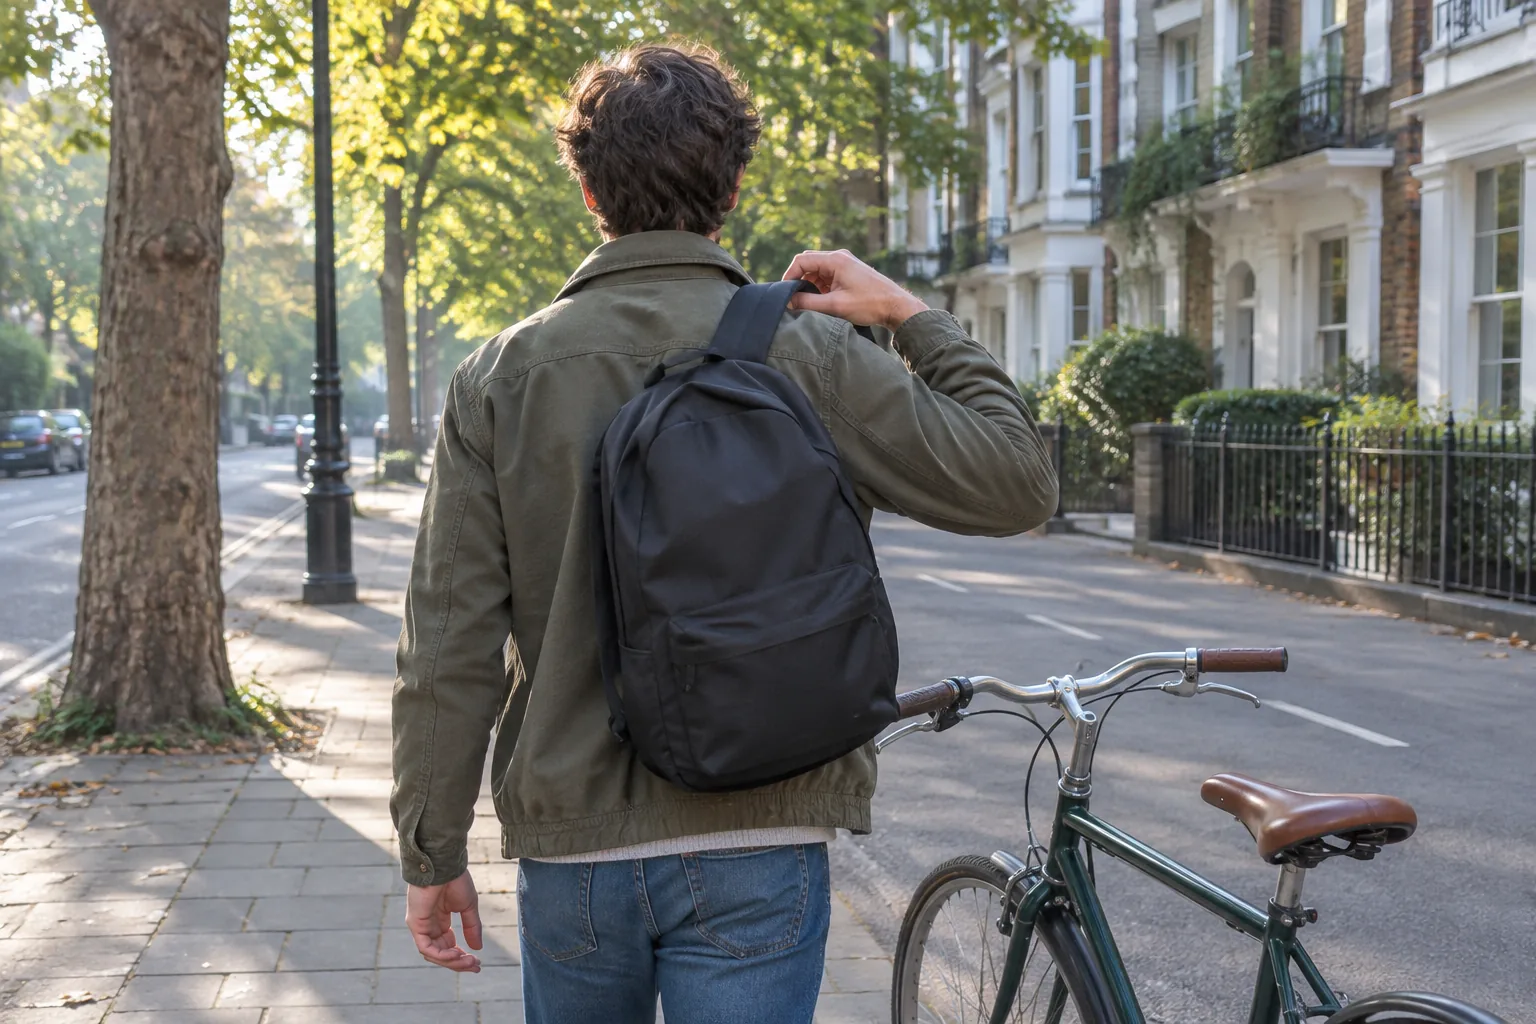
A cross-body harness for commuting
A pack that swings on the bike pulls on your shoulders and shifts your balance. The KestrelPack uses an adjustable cross-body harness that holds the pack centered on your back. To use it, put the pack on, buckle the harness, and adjust the straps until it sits snug.
The shell is lightweight polyester, so most of the weight you carry is your own gear. Reflective accents wrap around the pack for dawn and dusk rides, and the quick-access pockets hold keys, a phone or a bottle where you can reach them at a traffic light.
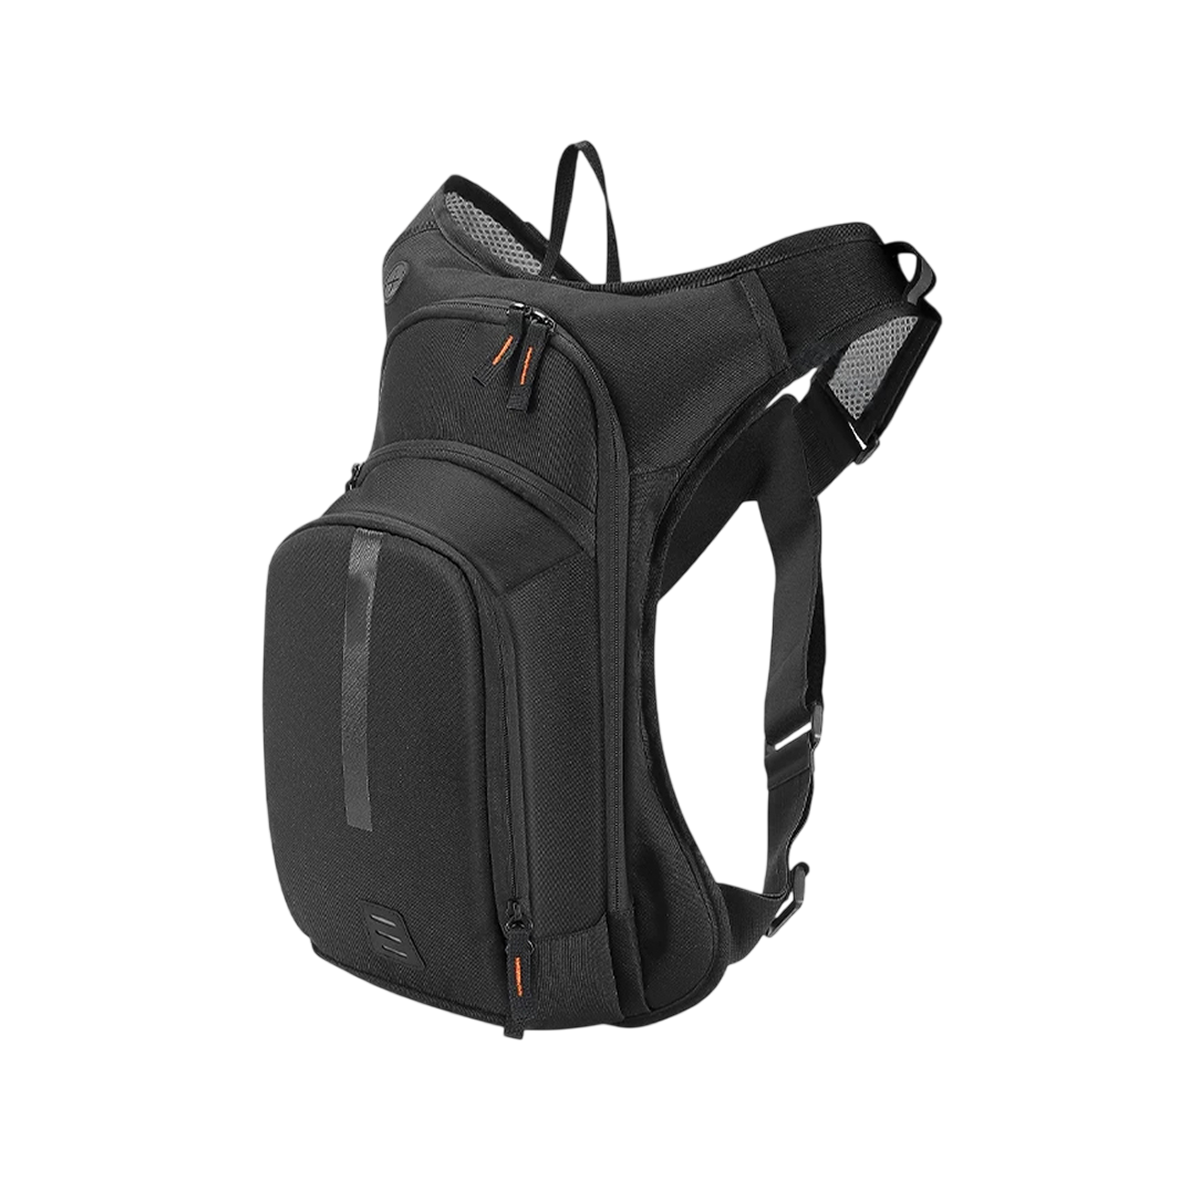 In this guideKestrelPack$99.99View
Load placement: what goes where
Weight position decides how stable the bike feels. Pack the heaviest items close to your back and in the middle of the bag, and keep soft items on the outside. A laptop or a full bottle hanging at the bottom swings with every pedal stroke.
| Item | Where to put it | Why it matters |
|---|---|---|
| Laptop, books, lunch box | Against the back panel, centered | Holds the weight near your spine |
| Clothes, shoes | Away from the back panel, filling gaps | Pads the load and fills empty space |
| Keys, phone, wallet | Outer pocket you can reach at a stop | No digging through the main compartment |
| Water bottle or bladder | Bladder against the back; bottle in a side or front pocket | Holds liquid weight in place |
| Rain jacket | Top of the main compartment | Reachable without unpacking |
Close all zippers and tuck loose strap ends so they do not catch on the bike. Leave heavy tools on the bike in a saddle or frame bag, since a pack full of metal sits on your shoulders all ride.
Field note
Do a shake check before you roll: hop gently on the spot with the pack on. If you hear or feel the contents shifting, repack with the heavy items closer to your back and tighten the straps again.
Cycling backpack hydration: bladder or bottle
You have two basic ways to carry water. A bottle in a bike cage or a pack pocket is simple to fill and clean. A bladder with a drinking tube sits in the pack and lets you sip without reaching for anything, which suits rough ground where you want both hands on the bars.
| Setup | Good for | Care points |
|---|---|---|
| Bottle in a cage | Road rides, refills at stops | Rinse after each ride |
| Bottle in a pack pocket | Commutes with a short ride | Check the pocket holds it upright |
| Bladder with tube | Longer rides, trail riding, sipping while moving | Drain, rinse and dry fully after use |
Using a bladder pack
The HydraPace is a hydration backpack with a 1.5L (about 50 fl oz) food-grade PEVA water bladder, a 40-inch drinking tube and four pockets. It is made for runs, hikes and training sessions, so it suits you if you want a bladder pack for training rides or for off-bike days. Check that the tube reaches your mouth without pulling when you sit in your riding position.
The wide-mouth opening lets you refill, add ice and reach in to scrub the inside. Fill the bladder, put the pack on, and adjust the hip belt and shoulder straps to fit. Rinse the bladder through the same opening when you finish. For a full cleaning and drying routine, read Water Bladder Packs: How to Choose, Clean and Dry Them.
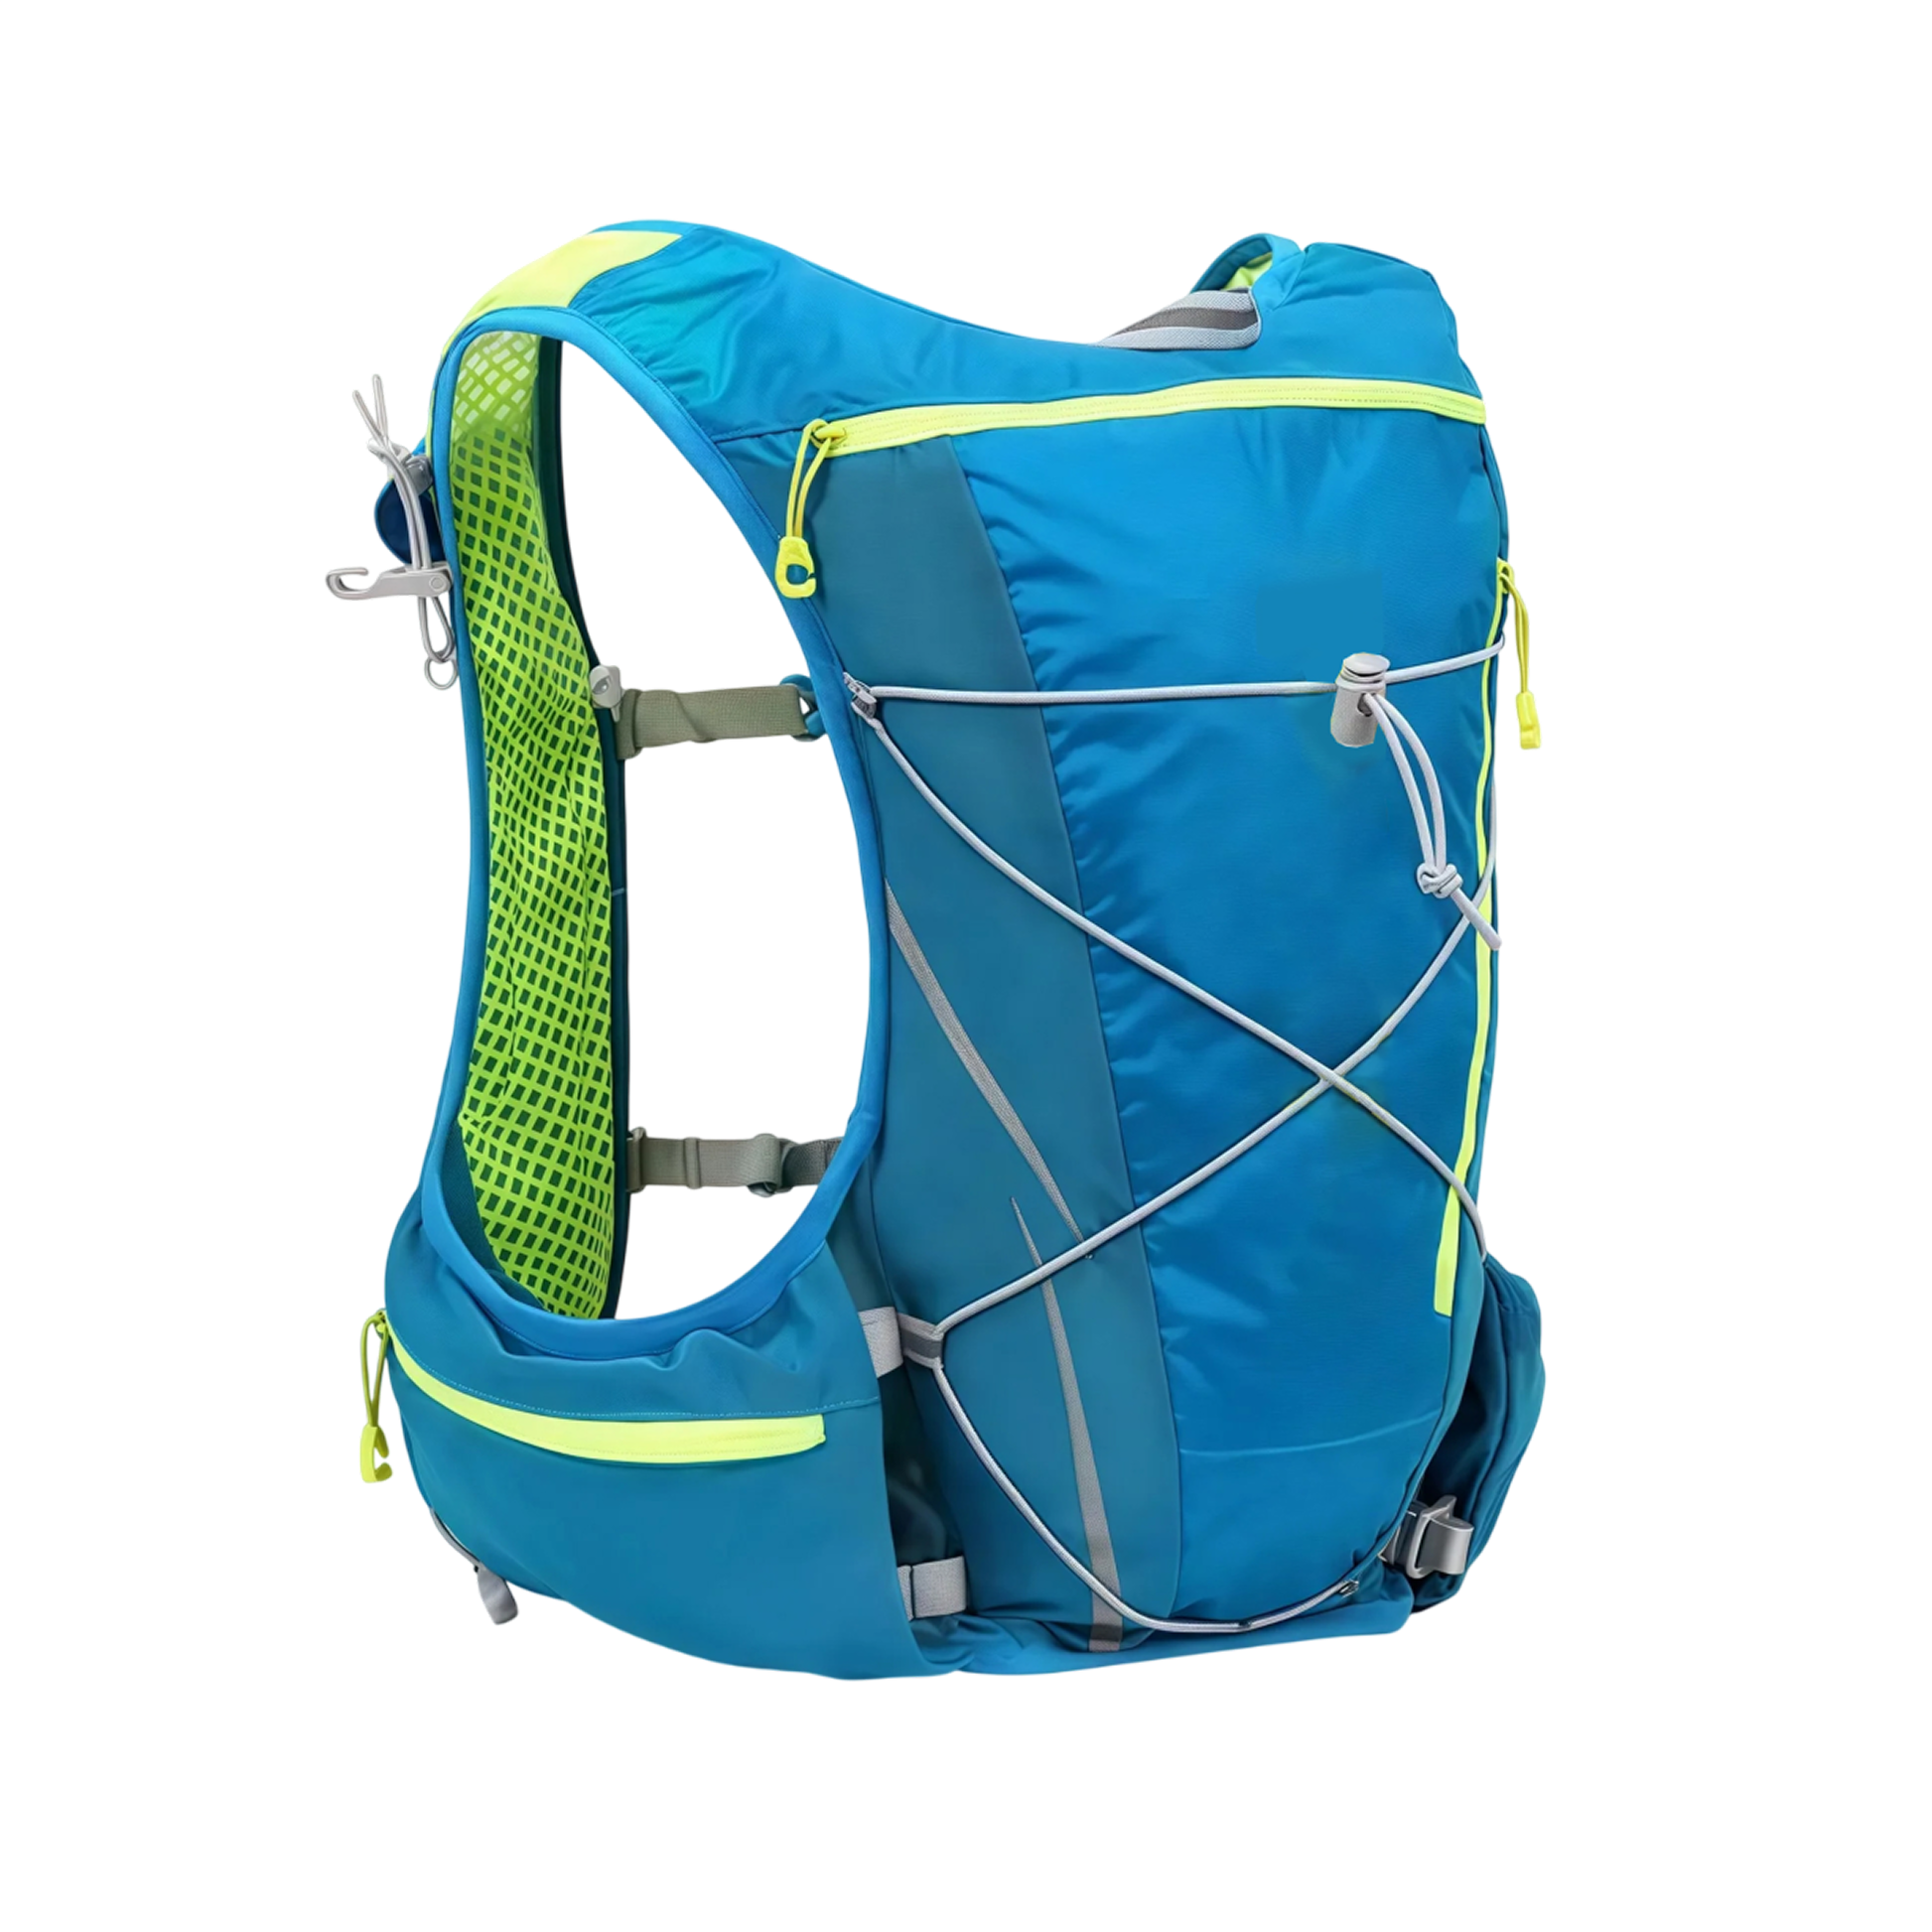 In this guideHydraPace$99.99View
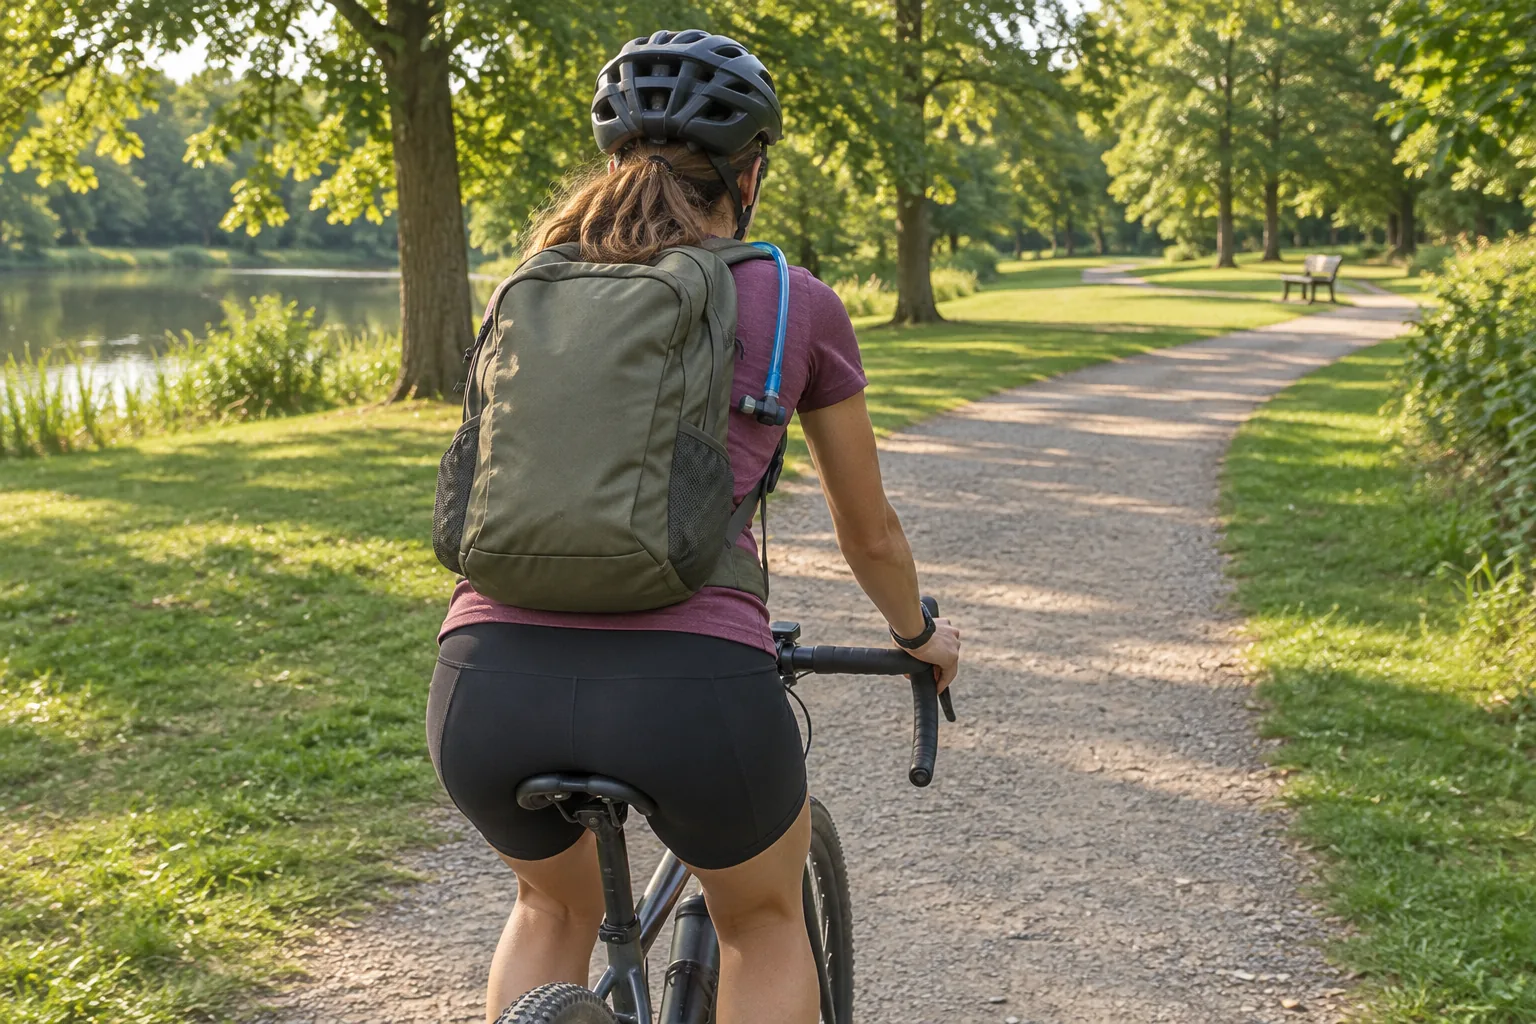
Back sweat and heat: what helps
A flat bag sits tight against your back and traps heat. Adjustments come from airflow, load size and clothing, not from one gadget. Look for a mesh back panel or channels that hold the pack off your back so air moves between you and the load. The KestrelPack has a mesh back panel that keeps most of the pack off your back, and the HydraPace has breathable panels against your back.
| Step | What to do |
|---|---|
| Choose the pack | Pick a ventilated back panel and a small volume |
| Pack light | Move tools and spares to the bike frame or a saddle bag |
| Wear a layer | Use a thin synthetic base layer under the pack straps |
| Pause | Lift the pack off your back at a light or a stop to let air in |
| After the ride | Open the pack, hang it up and let the back panel dry |
A smaller pack covers less of your back. If you carry a laptop and a change of clothes on a warm commute, consider sending the clothes ahead or keeping a spare set at work. Wipe the straps and back panel according to the manual if they stay damp.
Rain and wet days
Check whether the pack is water resistant or needs a separate rain cover, and use a dry bag inside the pack for electronics. Water resistant is not the same as sealed, so pack a laptop or paperwork in a bag liner on days when rain is possible.
Visibility, fit and women's or small frames
Dawn and dusk rides call for something that faces traffic. Reflective accents on the pack help others see you from several angles, and they work alongside bike lights, not in place of them. Wear the pack high enough that the reflective parts are not hidden by your jacket.
Torso length decides how a pack sits, so pick a size that matches your back, not just the volume. Some styles are cut for narrower shoulders or shorter torsos, and a small pack with adjustable straps can fit a wide range of frames. For more on fit checks and laptop sleeves, see Women's Commuter Backpack: Fit, Laptop Sleeve and Weather Checks.
For packs that clip onto your bike or carry gear for longer rides, browse the Ride Bags & Backpacks collection.
Common mistakes and a pre-ride checklist
Trouble on the bike tends to trace back to a few habits: too much weight, loose straps, or an item in the wrong place. Run through this list before you leave.
- Pack is loaded the way you will ride, and straps are snug.
- Heavy items sit against your back and in the middle of the bag.
- Chest strap or cross-body harness is buckled and the strap ends are tucked in.
- Keys, phone and wallet are in an outer pocket you can reach at a stop.
- Bladder is filled, the tube is clipped in place and the bite valve is closed.
- Reflective parts face out and lights are on the bike.
- Laptop and paperwork are in a liner if rain is possible.
Slips to avoid include carrying the pack low on the hips, overfilling the main compartment, hanging a bottle from a loose strap and leaving the zippers half open. Fix these and you can keep your eyes on the road. Ride within your skill and follow local traffic rules and the pack manual.
Care schedule
After each ride, open all pockets and let the pack air out. Empty and rinse the bladder after each use, and hang it open to dry. Wipe the shell with a damp cloth when it is dirty, and check the buckles and zippers for wear on a regular schedule.