Water Bladder Packs: How to Choose, Clean and Dry Them
Water bladder packs work when the size, opening and hose suit your route and you dry the reservoir fully after every trip. Here is how to pick one and clean it.
The Kesslund Team
October 22, 2026 · 6 min read · Updated October 28, 2026
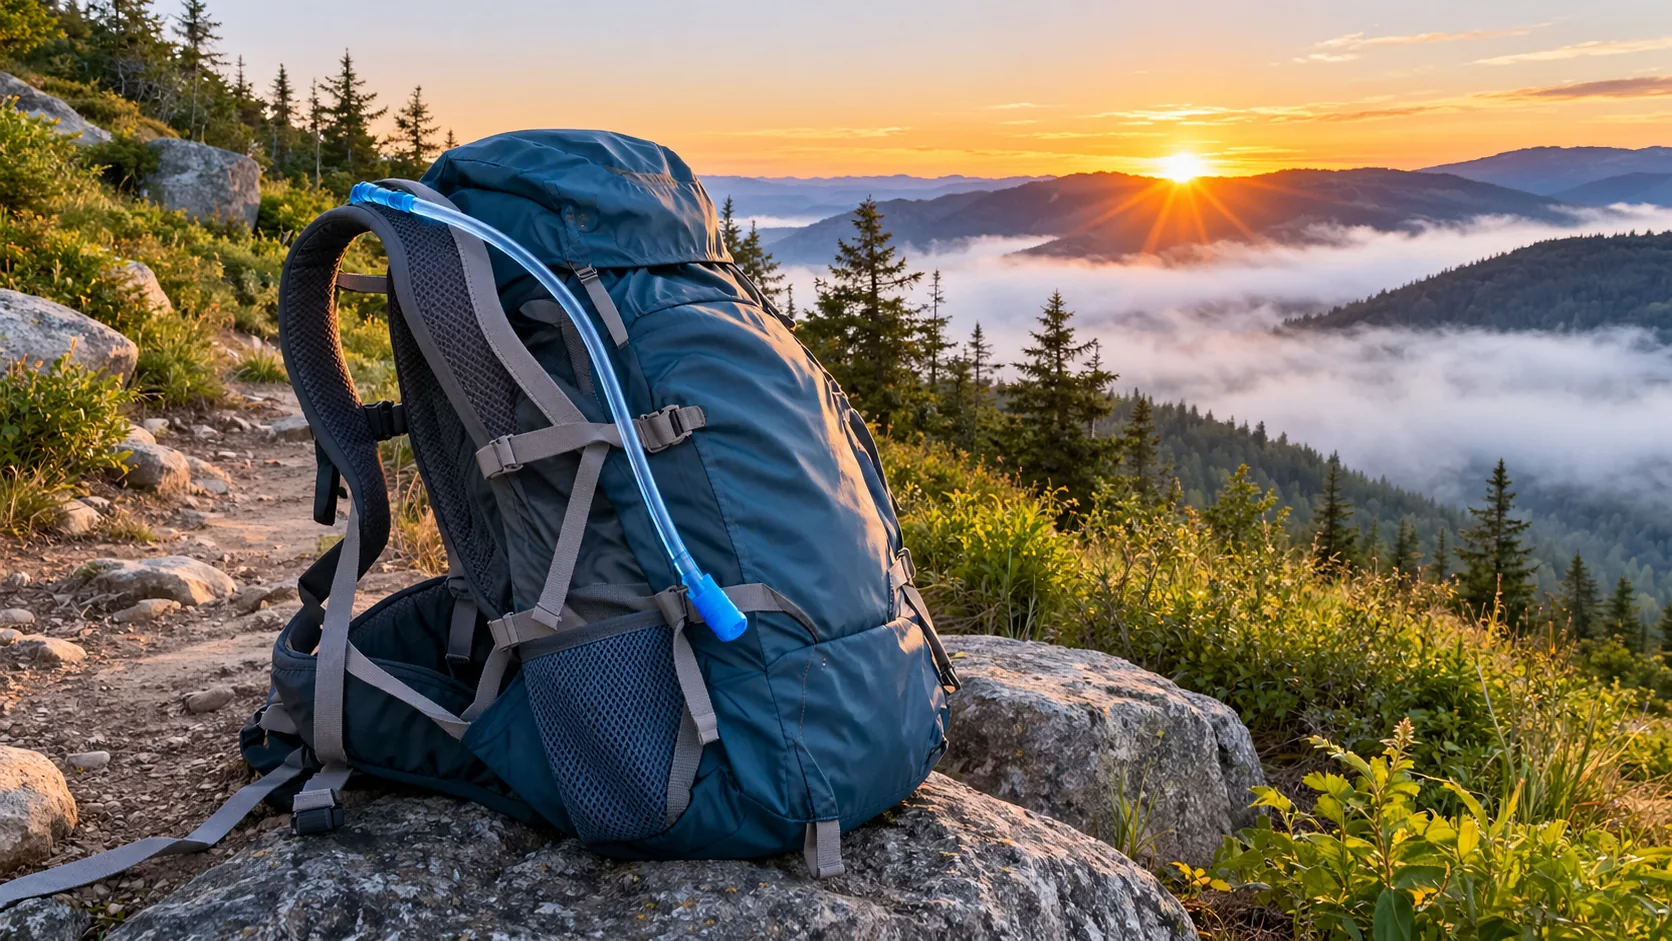
Water bladder packs are daypacks or vests built around a flexible reservoir and a drinking hose, so you sip while you walk, ride or run. Choose the pack by capacity, opening size and hose design, then rinse, scrub and fully dry the reservoir after every trip, because mold grows where moisture stays.
This guide covers how to pick a reservoir, how to match it to a pack, and a cleaning and drying routine you can repeat after each outing.
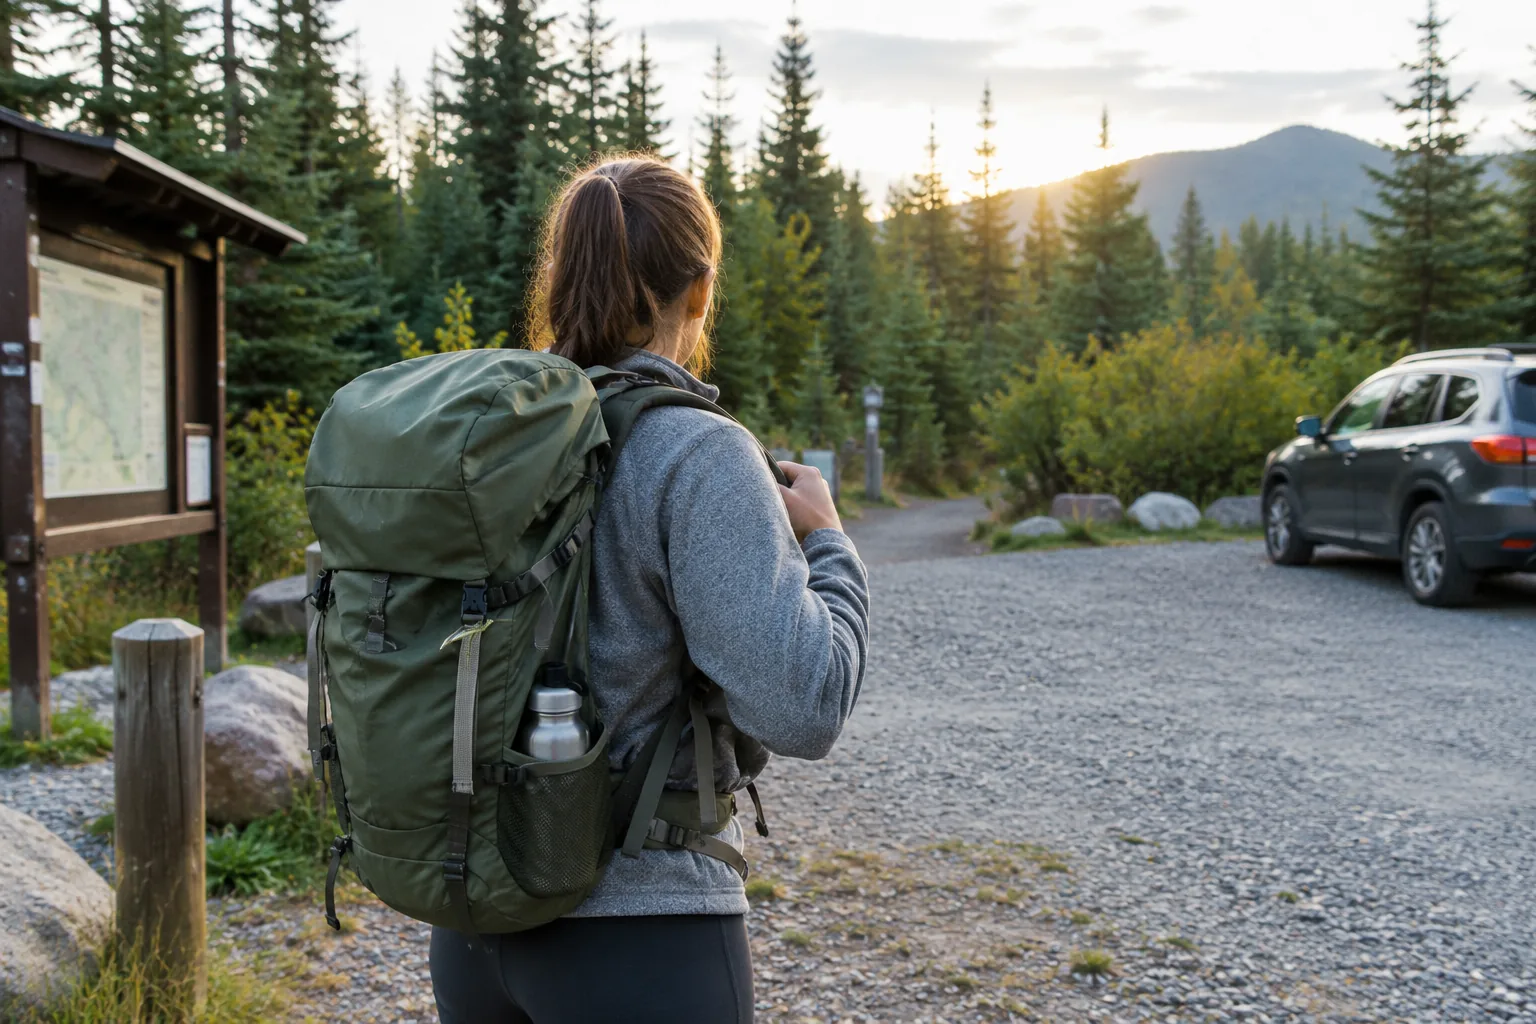
Are water bladders good for hiking?
Yes, for many trips. A bladder rides against your back, and the hose lets you drink without stopping to dig out a bottle. That means you can take small sips often on a long climb instead of waiting for a break.
There are trade-offs to plan for:
- You cannot see how much water is left as you can with a clear bottle, so check the level at trailheads.
- The hose and bite valve are the parts that need the most careful cleaning.
- Filling a reservoir at a stream takes a wide opening or a separate bottle to scoop and pour.
- Ice, sugary mixes and long storage with water inside all make cleaning more important.
Some hikers carry a bladder for sipping plus a bottle for mixing drinks or filtering at a water source. If you are still choosing the pack itself, the day hiking backpack guide covers size, fit and features.
How to choose water bladder packs
Start with how long you will be between refills, then check the details that decide how the reservoir is filled, carried and cleaned.
Capacity
Reservoirs are sold in sizes such as 1L (about 34 oz) and 2L (about 68 oz). A smaller bladder suits short runs and rides, while a larger one suits long hikes with few refill points. Water is heavy, so carry the amount your route calls for. As general advice, pour water to bladder capacity only as far as the fill line or the maker's stated limit.
| Activity | Size to consider | What to check |
|---|---|---|
| Short run or ride | 1L (about 34 oz) | Slim profile that sits flat against your back |
| Half-day hike | 1L to 2L | Pack has a sleeve for the reservoir |
| Full-day hike | 2L (about 68 oz) | Refill points on the route, hose routing |
| Hot or remote route | 2L plus a bottle | Backup way to carry or filter extra water |
Opening and cleaning access
A small opening keeps the design compact, but you cannot get a hand or brush inside. A wide-mouth opening lets you scrub the walls and fill the reservoir with ice. If you plan to clean after every trip, this is the feature to prioritize.
Hose, valve and shutoff
Look for a hose that attaches with a threaded connector, a bite valve you can operate with your teeth, and a shutoff switch that closes the line while the bladder is packed. An insulated hose is useful when the line runs along an exposed shoulder strap.
Materials
Reservoirs are made from flexible materials such as TPU. Check that the product lists food-grade materials for the parts that touch your water, and confirm the pack has a sleeve and hose port that fit the reservoir you buy.
A hydration bladder with a wide mouth
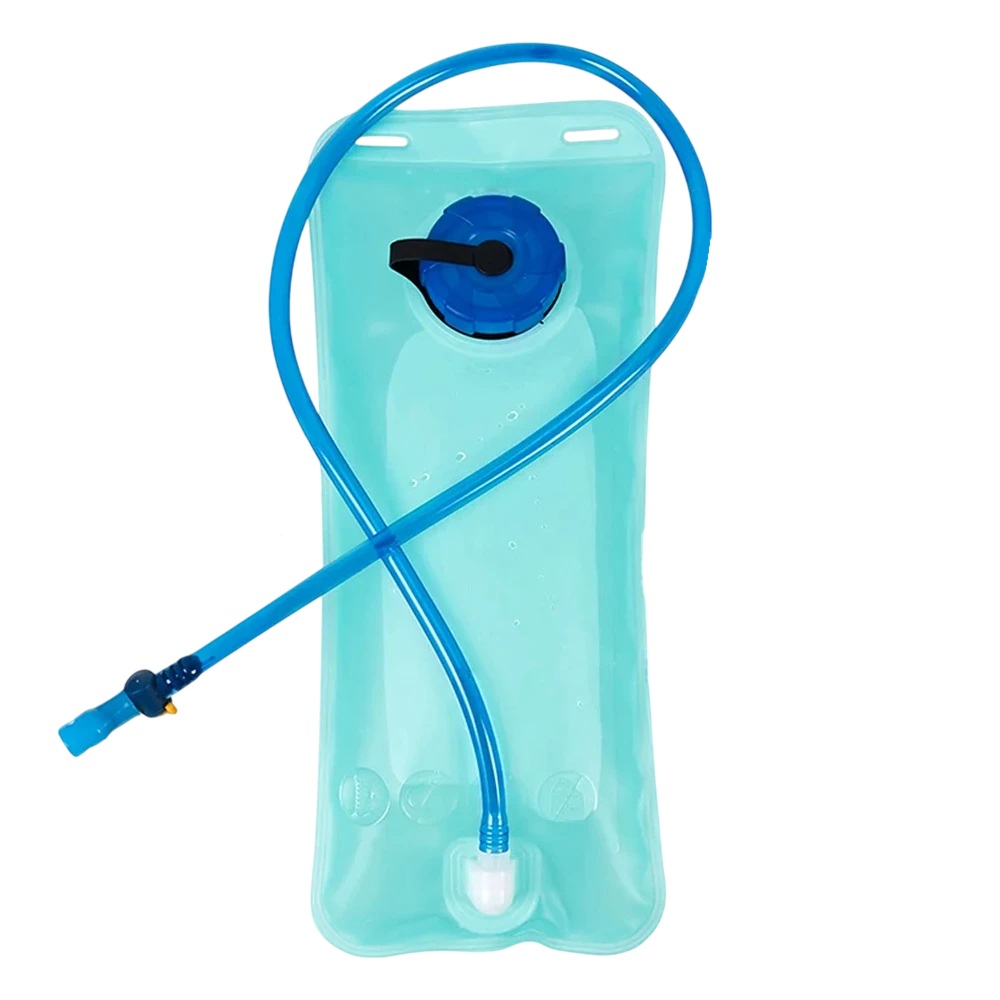
The AlpineFlow is a hydration pack bladder that sits inside a compatible daypack or running vest and feeds water through a hose with a bite valve. It comes in 1L or 2L sizes, uses a reinforced TPU composite, and the reservoir is made from TPU and EVA, which the product page lists as food-grade materials.
The wide-mouth opening is made for filling and cleaning, and the threaded hose connector pairs with a rotary shutoff switch. The box includes a protective dust cover.
 In this guideAlpineFlow$59.99View
Vest or daypack: where the bladder rides
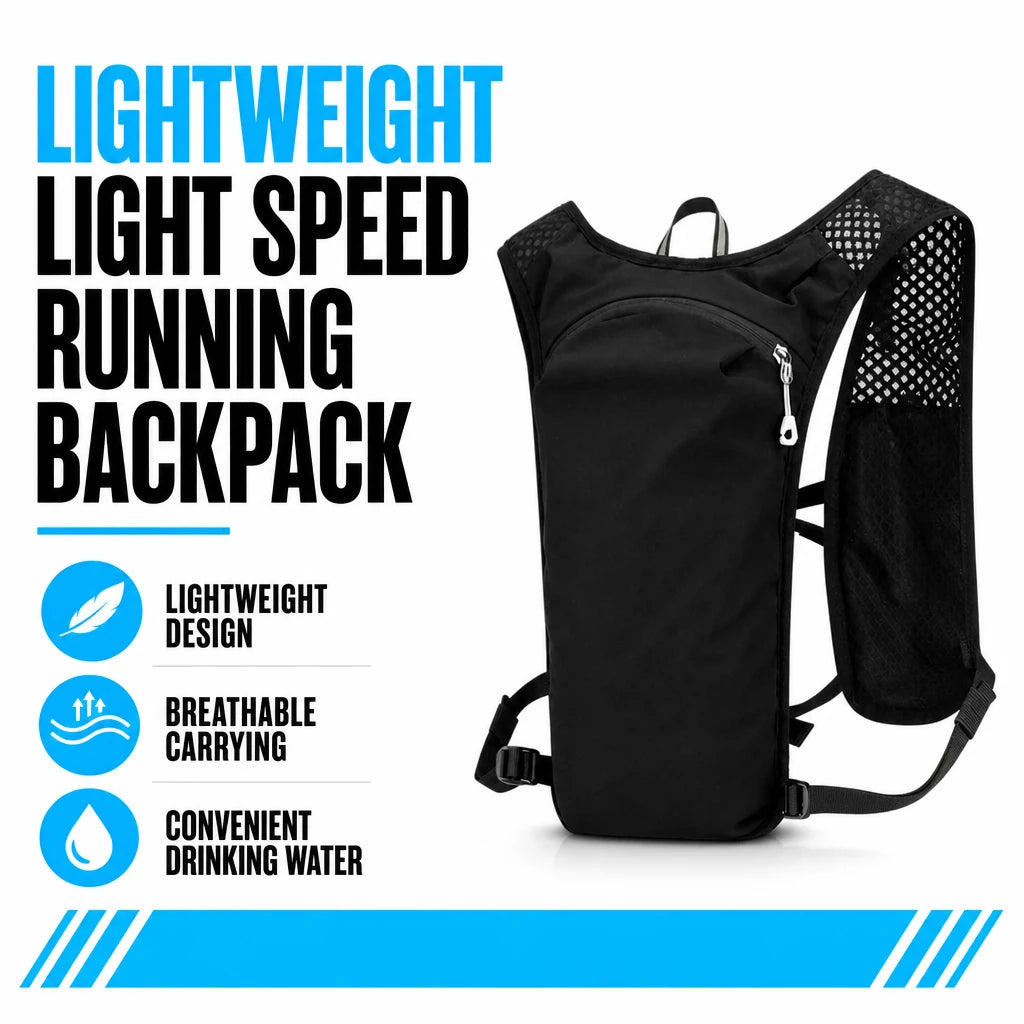
A daypack carries a bladder in a rear sleeve alongside layers, food and other gear. A running vest holds water against your torso, with the drinking tube near the shoulder strap so you can drink while moving.
The TrailForge is a running hydration vest for trail runs and long days on foot. It uses a 4-way stretch mesh body with an open-mesh back panel, an adjustable chest buckle and cinch system, reflective panels and a built-in whistle. The vest weighs 160g (about 5.6 oz). The box includes a 1.5L (about 51 oz) hydration water bag and a 250ml (about 8.5 oz) water bottle.
The same cleaning and drying routine applies to water bladder packs built as vests: the tube runs from the bag to the shoulder strap, so it needs flushing and drying like any other hose.
 In this guideTrailForge$99.99View
Cleaning routine after every trip
Clean the reservoir soon after you get home. Follow the maker's instructions for water temperature and cleaners, since a bladder may not tolerate hot water or a dishwasher. Empty any leftover bladder water before you start washing.
- Empty the reservoir and disconnect the hose at the threaded connector.
- Fill the reservoir with warm water and a few drops of mild dish soap.
- Reach through the wide opening with a brush and scrub the walls, seams and corners.
- Run soapy water through the hose and bite valve, then squeeze the valve to flush it.
- Rinse everything with clean water until no soap taste or foam remains.
A long, thin hose brush reaches inside the tube. Unscrew the bite valve if it comes apart and rinse the pieces separately. For a deeper clean, use only the cleaning tablets or solutions the maker lists for your bladder.
Cleaning schedule
| When | What to do |
|---|---|
| After each trip | Empty, rinse, scrub with mild soap, flush hose and valve |
| After sugary or flavored drinks | Wash the same day, including the hose |
| Every few trips | Take the valve apart and check for residue or discoloration |
| Before long storage | Wash, dry fully, then store open |
Field note
Fill the reservoir fresh for each trip rather than reusing water that has sat in the hose for days, and only after the bladder is clean and dry.
How to dry out a water bladder
Drying matters as much as washing: mold grows where moisture stays, and the hose is the hardest part to dry. A reservoir that goes into a closet with a few drops inside stays damp.
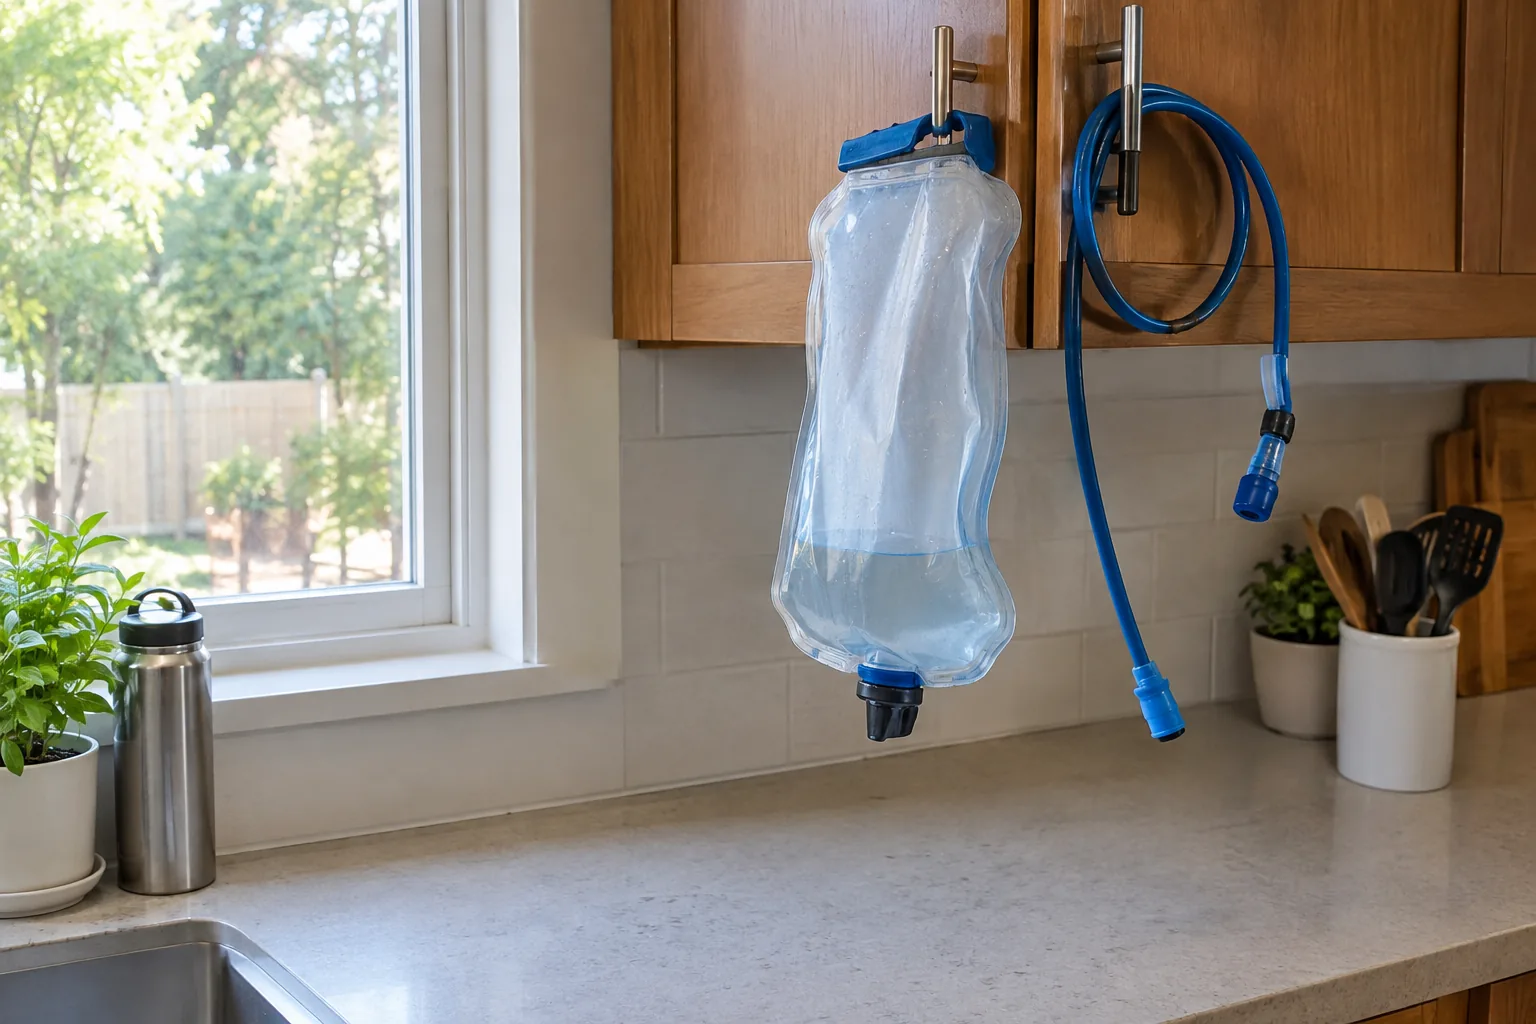
- Drain the reservoir and hose completely, then shake out the remaining drops.
- Hang the reservoir upside down. Turn it inside out only if the maker's instructions allow it.
- Prop the opening wide with a clean spacer, such as a whisk handle or a rolled paper towel you replace once damp, so air moves through the inside.
- Hang the hose with the valve end down so any remaining water drains out.
- Leave everything in a room with moving air, out of direct sun and away from heaters, until it is dry to the touch and has no odor.
Store the dry parts with the reservoir open and the hose unrolled, not folded tight or sealed in the pack. The AlpineFlow box includes a protective dust cover; check the manual for how to use it.
Mold and odor
If you see black or green spots, or the bladder smells musty even after washing, replace it rather than keep using it. Cloudy residue or a plastic taste after a wash means the rinse step needs repeating.
Common mistakes to avoid
- Packing a damp reservoir away in a closed bag or pack sleeve.
- Leaving drink mixes in the bladder between trips.
- Skipping the hose and bite valve when scrubbing.
- Using harsh scrubbers or very hot water that the maker does not allow.
- Filling the reservoir the night before when the bladder has not been dried since last use.
When adding water, take the pack off and hold the reservoir upright so the water does not run down the outside seams. Match the pack, reservoir and hose before a trip, and browse the Backpacks & Hydration collection if you are putting together water bladder packs from scratch.