Day Backpack Hiking: How to Choose Size, Fit and Features
Pick a day pack by hike length first (about 10-40 liters), then by torso fit, then by features. This guide gives you the steps, a size table and a fit check.
Wes Tanner
October 14, 2026 · 8 min read
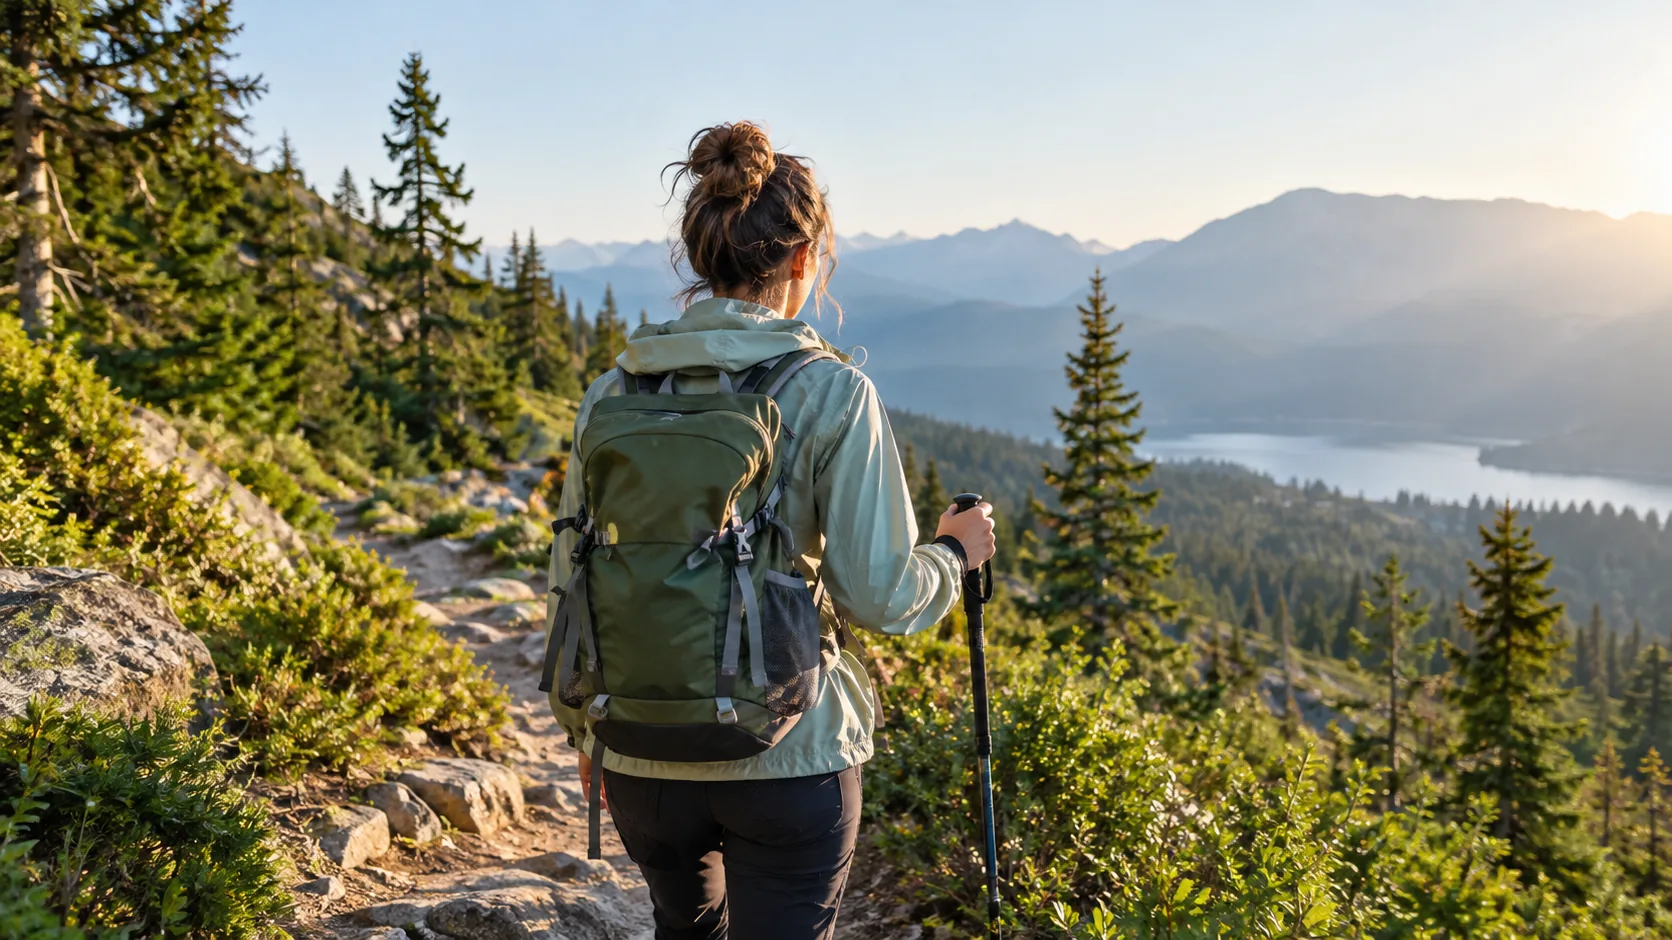
For day backpack hiking, choose a pack between about 10 and 40 liters: smaller for short, warm-weather walks and larger for full days, cold weather or hikes with extra layers. Then match your torso length, not your height, to the pack's adjustable range, and look for a hipbelt, padded shoulder straps and a spot for water.
This guide walks through the decisions in order: size, fit, features, then loading and care. Skip to the table if you only need a quick liter match.
Day backpack hiking: match pack liters to your hike
Capacity is the first filter. Too small and you strap things to the outside. Too large and the pack sags, shifts and tempts you to carry things you do not need. Start with what you must carry. The National Park Service's Ten Essentials list is a sound baseline: navigation, light, sun protection, first aid, a repair kit, fire, shelter, extra food, extra water and extra clothing.
| Hike type | Typical pack size | What fits |
|---|---|---|
| Short, easy trail in mild weather | 10-18 L | Water, snack, light shell, phone, keys |
| Half-day hike | 18-25 L | Above, plus lunch, extra water, sun protection, first aid kit |
| Full-day hike | 25-35 L | Above, plus insulating layer, hat and gloves, headlamp, navigation tools |
| Cold-season or mountain day hike | 30-40 L | Bulkier layers, extra food, emergency shelter items |
If you are between two sizes, choose the smaller one and pack carefully. A full, compressed pack tends to stay put, while a half-empty large pack can shift. A 25-30 L pack suits many full-day trips, and a small day hiking backpack in the 15-20 L range covers short loops.
Daypack vs. backpacking pack
A daypack carries one day of gear. A backpacking pack carries a sleeping bag, shelter and food for overnight backpacking or longer routes, so it is bigger, has a stiffer frame and a heavier-duty hipbelt. Gear lists written for thru-hikers list volumes well beyond what a day hike needs. When you shop for a backpack for day hiking, use the table above, and save the big-volume advice for multi-day plans. For a hiking backpack day trip, the goal is a pack that holds your essentials and nothing extra.
Adjust the number for season and company
The table is a starting point. Move up or down a size based on conditions and who is walking with you.
- Cold or changeable weather: insulating layers, a hat and gloves take real space, so lean toward the upper end of the range.
- Hot, dry days: you carry less clothing but more water, so check that the pack has room for bottles or a reservoir.
- Hiking with children: you often carry their snacks, water and spare layers too. Add a few liters.
- Photography or birding: a camera, lenses or binoculars need quick access, so look for a pack with more than one entry point.
- Short urban-edge trails: a compact pack is enough, and you may not need a hipbelt at all.
Measure your torso before you shop
Pack fit depends on torso length, the distance from the base of your neck to the top of your hips. Height is a poor stand-in for it. Two people of the same height can need different frame sizes.
How to measure torso length
- Stand straight and tilt your head forward. Find the bony bump at the base of your neck (the C7 vertebra). This is the start point.
- Place your hands on top of your hip bones with thumbs pointing back, so a line forms across your lower back. This is the end point.
- Have a helper run a soft tape measure along your spine between the two points.
- Compare the number to the pack's listed torso range, and pick a pack whose adjustment range includes it, ideally near the middle.
As a reference point, the TerraVance harness adjusts for 16-23 inch torso lengths, and its usage steps follow the same logic: measure, then set the harness so the hipbelt sits on your hip bones.
Men's vs. women's fit
Many brands sell packs in men's and women's cuts. The labels describe shape, not ability, and you can wear whichever feels right. Try both cuts if the store allows it.
| Pack type | Torso range | Shoulder straps | Hipbelt |
|---|---|---|---|
| Women's cut | Usually shorter | Narrower, more curved | Shaped for a wider hip-to-waist difference |
| Men's cut | Usually longer | Wider spacing | Straighter |
| Unisex, adjustable | Set by the harness | Depends on the model | Check that it closes on the hip bones |
If you are shopping for a women's hiking backpack, check three things: the strap does not press on the chest or slip off the shoulder, the hipbelt closes around the hip bones rather than the waist, and the top of the shoulder straps sits at or just below the shoulder line. The same checks apply to a men's backpack for hiking, and they make a good backpack for hiking easy to spot in a store.
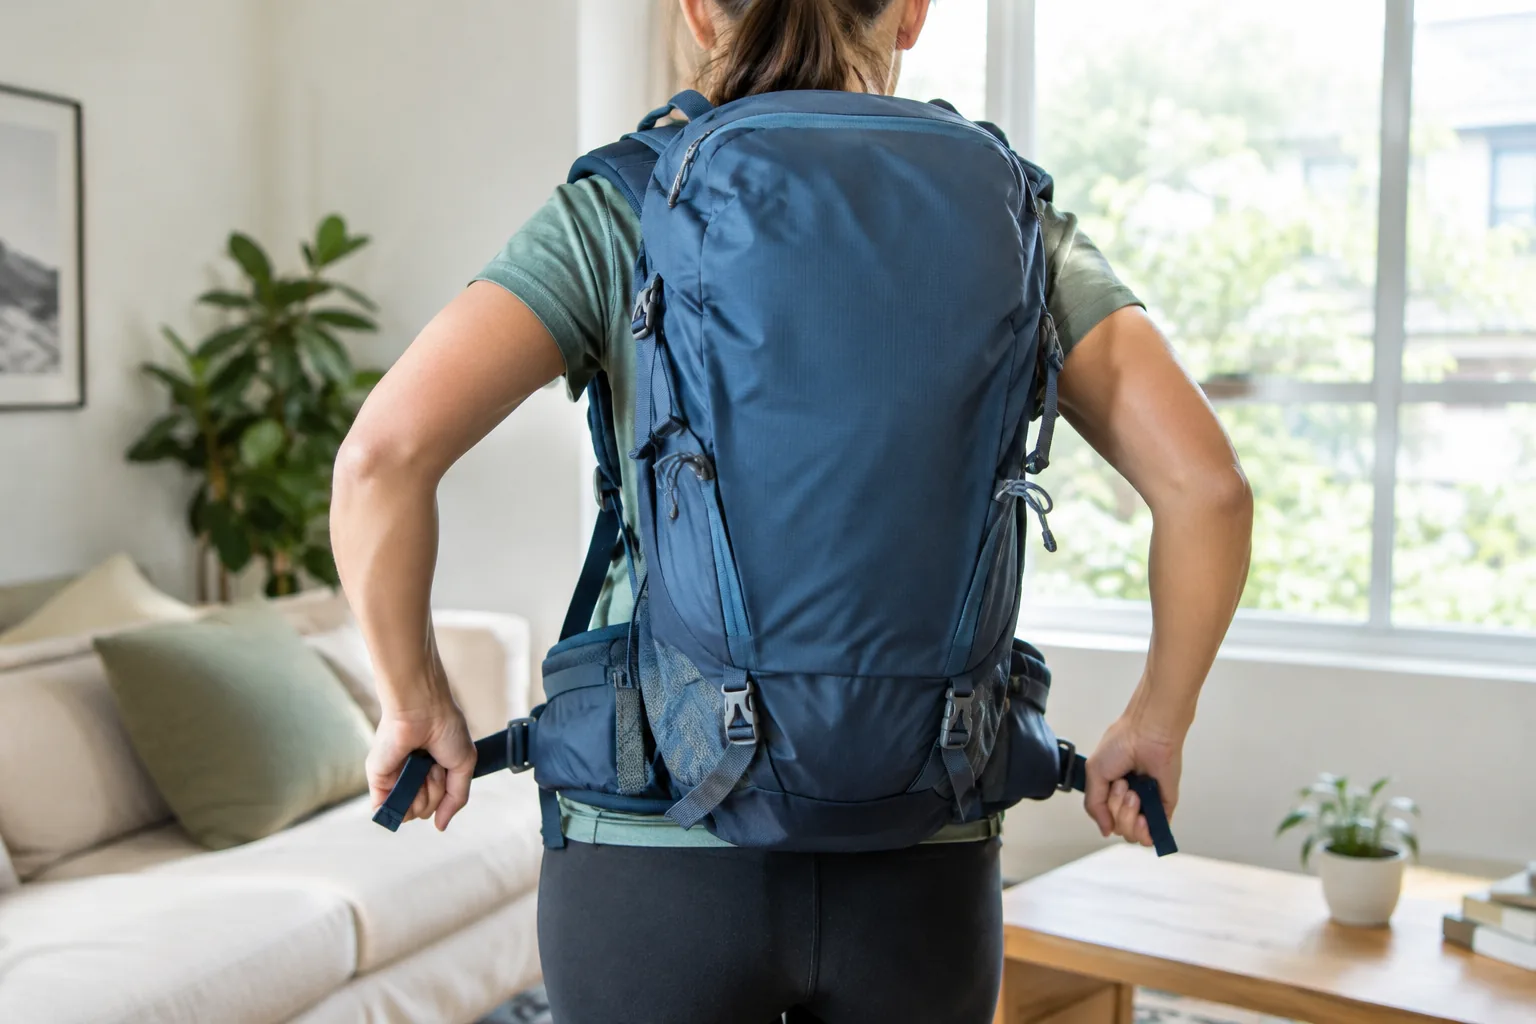
Fit check at home
- Load the pack with the weight you normally carry.
- Loosen all straps, put it on, and tighten the hipbelt first so it rests on your hip bones.
- Tighten the shoulder straps until they hug without lifting the pack off your hips.
- Snug the load lifters (if present) and the sternum strap.
- Walk up and down stairs. Look for rubbing, sliding or weight pulling on your shoulders.
Features that matter on a day hike
A pack does not need every pocket on the market. Prioritize the items below, roughly in order.
- Hip belt. It moves load from your shoulders to your hips. Even small packs can use one once you carry more than a light layer.
- Padded shoulder straps and a sternum strap. These help keep the pack steady on uneven ground.
- Suspension system. This is the frame sheet, back panel and straps working together. A ventilated mesh or channeled panel leaves a gap for air between the pack and your back.
- Main compartment. Look for a wide opening that lets you reach layers and lunch without emptying everything.
- Bottle pockets. Stretch side pockets hold water bottles you can reach while walking. Check that you can reach them with the pack on.
- Hipbelt pockets. Small zip pockets on the belt hold snacks, a phone or lip balm.
- Weather protection. A water-repellent shell helps in light rain. For heavy rain, add a separate pack cover or line the inside with a dry bag.
- Compression straps. They keep a partly filled pack from shifting.
Frameless and ultralight packs
An ultralight hiking backpack is often frameless, meaning it has no rigid internal frame and relies on the way you pack it. That works for small loads. If you carry water, layers and a full lunch, a pack with a framesheet and hipbelt helps spread the weight across your hips and back.
Water: bottles or a hydration bladder
Bottles are easy to fill and check. A bladder lets you sip while walking, which is handy on steep climbs where stopping to dig out a bottle is a nuisance. Many hikers carry one of each.
The AlpineFlow hydration bladder is built for this job. It comes in 1L or 2L sizes with an insulated hose and bite valve, a threaded hose connector and a rotary shutoff switch you twist off between sips when the bladder is packed. The wide-mouth opening takes a hand and the included cleaning brush, and it also accepts ice cubes.
 In this guideAlpineFlow$59.99View
Pack it so it carries well
Loading order changes how a pack feels more than most small features do. Follow this pattern:
- Put the bulkiest, lightest items (insulating layer, spare clothing) at the bottom.
- Place dense items such as food and water close to your back, around shoulder-blade height.
- Keep rain gear, snacks, sunscreen and a phone where you can reach them without unpacking.
- Pack the first aid kit and headlamp in a consistent pocket so you always know where they are.
- Cinch compression straps until nothing shifts.
Run through your Ten Essentials checklist before each trip, and repack the same way every time so your hands learn where things are.
Common mistakes
- Choosing by height or clothing size instead of torso length.
- Buying a large pack "just in case" and filling it with extras.
- Leaving the hipbelt loose, so all the weight lands on the shoulders.
- Hanging heavy items on the outside, which pulls the pack backward.
- Skipping a test load before the first trail day.
Field note
Do a fit check with your real trail load, not an empty pack. A pack that feels fine empty can behave differently with water, food and layers inside.
When a day pack is not enough
If your plans grow into overnight or multi-day routes, you need a different category. A multi-day pack like the TerraVance is a 90L design with a hip-dominant suspension, padded shoulder straps, a hipbelt, a mesh back panel and several compartments with more than one entry point. It has a water-repellent nylon shell and is sized for longer trips, so it is oversized for a typical day hike.
Some hikers like a hiking backpack with daypack setup: a large pack for the route and a smaller pack for summit pushes or side trips from camp. If that is your plan, pick the small pack by the table above and the large one by trip length. For carry-on and city use, see our guide to choosing a carry-on pack.
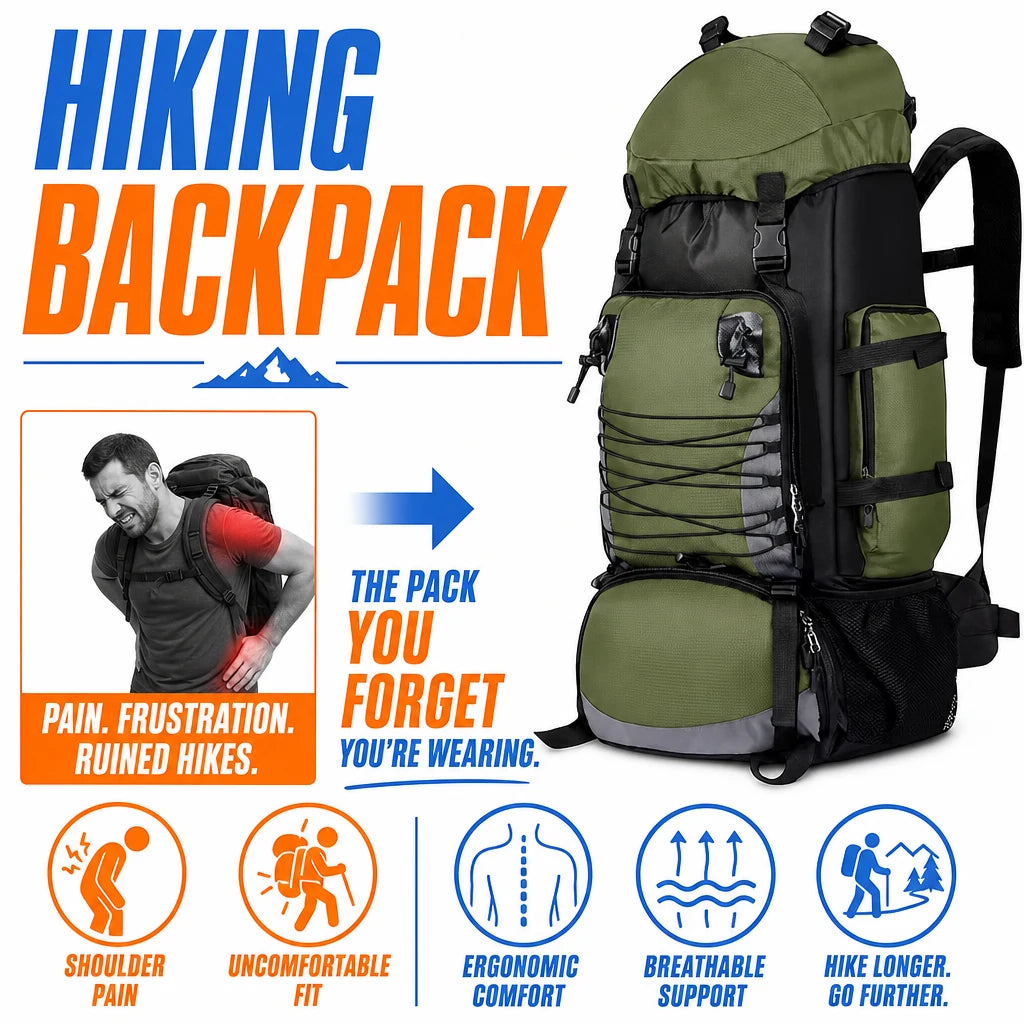 In this guideTerraVance$119.99View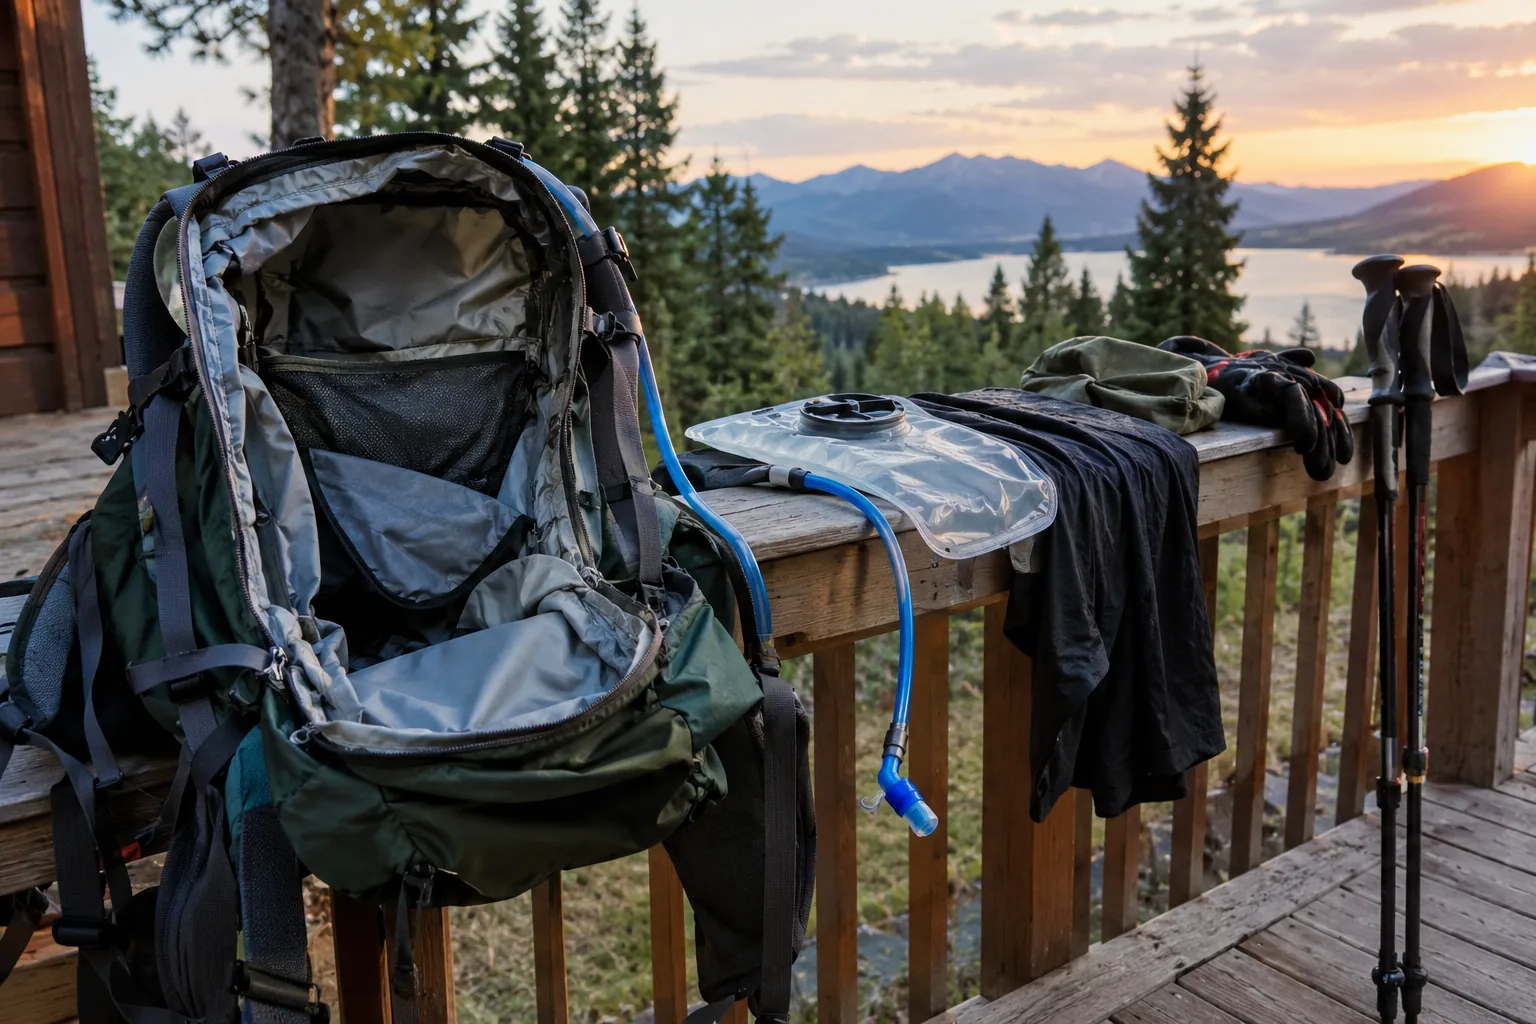
Care after the hike
Simple care after each trip keeps a pack ready for the next one.
- Empty every pocket and shake out dirt and crumbs.
- Open all compartments and let the pack air dry away from direct heat before storage.
- Rinse and scrub the inside of a hydration reservoir through its wide opening, then let it dry with the opening propped open.
- Check zippers, buckles and stitching for wear before the next outing.
- Store the pack loosely, not compressed, in a dry spot.
For more options in this category, browse the Backpacks & Hydration collection.
Quick decision checklist
- Pick liters from the hike length table, and drop one size if you are between two.
- Adjust up for cold weather or hiking with children.
- Measure torso length and match it to the pack's range.
- Choose men's, women's or unisex by how the straps and hipbelt feel on you.
- Confirm a hipbelt, sternum strap, ventilated back and water access.
- Test with a real load before the first trail day.