Men's Heated Vest: How to Choose Battery, Heat Zones and Fit
Pick a men's heated vest by power source, heat settings, fit over your layers and washing method. This guide gives a step-by-step checklist and a care routine.
Wes Tanner
October 16, 2026 · 7 min read

Choosing a heated vest men's model comes down to four decisions: how it is powered, how many heat settings and heating panels it has, whether it fits over your base layer and under your shell, and how you wash it. Get those four right and the rest is detail.
This guide walks through each decision in order, with a checklist you can take to any product page, plus a care routine for after the trip.
Is a men's heated vest worth buying?
A heated vest suits you if your cold hours are spent mostly still or moving slowly: a deer stand, a job site, a sideline, camping at dusk, a long commute on a bike or motorcycle. It adds a heat source to your core warmth while your arms stay free to move, which is why it pairs well with a regular jacket or shell.
It is less useful if you already overheat while working hard, or if you do not carry a power source. Think of it as one layer in a system, not a replacement for insulation, wind protection and dry clothing.
Heated vest or heated jacket?
A vest leaves your arms uncovered by heating elements, so it moves freely and layers under a shell. A heated jacket adds sleeves and usually more fabric. If you want to keep your range of motion for casting, drawing a bow or swinging tools, a vest is a straightforward starting point.
Step 1: Understand the power source
Heated garments run from a rechargeable battery pack or a USB power bank. The difference matters when you plan a long day.
Built-in battery pocket vs USB power bank
- Dedicated battery pocket: the battery is made for the garment, but it adds a pocket, and the battery is often specific to that garment.
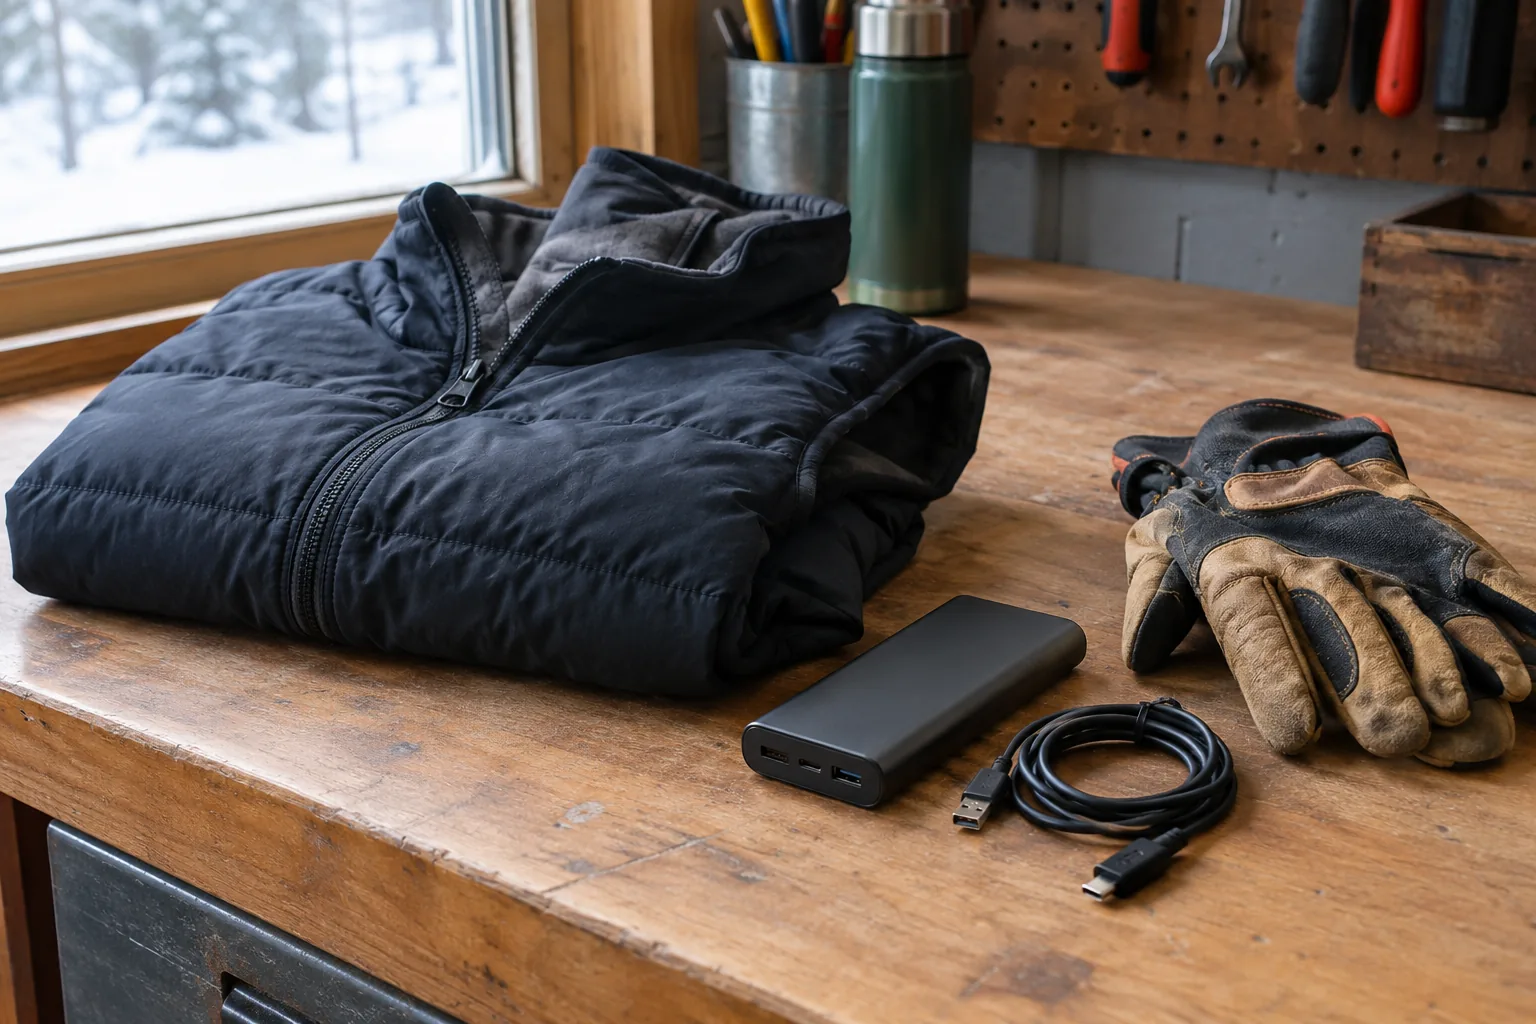
- USB power bank connection: you use a bank you may already own, and you can carry a second one as a spare. The vest stays slim because there is no battery pocket, a plus if you want warmth without bulky hardware at your hip or back.
If you choose a USB vest, check the listed input. The EmberVest lists a 5V/2A input, so look for a bank with a USB output that matches the vest's manual.
Reading battery capacity
Power banks list capacity in milliamp-hours (mAh). A larger number stores more energy, but also weighs more and takes up more pack space. Run time depends on the heat setting, the air temperature, wind and how old the battery is, so read any hour count on a product page as a rough guide, not a promise.
How long a heated vest stays warm depends on your batteries and your setting. Low uses less power than high, and a spare bank gives you another source. Start each outing with a fully charged bank, and charge it again after the trip so it is ready next time.
Step 2: Compare heat zones and settings
Heat zones are the areas of the vest that contain heating elements. Common layouts cover the chest and the back, and some add the collar or lower back. More zones are not automatically better; what matters is that the heating panels sit over your torso, where you want warmth, and that you can control the output for adjustable warmth through the day.
| Feature | What to look for | Why it matters |
|---|---|---|
| Heating element type | Carbon fiber panels or similar elements built into the garment | Panels are part of the garment, with no loose parts to position |
| Panel placement | Spread across the body of the garment | Heating panels are spread across the body of the vest, not in one small area |
| Collar or lower back zone | Optional extra zone, if you want it | Useful if wind reaches your neck or you sit for long stretches |
| Heat settings | Low, medium and high | Lets you match output to activity and conditions |
| Controls | One button, clear indicator | A single button can be worked with cold or gloved hands |
| Cable management | One connection point | One cord to route around a pack or a seat |
Why a single button helps
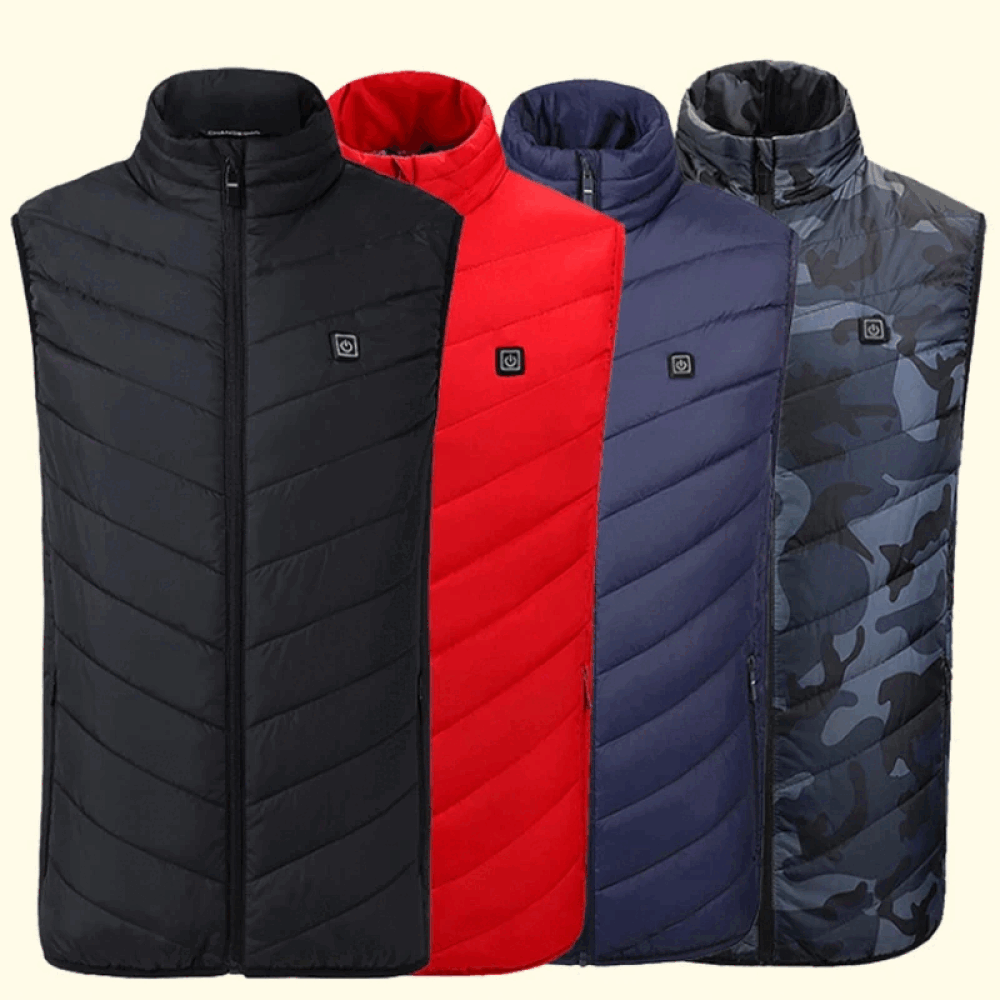
Small switches are frustrating when your hands are cold or gloved. The EmberVest uses one control button: press to switch on, press again to cycle through low, medium and high. Each level glows a different color, so you can check the setting at a glance.
 In this guideEmberVest$79.99View
Step 3: Get the fit right for layering
A heated vest only works if the elements sit close to your body. A loose vest leaves gaps, while a vest cut too tight over a thick sweater restricts your arm and shoulder movement. Decide first what you will wear under it, since the base layer sets the size.
| Layering plan | Fit advice |
|---|---|
| Vest over a base layer, under a shell | Choose your normal size; a slim cut sits under the shell without bunching |
| Vest over a fleece | Check the chest and waist measurements against the size chart before ordering |
| Vest worn alone as an outer layer | Take your normal size and make sure the hem covers your lower back when you bend |
The EmberVest has a slim cut with no bulky battery pocket, so it layers under a shell or goes on by itself. Sizes run from S through 6XL, and a base layer or fleece can go underneath. Measure your chest over the clothes you plan to wear, then compare it to the size chart.
Where to put the power bank
Because the cable runs from the vest to a bank, you need a place to carry it. A jacket inside pocket, a hip belt pocket or a pack side pocket all work. If you plan to carry the bank in a pack, our day hiking backpack guide covers sizing and pocket layouts. Route the cable so it does not pull when you reach or sit.
Step 4: Plan for washing and care
A vest you cannot wash will end up smelling like a job site by midseason. Check the label before you buy. The EmberVest is machine-washable, with a clear routine:
- Unplug the battery and remove it from the vest.
- Run a gentle cycle in cold water.
- Hang the vest to dry before you pack it away.
Always follow the care label and manual for your own garment. Do not wear or connect a vest that is still damp, and stop using it if you see damage to the cable, connector or fabric.
A simple care schedule
| When | What to do |
|---|---|
| After each trip | Switch off, unplug, check the cable and connector, air out the vest |
| When dirty | Wash following the steps above, then hang to dry |
| Before the season | Try the vest on each setting indoors and charge your power bank |
| Off-season | Store clean and dry, unfolded where possible, with the power bank stored separately |
Use cases: matching the vest to your day
Hunting and stand sitting: you are still for hours, so a spare bank matters more than extra features. A slim vest that fits under your shell leaves your shoulder movement free. If you are also placing cameras, see our trail camera hunting guide.
Job sites: look for cable routing that does not catch on tools or equipment, and wash the vest on a routine basis.
Riding: wear the vest under a wind-blocking shell so the heat stays near your core. Keep the cable and bank secured so nothing flaps.
Skiing, camping and cold-weather hikes: wear the vest as a mid layer between a base layer and an outer shell. Keep the power bank in an inside pocket where it stays close to you, and switch the vest off when you start moving hard.
Common mistakes to avoid
- Buying on hour counts alone. Run time depends on your setting and conditions, so compare battery capacity and settings instead.
- Skipping the layering plan. Decide what goes underneath before choosing a size.
- Ignoring the cable. A cord that catches on a seat or pack strap gets pulled out of the connector.
- Starting on high. Begin on low and step up as needed; high uses more power from your bank.
- Washing with the battery attached. Always unplug and remove the power source first.
- Skipping a spare. On long days, a second bank gives you another source.
Safety basics
Heated garments combine electricity, fabric and body contact, so read the manual before first use. Switch the vest off and unplug it when you stop. Do not use it if it is damaged, and do not sleep in it. Contact the manufacturer if you are unsure whether heated clothing suits you.
Field note
Before the first cold morning, wear the vest indoors on each setting with your usual layers on. You will learn which level suits you and whether the cable reaches your bank.
Heated vest men's checklist: questions to ask before you buy
Run through these questions on any product page before you buy:
- Do you want a USB power bank connection, or a dedicated battery pocket?
- Does the heat cover your torso, with low, medium and high settings?
- Is the control simple enough to use with cold hands or gloves?
- Does the size chart match your chest over the layers you plan to wear?
- Is it machine-washable, and do you know how to detach the power?
- Do you have a spare power bank for long days?
If you answered yes to most of these, you are ready to compare. Browse the full Heated Apparel & Cold Weather Gear collection to see what else fits your cold-weather kit.