Brightest Headlight for Bike: Lumens, Beam Shape and Run Time
The brightest headlight for bike use is the one whose lumens, beam and battery match your route. Use the table to pick an output, then aim it so oncoming riders are not dazzled.
The Kesslund Team
November 19, 2026 · 7 min read
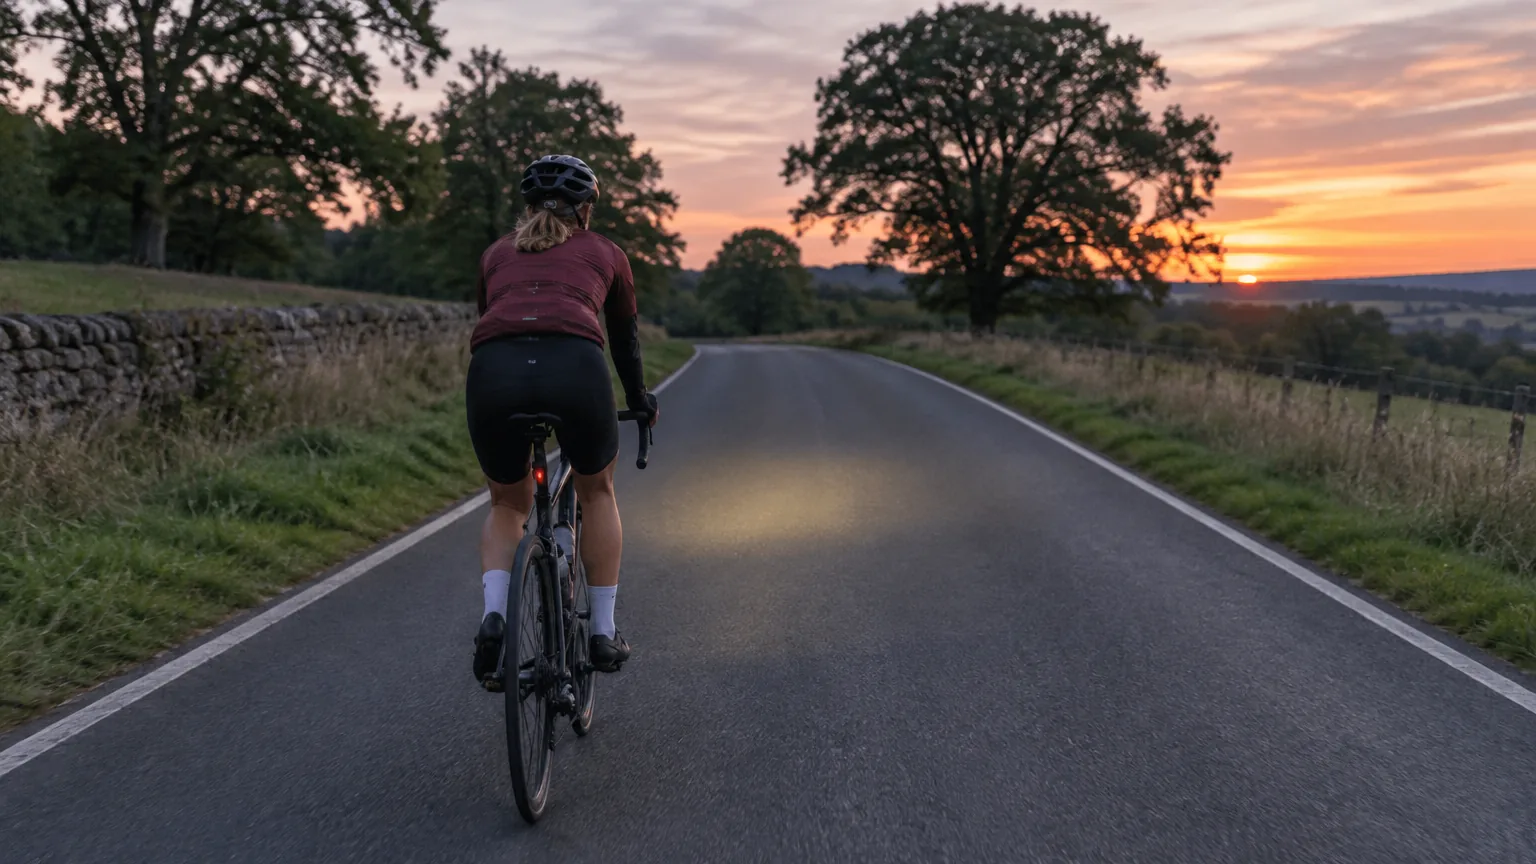
The brightest headlight for bike riding is not just the one with the biggest lumen number. It is the light whose output, beam shape and battery fit where and how you ride. For lit streets, a few hundred lumens is a starting point for a light meant to be seen, while unlit roads and trails call for roughly 800 to 1,800 lumens and a beam that lights the ground ahead without shining into oncoming eyes.
This guide matches brightness to each kind of ride, explains beam pattern and battery draw, and walks through aiming and mounting so your light does its job for you and not against other riders.
How many lumens does each ride need?
Lumens measure the total light a lamp puts out, not how far or how usefully it lands on the road. Use the table as a starting point, then adjust for your speed and for how dark your route really is. The last column shows how hard each output works the battery, so you can weigh brightness against run time.
| Type of ride | Lumen range | Beam shape | Mode to use | Battery draw |
|---|---|---|---|---|
| Lit city commute | 200 to 400 | Wide, with a flat top edge | Steady, or flash to be seen | Low |
| Commute with dark stretches | 400 to 800 | Wide with a defined center | Medium steady, high on dark sections | Medium |
| Unlit road or bike path | 800 to 1,200 | Focused center with side spill | High steady, dipped for traffic | High |
| Mountain bike trail | 1,200 to 1,800 on the bars | Wide flood plus a helmet spot | High on descents, low on climbs | High on descents, low on climbs |
Speed matters as much as darkness. At higher speeds you need to see farther ahead, so a descent on an unlit trail calls for a high setting, while a slow gravel path calls for a lower one. A mountain bike headlight also needs a wide spread, because roots and ruts sit to the side of your line.
How to choose the brightest headlight for bike night rides
Start with the highest output you will actually use, then check the three things that decide whether that output is useful: beam shape, battery behavior and mounting.
Beam shape and optics
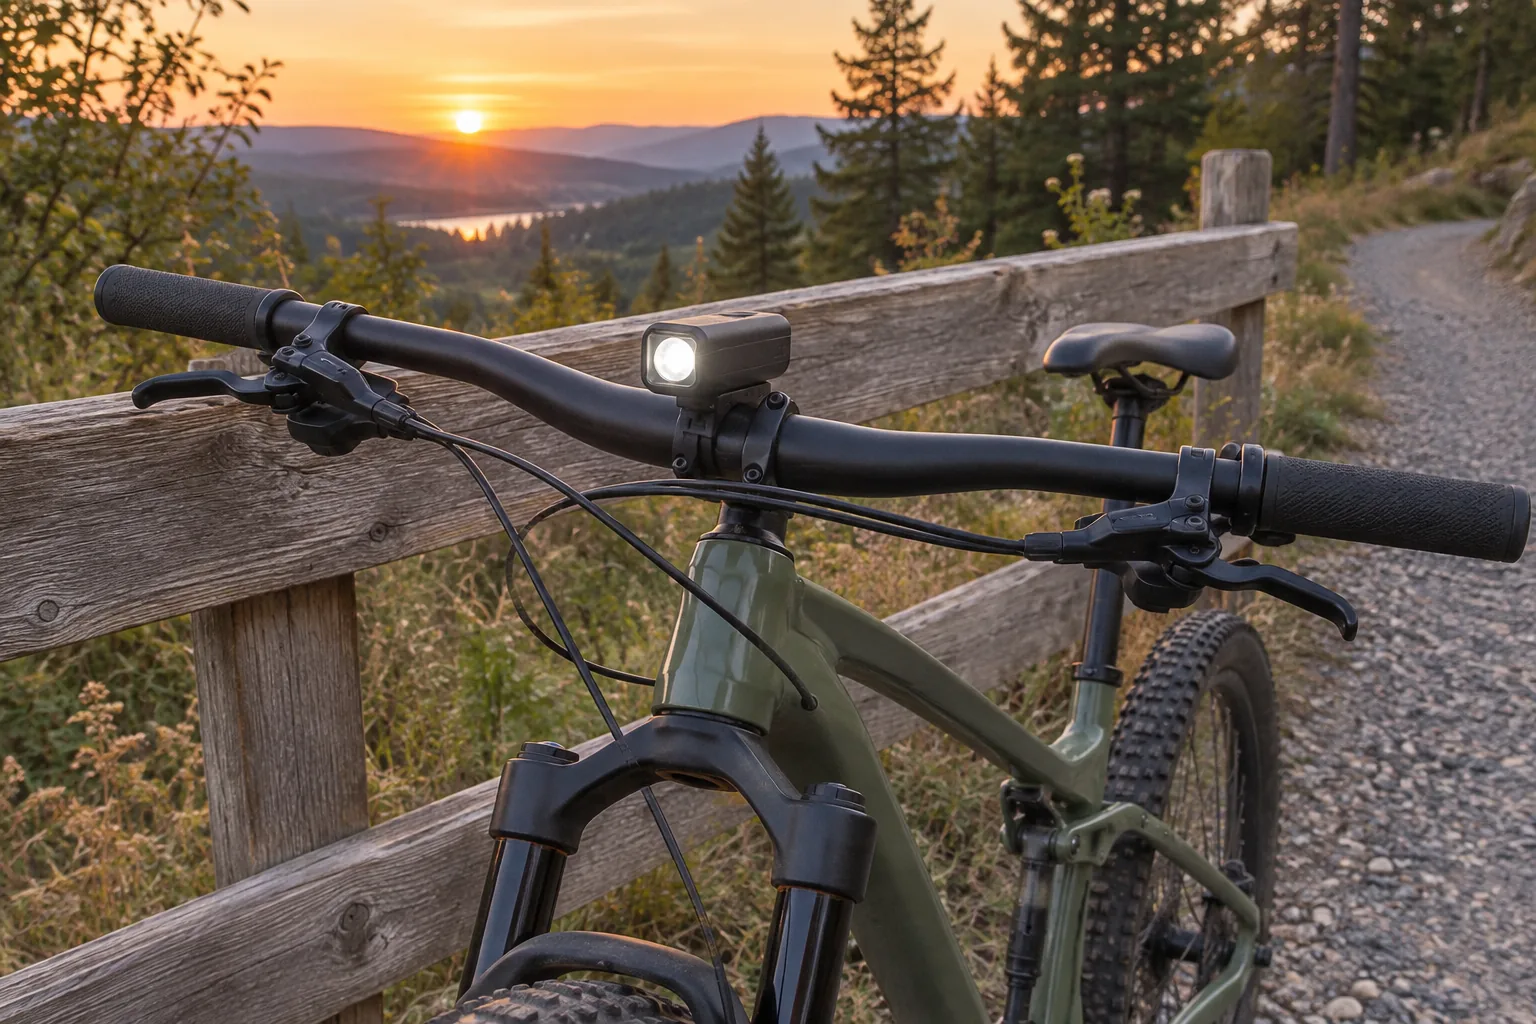
A lens or reflector shapes the light, and that shaping is called optics. A road-style beam has a sharp cutoff at the top so the light stays low and lands on the pavement. A trail-style beam is wider and rounder, which shows corners and roots to the side of your line.
A very bright light with a poor beam leaves a hot spot in front of the wheel and dark edges. If you can, look at beam photos on a wall or road before you decide, and look for a smooth, even spread over a peak number.
Battery and mode planning
Output and run time pull against each other: a high setting drains a rechargeable battery sooner than a low one. Rather than chasing one runtime figure, plan your modes. Run the top setting only where you need it and drop to a lower one when streetlights or a group ride help.
| Situation | Mode to choose | Why |
|---|---|---|
| Long ride, mostly lit | Battery-saving or low steady | A low setting has a low draw on the cell |
| Unlit descent | Highest steady | You need distance to react |
| Daytime commute | Flash | Meant for being seen, not for seeing the road |
| Stuck on the road | SOS flash, if the light has one | Signals for attention |
Mount and charging
A bar mount that clamps without tools lets you move the light between bikes or take it with you when you lock up. Charging through a standard Type-C or USB-C port means you can refill from a laptop, wall adapter or power bank. Some lights in the multi-thousand lumen range use a separate battery pack, which adds a cable and a place to strap the pack.
A handlebar headlight with six modes and a remote
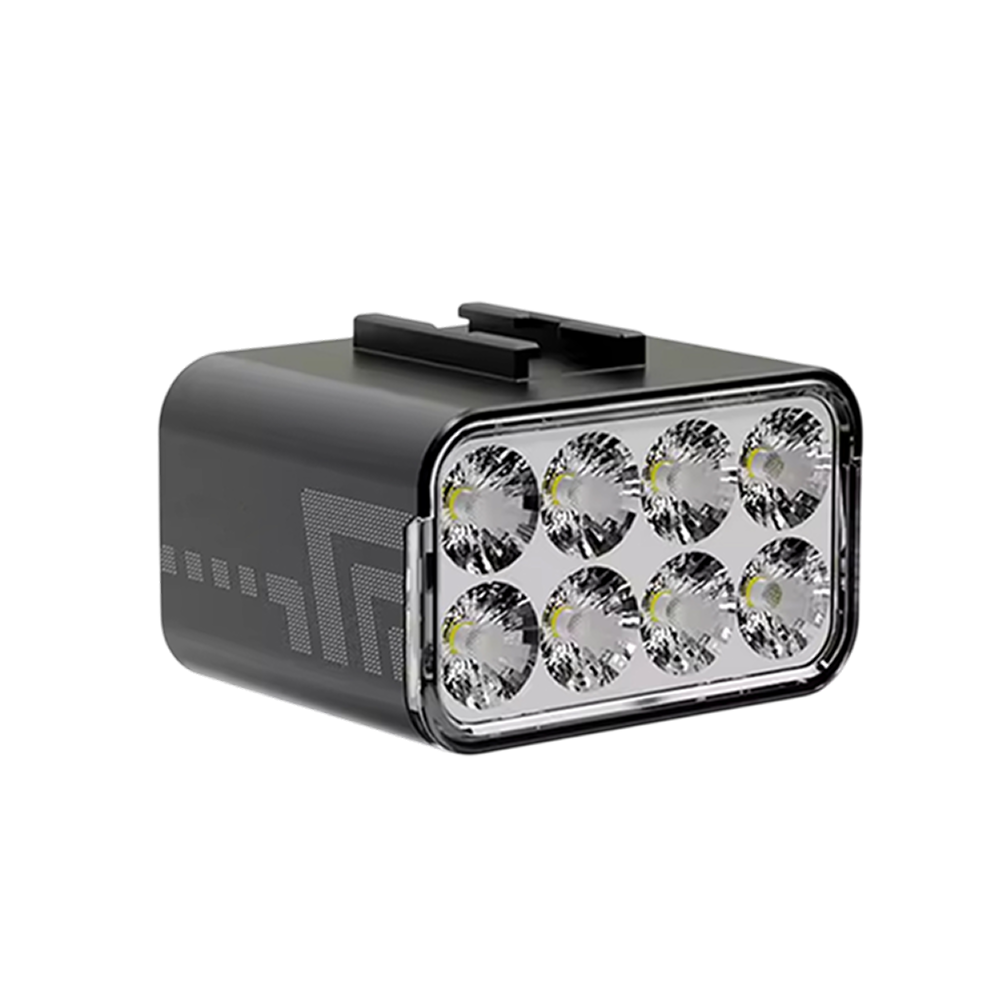
The PathBlaze is a rechargeable bike headlight that clamps to handlebars with a tool-less quick-release mount. Its high output setting is 1800 lumens, so you can pick a brighter mode for unlit sections and a lower one where streetlights help.
It has six modes, including a battery-saving option and an SOS flash, and a wireless remote switches between them while your hands stay on the grips. The body is aluminum, and it charges through a standard Type-C port, on or off the bike. Unclip it from the mount when you lock up and click it back on before you ride.
 In this guidePathBlaze$59.99View
Where to put bike lights
Mount the main light on the handlebars, centered, where it points where the bike points. Put a second light on the helmet if you ride trails, because a helmet light follows your eyes through a corner while the bar light follows the front wheel.
A rear light belongs on the seatpost or the back of the saddle bag, pointing straight back and level. For a rear light, a steady or flashing red setting meant to be seen is the goal, not a high lumen count. Keep it clear of jackets, bags and fenders that could cover the lens.
A bike helmet light for trails and camp
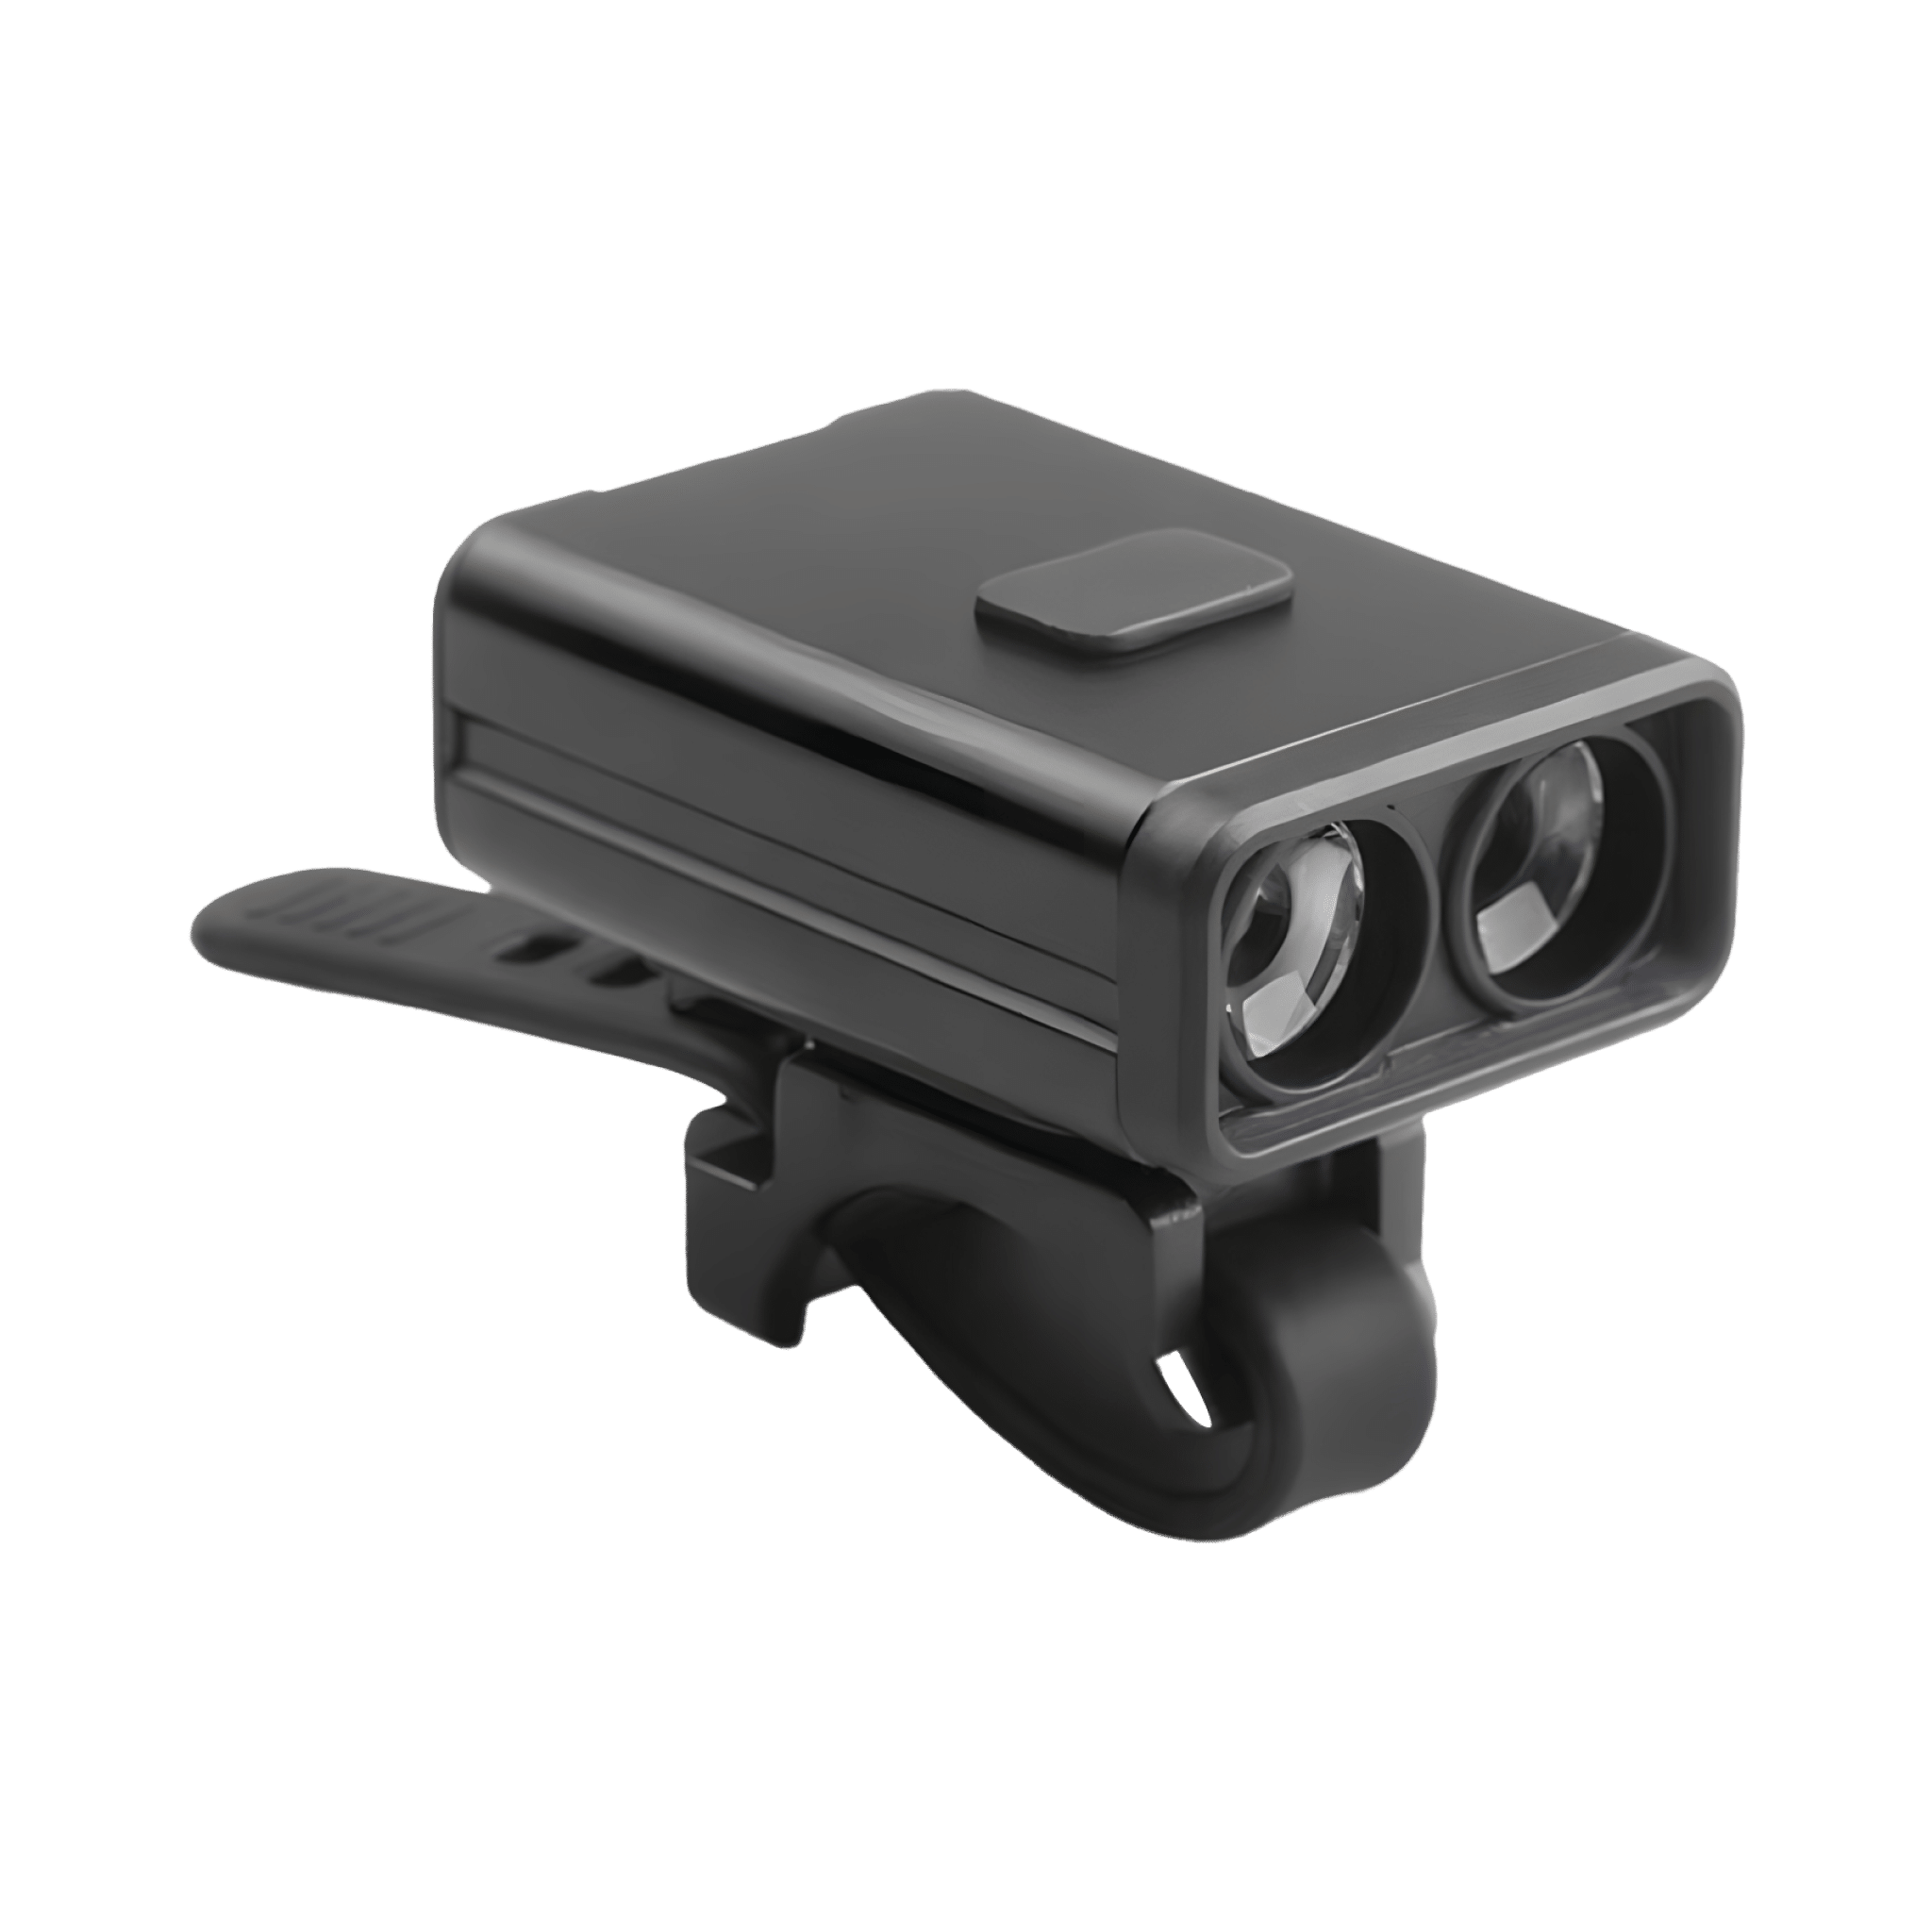
The LumoRide is a rechargeable helmet light with an aluminum body and nine lighting modes. It attaches with an action-camera-style lock and base, with no tools, and weighs 55 grams, so you can mount it up top and keep your attention on the trail.
A built-in gauge shows the remaining charge at a glance, and a USB-C port lets you refill it from a laptop, wall adapter or power bank. Pair a light for your bicycle helmet with a bar light to see into corners; the same unit also works for hiking and camping trips.
 In this guideLumoRide$69.99View
How to aim a headlight so you don't blind oncoming riders
A strong beam pointed level at eye height dazzles everyone you meet. Aim it once at home, then recheck after any bump or bar adjustment.
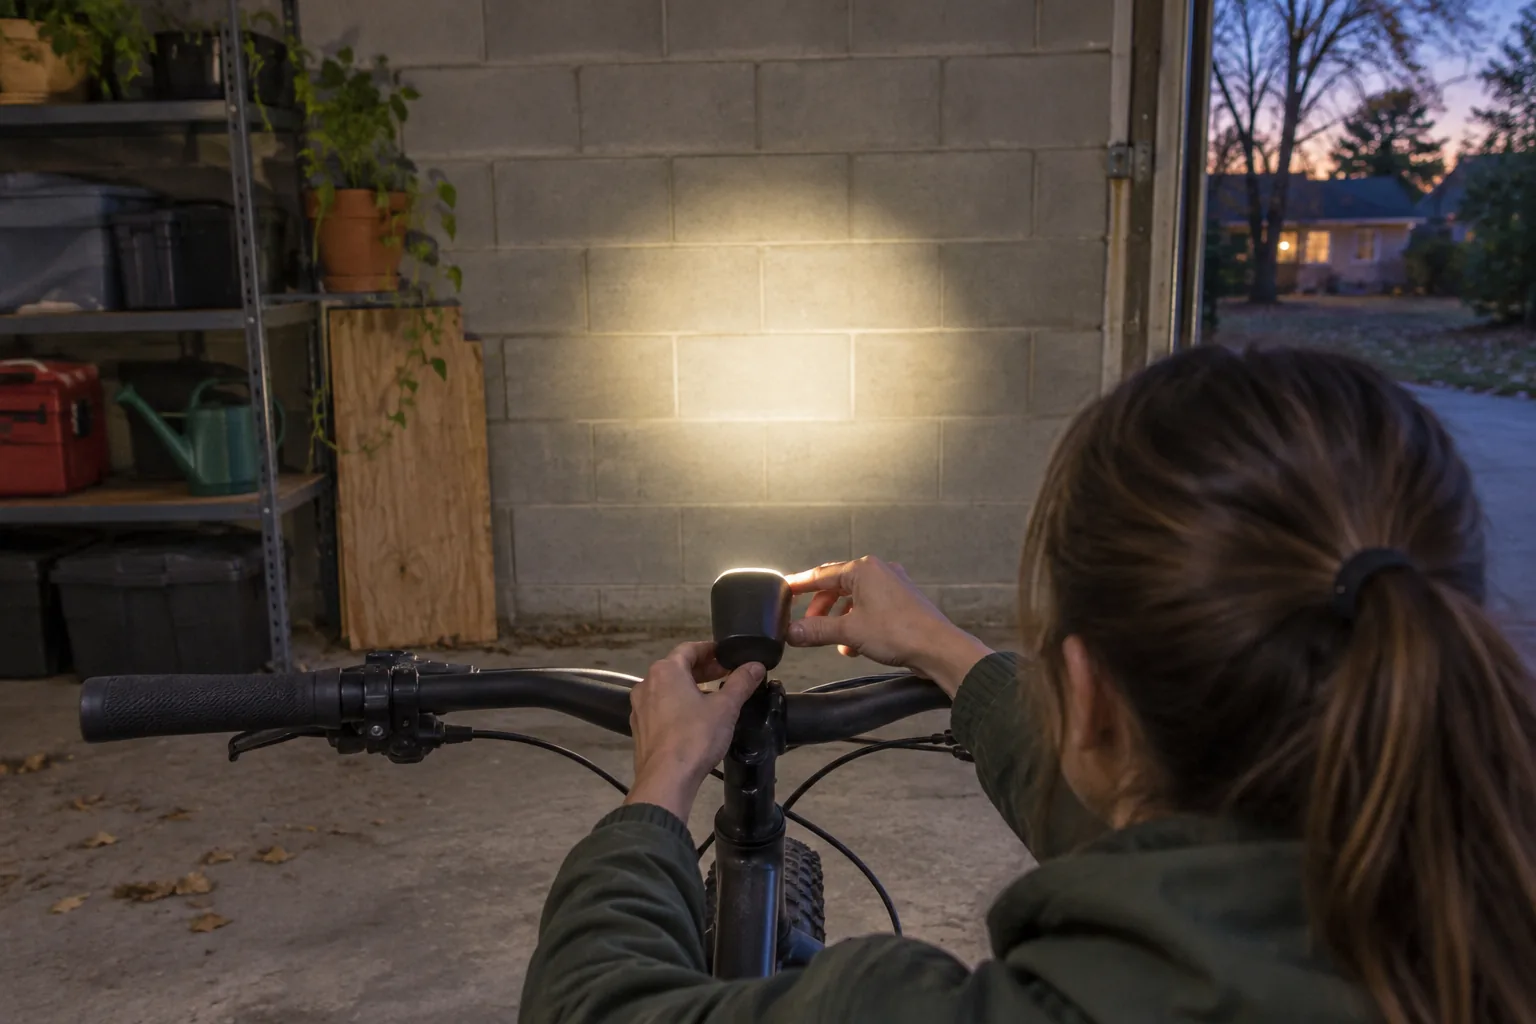
- Park the bike on level ground about 10 feet (3 m) from a wall or garage door, with your weight on the saddle.
- Turn the light on at a medium mode and loosen the mount.
- Tilt the light down until the brightest part of the beam lands on the wall below the height of the lamp.
- Tighten the mount by hand, or with the tool the manual lists, and make sure the light does not slip when you press on it.
- Walk 30 feet (9 m) away and look back at the bike from standing eye height. If the beam hits your eyes, tilt it lower.
- On the road, dip to a lower mode when you pass oncoming riders and pedestrians on shared paths.
Field note
Helmet lights move with your head, so look at the road, not at oncoming faces, and switch to a lower mode or tilt the light down when you pass riders on shared paths.
Setup checklist and common mistakes
- Charge the light the day before and check the gauge or indicator before you leave.
- Clamp the mount tight enough that the light does not rotate when you hit a curb.
- Carry a second light or a spare charged unit on long night rides.
- Clean the lens with a soft cloth so grime does not scatter the beam.
- Follow the manual for charging and care, and do not use any unit with a damaged cable or case.
Common errors are buying on the lumen number alone, aiming the beam level, and running the top mode on a long ride with no battery plan. Another is leaving the light on the bike at a rack; a mount you can unclip lets you take it with you, and our guide to bicycle alarm systems covers other ways to secure a parked bike. For beam and battery ideas on foot, see running with a headlamp.
Choosing your light
Decide your route first, find its row in the table, and pick the lowest output that shows you the road at your speed. If your rides are mostly unlit, the brightest headlight for bike use is one with a high top setting, a smooth beam and modes you can change without taking your hands off the grips. Browse more lights, mounts and computers in Bike Electronics & Navigation.