Running With a Headlamp: Beam, Fit and Battery Setup
Match the lumens to your terrain, aim the beam a few strides ahead, snug the strap until the lamp holds still, and plan your battery. A setup checklist.
The Kesslund Team
November 18, 2026 · 7 min read
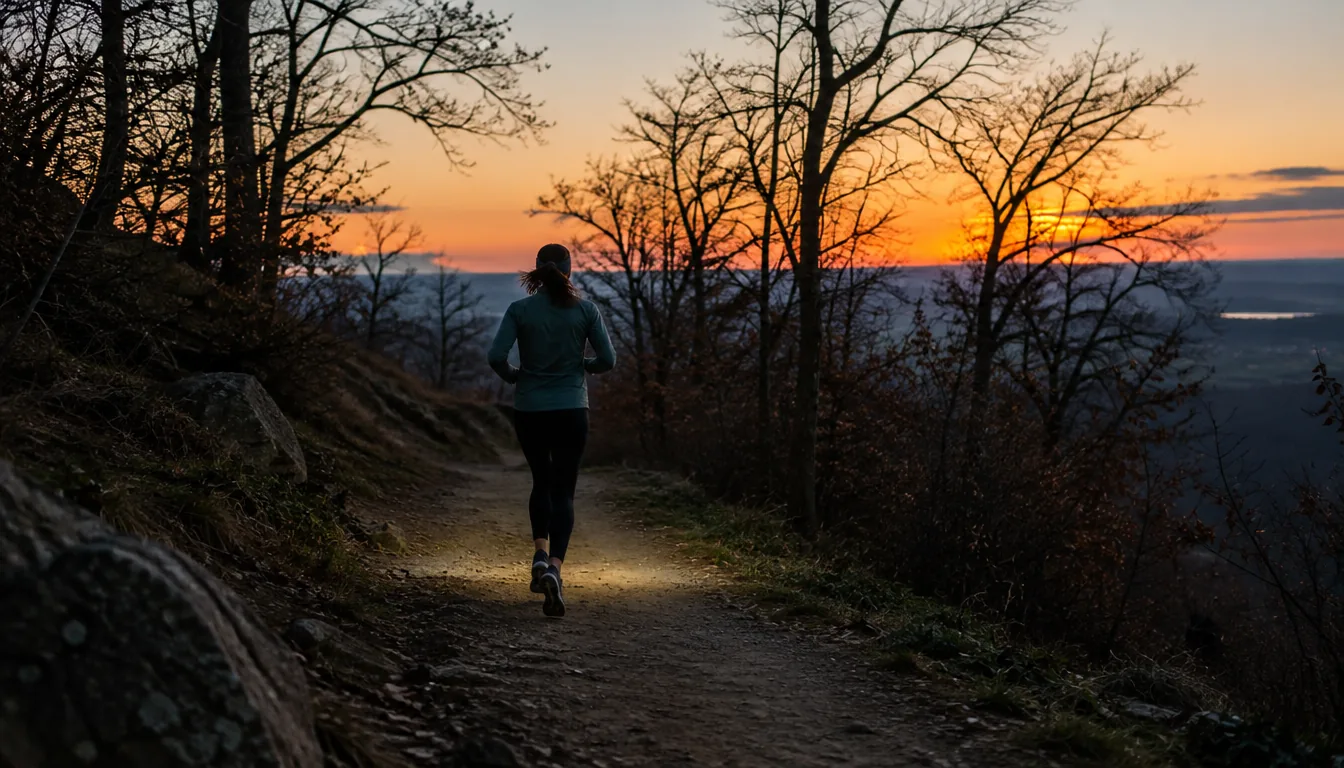
Running with a headlamp works when three things are set before you leave: a beam matched to your terrain, a strap that holds the lamp still, and a battery you have planned for the whole route. Start on a medium setting, aim the beam a few strides ahead of your feet, and tighten the strap until the lamp does not bounce. The checklist below covers each step, then shows how to add a chest or handheld light.
The setup checklist at a glance
Do these steps at home, not at the trailhead. A lamp adjusted in a lit kitchen is one you can rely on once the light fades.
| Step | What to do | Check |
|---|---|---|
| 1. Terrain | Pick a brightness tier for road, trail or technical ground | You can read the next few strides |
| 2. Beam angle | Tilt the lamp so the bright center lands ahead of your feet | The light does not jump with each step |
| 3. Strap fit | Snug the band low on the forehead, over a hat or bare | Jog in place and shake your head: no bounce |
| 4. Battery | Charge fully and choose a mode that suits the route | You know your lowest mode as a fallback |
| 5. Backup | Add a chest, clip-on or handheld light | A second source is within reach |
Choose lumens by terrain
Lumens measure how much light a lamp puts out in total. More is not automatically useful, because a very bright beam on a short, smooth route drains the battery and can wash out the ground texture you want to see. Choose the tier for where you run, then use the lamp’s lower modes whenever the surroundings allow.
| Terrain | Brightness tier | What matters most |
|---|---|---|
| Lit streets and bike paths | Low to medium | Being seen, plus spotting curbs and cracks |
| Dark roads and greenways | Medium | A beam that reaches a few strides out |
| Smooth trails | Medium to higher | A wider pattern that shows the trail edges |
| Technical trails with roots and rock | Higher, with a flood pattern | Depth cues, so shadows read clearly |
| Mixed route with a camp or car stop | Several modes | A softer setting for chores |
Beam pattern matters as much as the lumen figure. A wide, even flood lights the ground around your feet, while a tight spot throws light far ahead but leaves the edges dark. On twisting singletrack, a flood pattern shows you the edges of the trail, which raw brightness does not.
Why brightness changes with pace
The higher your pace, the farther ahead you need to read the ground. Running at full speed on a descent asks for more reach than a steady jog on pavement. If you slow for technical sections, a lower mode can be enough, which is why a lamp with several modes suits mixed routes where a single fixed output does not.

Beam angle for running with a headlamp
Beam angle decides where the bright center of the light lands. Aim it too high and it lights the treetops or oncoming eyes; aim it too low and you see only your toes. A good starting point is a downward tilt that puts the brightest area a few strides ahead of your feet.
- Stand on level ground with the lamp on a medium mode.
- Tilt the lamp until the bright center sits on the ground well ahead of you, not at the horizon.
- Jog a short stretch and watch for glare from reflective signs or wet pavement.
- Adjust a notch at a time, then tighten any pivot so it holds.
On downhills your head tips forward and the beam drops, so lift your chin slightly or choose a wider pattern. When you meet other runners, cyclists or drivers, look slightly to the side so you do not shine the beam into their eyes.
Fit the strap so it does not bounce
A bouncing lamp makes the ground appear to jump, which makes the trail hard to read. The fix is usually fit, not brightness. Wear the band low on the forehead, below the widest part of your head, so it does not slide up and tilt downward.
Strap fit steps
- Loosen the strap fully, then place the lamp centered above your brow.
- Pull the strap snug until the lamp stays put when you shake your head.
- Move any hair out from under the band so it does not shift.
- If you wear a hat, decide whether the strap goes over or under it, and set the length for that setup.
- Do a short jog in place. If the lamp creeps, tighten a notch and recheck the tilt.
Tighten gradually and stop at the first point where the lamp holds still. Recheck after a few minutes, because sweat and temperature can change how the band sits.
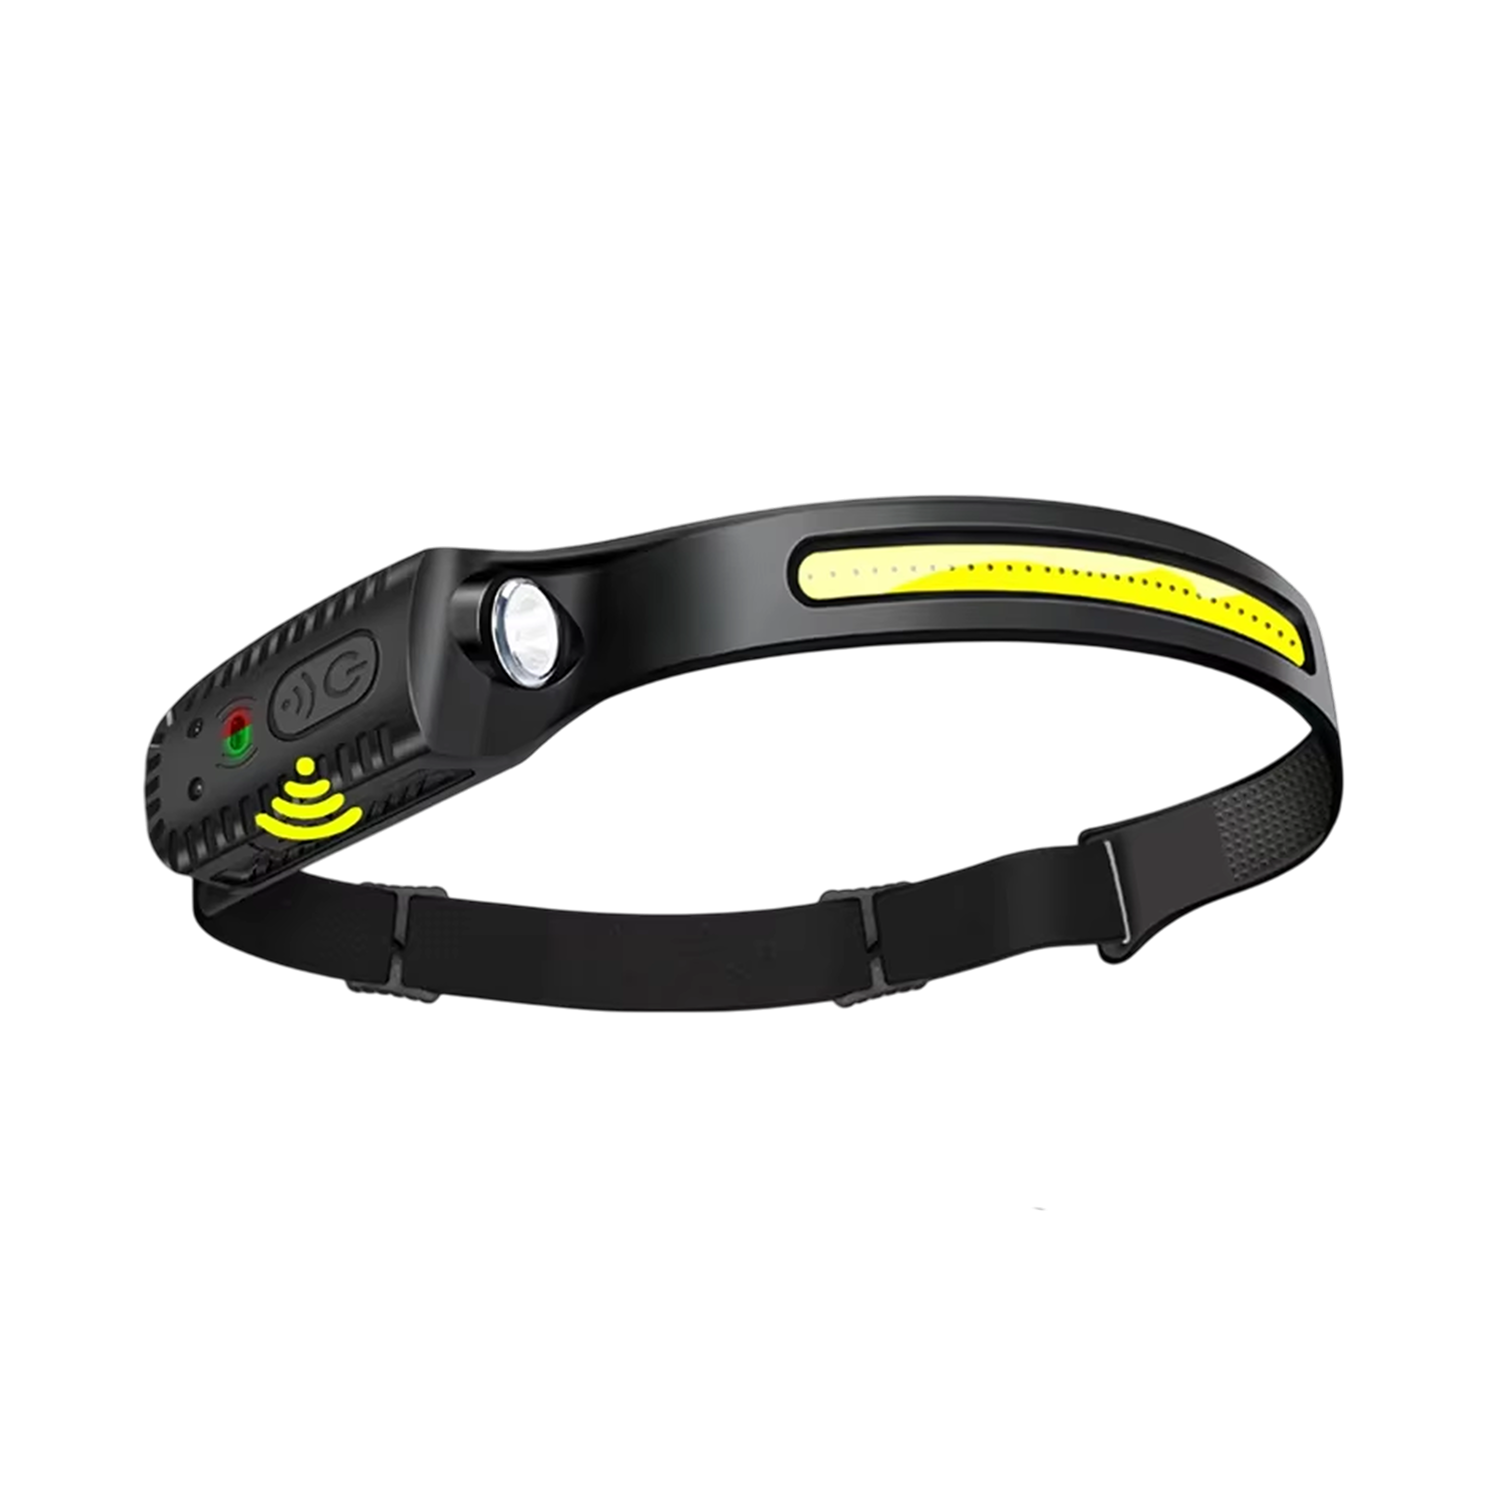
The BeamStride running headlamp uses an adjustable head strap, and the strap fits with hair up, down or under a hat. Its 350-lumen lamp sits on your forehead and lights where you look, and a hand sensor steps through five lighting modes, including through gloves, so you do not need to find tiny buttons while moving. You tap once to power on, then wave your hand near the sensor to change modes.
 In this guideBeamStride$69.99View
Plan the battery before you leave
Match the mode to the route, carry a fallback, and learn your lamp’s behavior before the long run, not during it.
- Charge the lamp fully the day before, and again after each outing.
- Time a short run at the mode you plan to use, so you learn how it behaves on your own route.
- Choose the lowest mode that still shows the ground, and keep higher modes for technical sections.
- Cold weather can reduce what a battery delivers, so keep the lamp inside a jacket until you start.
- Carry a second light on any route longer than the longest outing you have timed.
The BeamStride has a built-in 1200mAh battery (1.2 Ah) that charges through a Type-C port, and the Type-C cable is in the box. If milliamp-hours and amp-hours are unfamiliar, What Does Ah Mean on a Battery? explains how to read those figures. Follow the manual when charging, and unplug the cable before you run.
Rechargeable or replaceable cells
A built-in rechargeable battery charges from a Type-C source. A lamp with swappable cells lets you change batteries mid-route on a very long effort. Decide based on how long your outings run and whether you can recharge between them.
Field note
Before a long night run, set the lamp to the mode you plan to use, time it on a short loop near home, and note how it behaves. Then carry a second light as a fallback.
Pair the headlamp with a chest or handheld light
A headlamp lights where you look, which is useful but flat. A light mounted lower, on the chest or waist, throws the beam at a different angle, so bumps and roots cast shadows you can read. Some runners combine the two: the head light for scanning and turns, the lower light for ground texture.
| Light | Where it goes | Main use |
|---|---|---|
| Headlamp | Forehead | Looking around corners, reading signs, camp tasks |
| Chest light | Chest harness or vest | Ground texture and a steady beam while you turn your head |
| Clip-on light | Waistband, shirt or pack strap | Being seen from the front or rear |
| Handheld light | In your hand | Backup, trail junctions, a narrow spot when you need reach |
A front light helps you see, but it does not replace being seen. Add reflective gear and a rear light if you share the road with traffic. If you carry a phone and a spare light, a running belt gives them a place to sit while you run.
You can browse more options in the Trail Lighting & Navigation collection.
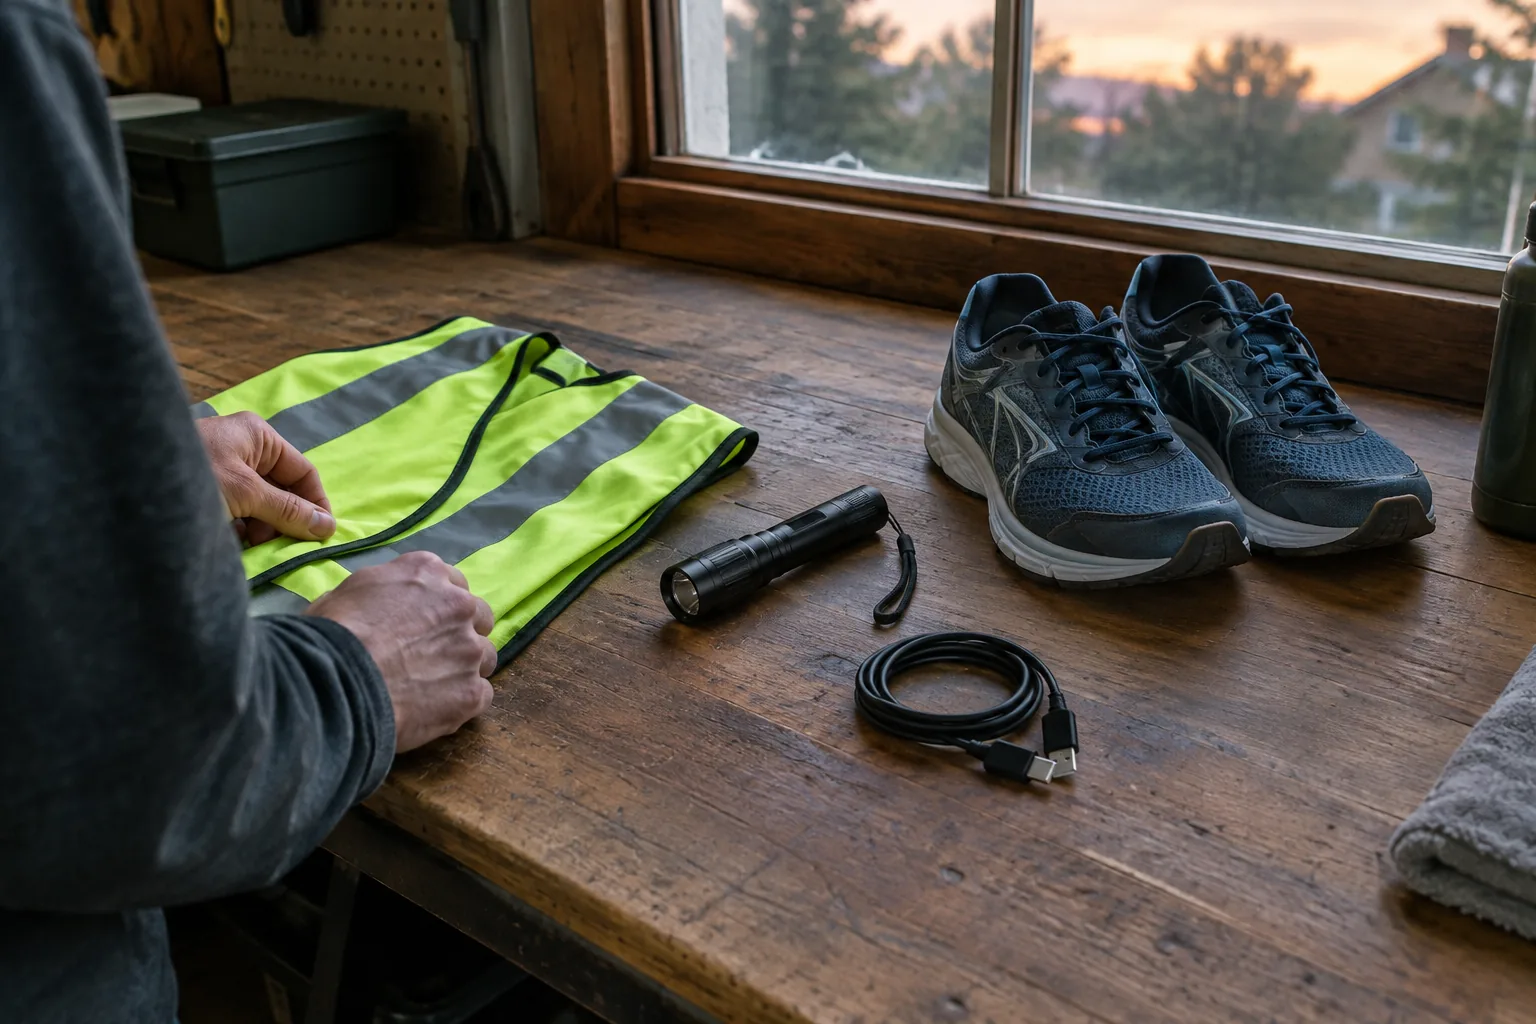
Red light, headphones and common mistakes
Why hikers use red light at night
Red light is dimmer and is less likely to disturb your eyes after they have adjusted to the dark. That is why some hikers switch to it in camp, when reading a map or checking gear, and when others nearby are trying to sleep. For running, use white light when you need to see the trail, and a red mode, if your lamp has one, for stops. Check your lamp’s manual for which modes it offers.
Headphones at night
When it is dark you rely on sound to notice traffic, bikes and other runners. If you run with headphones, keep the volume low, use only one earbud, or choose an open-ear style. Running without them keeps your hearing fully open to your surroundings.
Common mistakes
- Setting the lamp to its brightest mode for the entire run.
- Leaving the strap loose and then compensating with a higher mode.
- Aiming the beam level, so it glares into other people’s eyes.
- Starting without a backup light.
- Skipping reflective gear because the lamp is bright.
- Forgetting to recharge after the last outing.
What makes a good running headlamp is less about one spec and more about how the pieces work together: a strap that holds still, a beam pattern that suits your ground, modes you can reach while moving, and a battery you understand. If you are new to evening training, the Nordic walking guide is a useful read for a slow first night out on a trail.