What Is Nordic Walking? Technique, Pole Length and First Walks
Nordic walking is walking with poles you push against the ground in a deliberate arm swing. This guide covers the technique, pole length, setup and a first-walk plan.
The Kesslund Team
November 9, 2026 · 6 min read
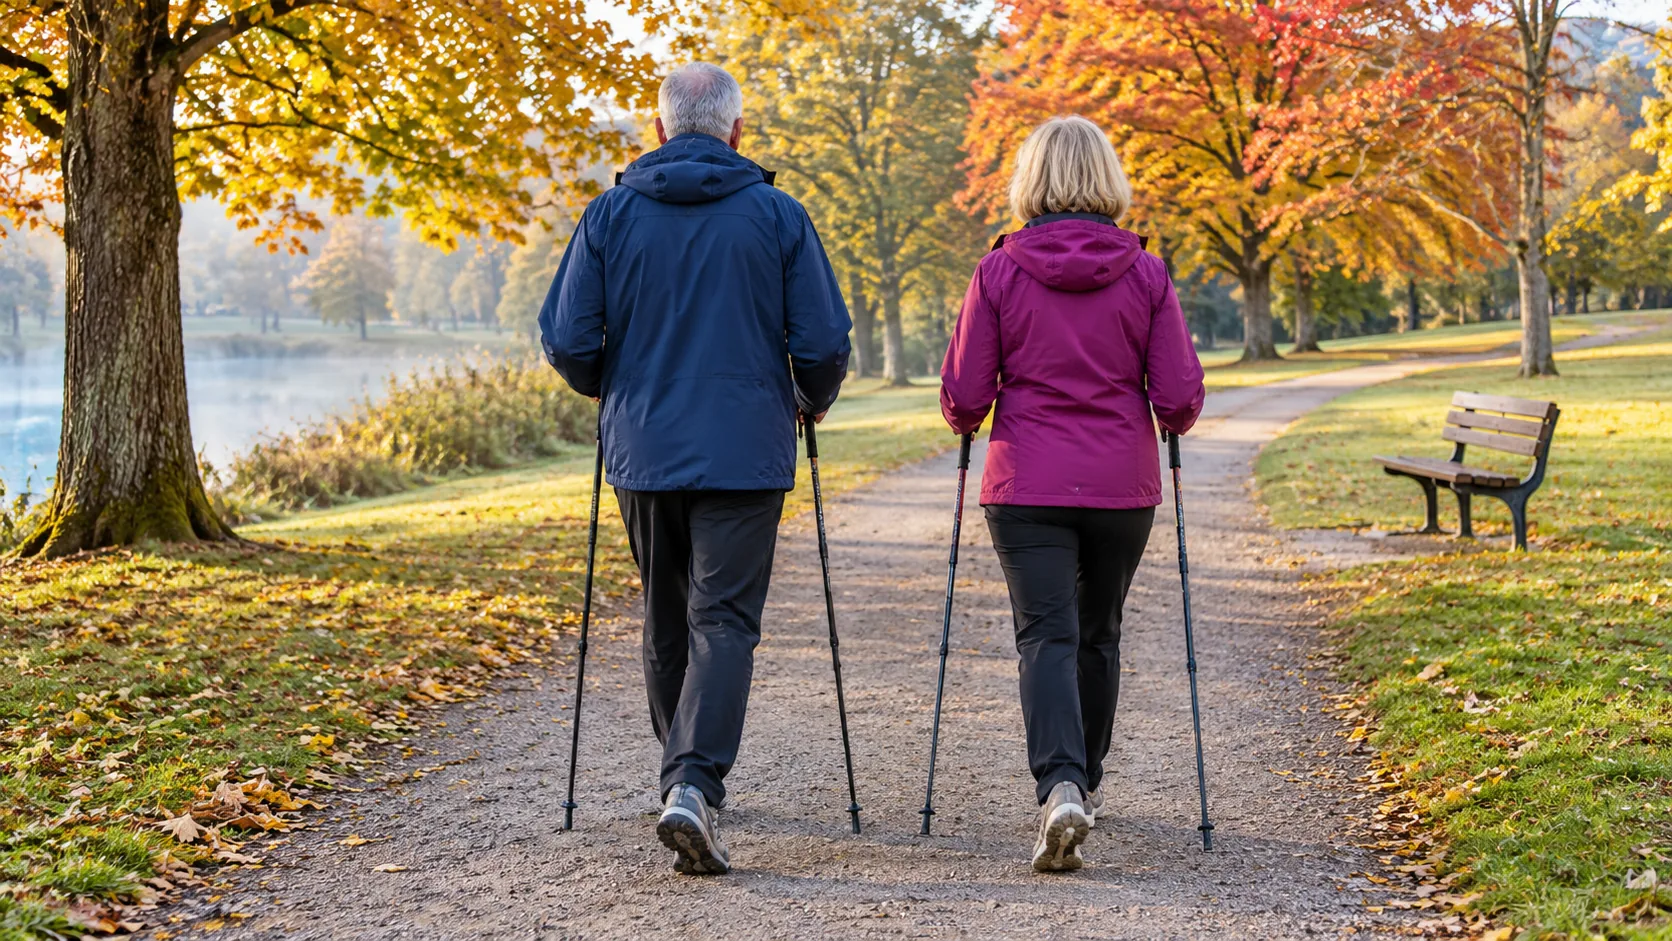
What is Nordic walking? It is walking with a pair of poles, using an active arm swing so each pole pushes against the ground behind you. The poles stay angled back, your hands open and close with each stride, and your whole upper body joins the step. This guide explains the technique, how it differs from hiking with poles, how to set pole length, and how to plan your first walks.
What Is Nordic Walking and How Does It Differ from Plain Walking?
In plain walking, your arms swing loosely and the legs do the work. In Nordic walking, the arms move with purpose: a pole plants near your opposite foot, and you press down and back through the strap or grip as you step past it.
The result is a longer, more rhythmic stride with a clear opposite arm and leg pattern. Your posture stays upright, your shoulders stay loose, and the poles travel behind you instead of in front.
The activity began in Finland as an off-season routine for cross-country skiers, which is where the name comes from. Today it is done on paved paths, parks and gentle trails. It needs no special terrain, only a surface that lets the pole tips grip.
Nordic Walking vs Hiking with Poles
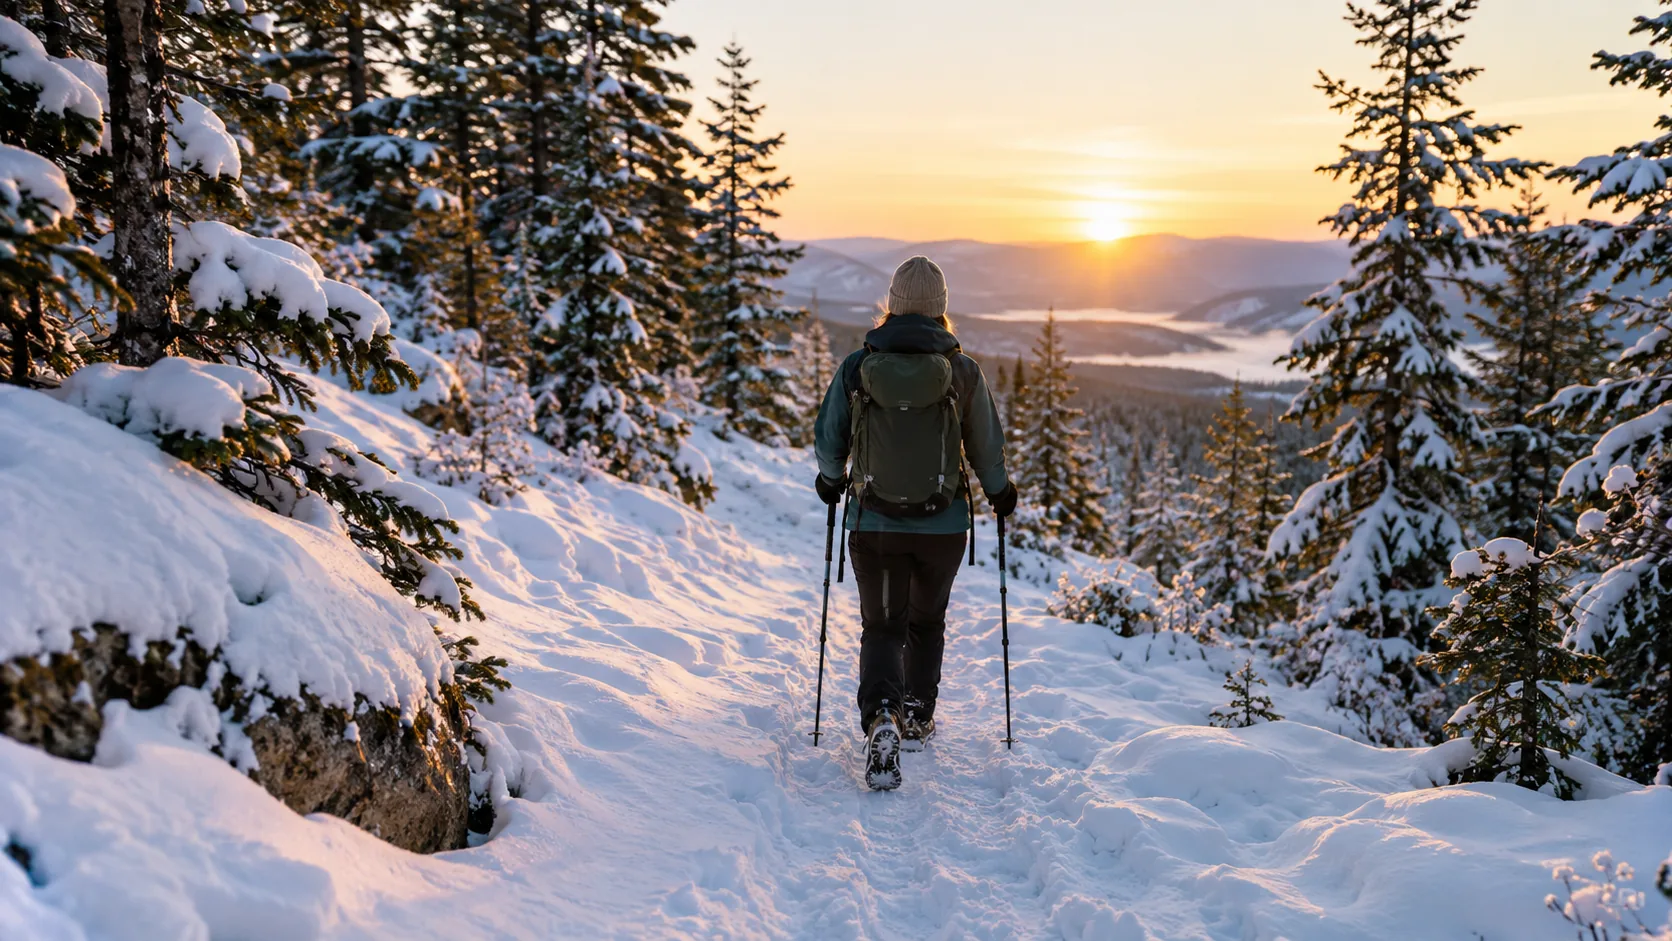
Both use two poles, but the motion is different. Trekking poles in hiking mostly act as balance aids on climbs, descents and uneven ground. Nordic walking uses the poles as part of a repeated push, closer to a rhythm than a support.
| Feature | Nordic walking | Hiking with poles |
|---|---|---|
| Pole angle | Angled back, tips trail behind | Planted ahead or beside you |
| Arm action | Active swing, push through each step | Placed for balance, timing varies |
| Hand position | Grip relaxes on the backswing | Steady grip on the handle |
| Length | Set so the elbow is near a right angle | Shortened uphill, lengthened downhill |
| Terrain | Paths, parks, sidewalks, gentle trails | Trails, slopes, rocky ground |
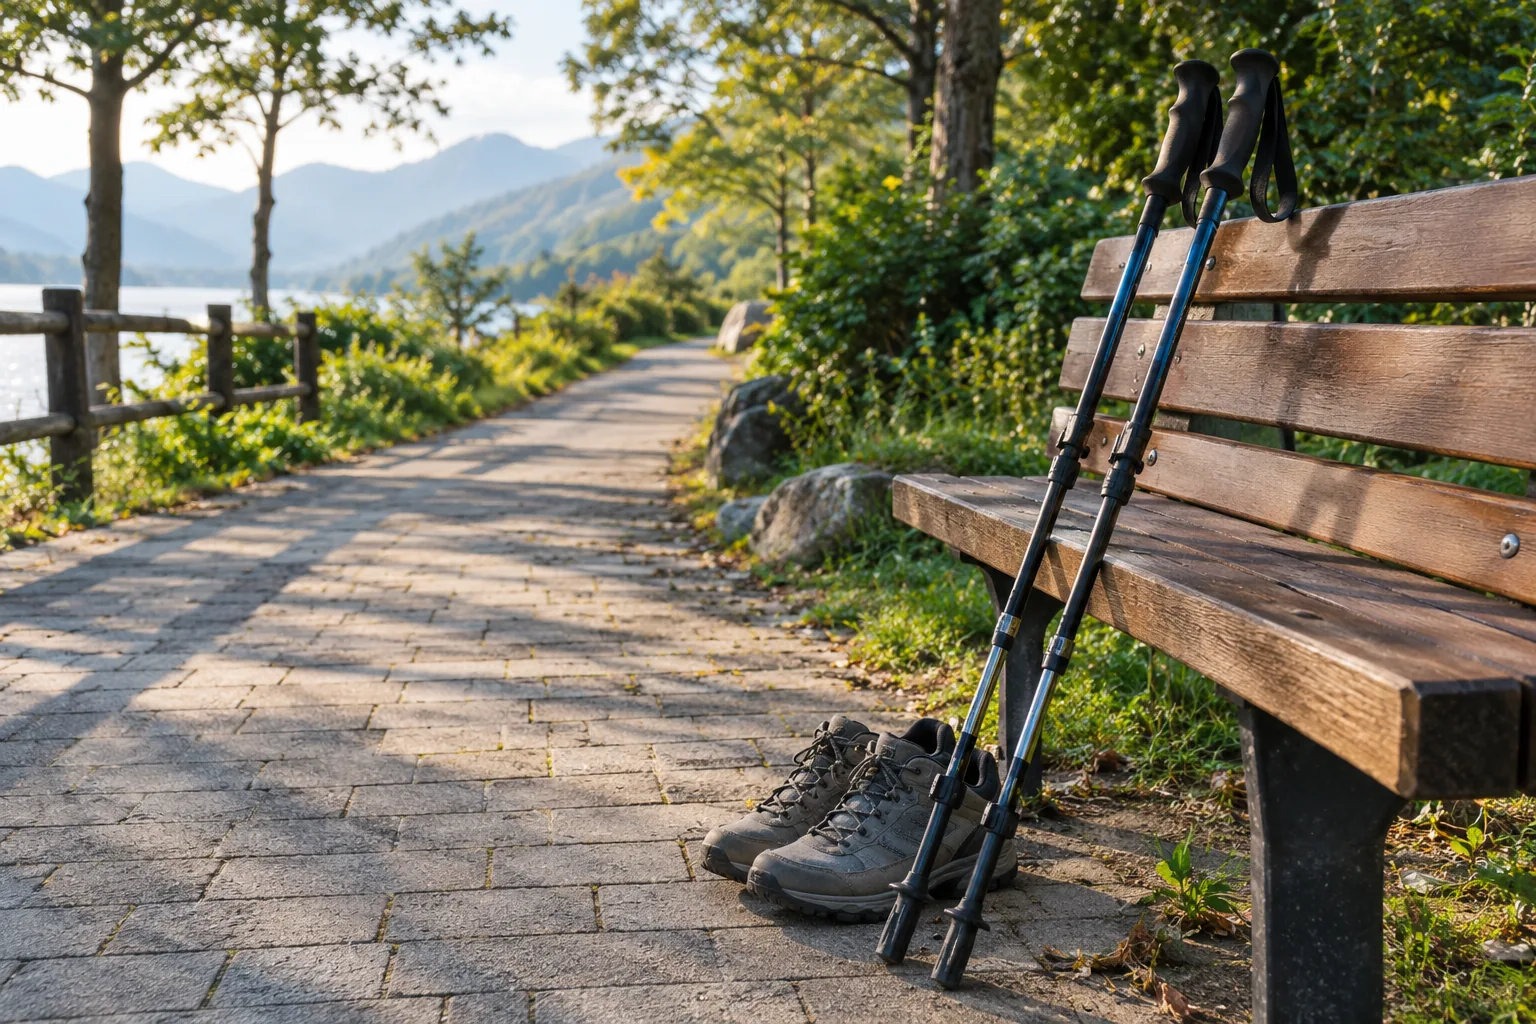
If you already own trekking poles, you can try the Nordic motion with them on a flat path. Dedicated Nordic poles are shaped for the backswing, while trekking poles are built around hiking use, so expect some differences in strap and grip design.
Nordic Walking Technique, Step by Step
Learn the motion in stages. Do the first two steps without poles if the rhythm feels unfamiliar.
- Stand tall with your chin level, shoulders loose and eyes forward.
- Walk and let your arms swing naturally, with the elbow of one arm moving forward as the opposite foot steps forward.
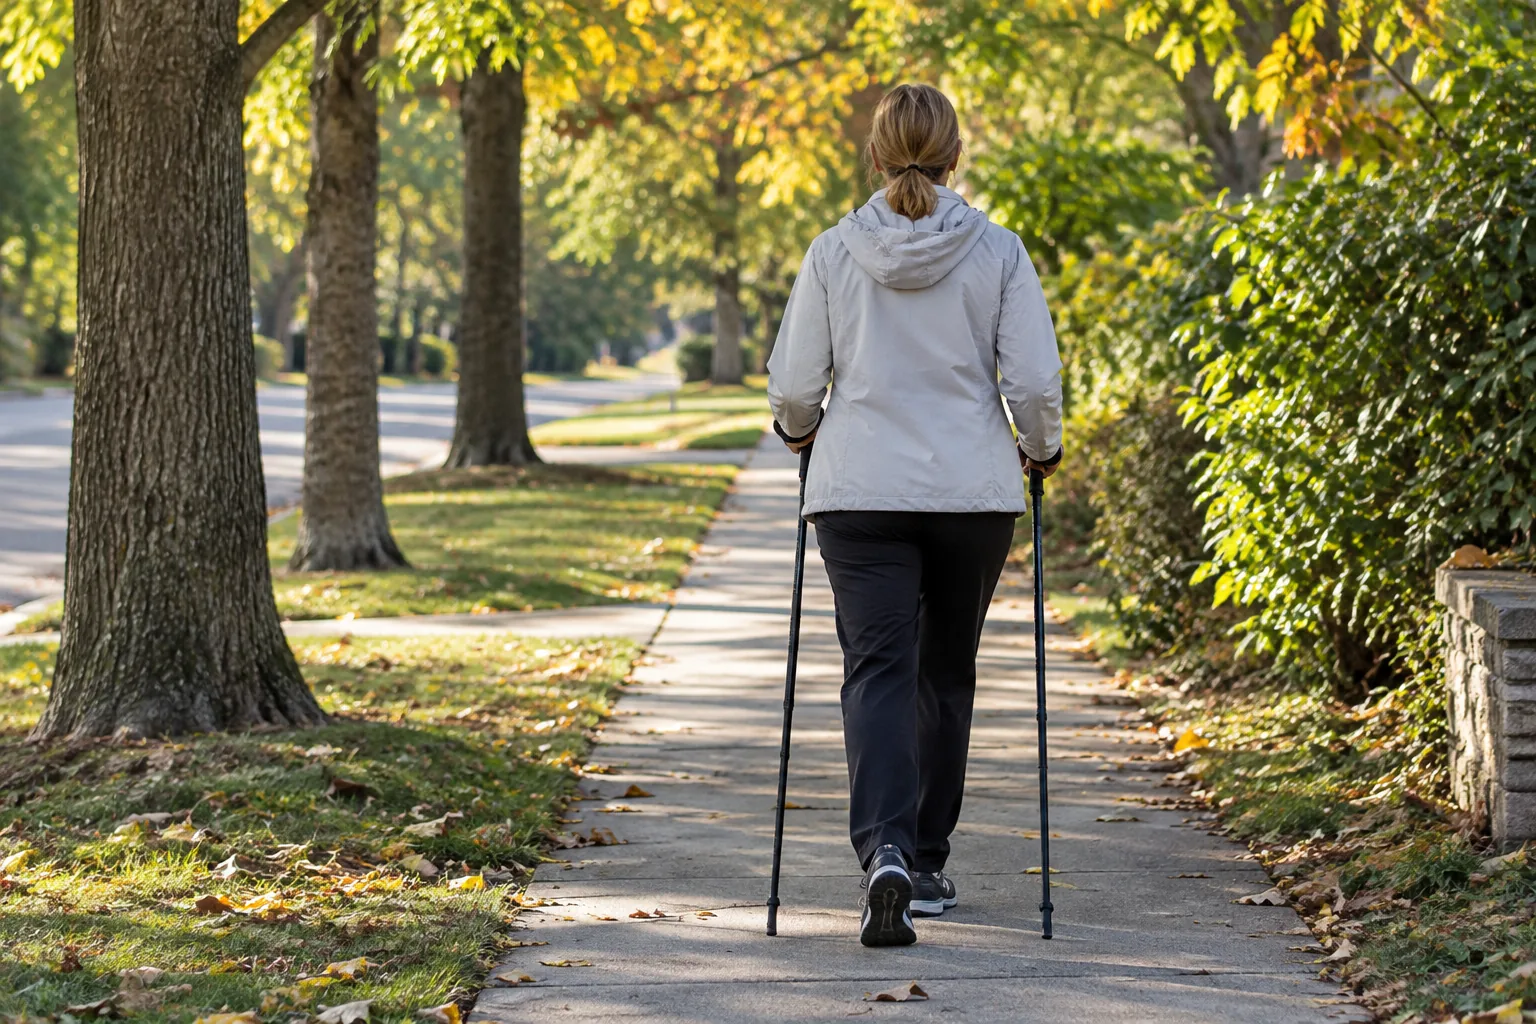
- Pick up the poles and drag them behind you with relaxed hands, letting the tips tick along the ground.
- Begin to plant each pole at an angle behind the front foot, pointing the tip back toward your heels.
- Press down and back along the pole as your body moves past it, then let the hand open at the end of the swing.
- Lengthen your stride a little and roll each foot from heel to toe.
Foot and arm placement
Keep each pole tip roughly level with the opposite heel when it touches down. If the tip lands far ahead, you are using the pole as a brace, which is the hiking pattern.
Posture points
Keep an upright posture and avoid leaning from the waist. Let your hips rotate a little with each stride, keep your shoulders away from your ears, and breathe at a pace that lets you talk. For pace and cadence on its own, see What Is Brisk Walking? Pace, Cadence and How to Find Yours.
Pole Length and Setup Checklist
Pole length decides whether the swing feels natural. A common starting formula is your height multiplied by 0.68, then adjusted to what feels right. Another check is to stand on a flat surface with the pole tip on the ground beside you: your elbow should bend close to a right angle.
Shorter poles tilt you forward and cut the arm swing short. Longer poles lift your shoulders. Adjust one notch at a time and walk 20 steps before changing again.
| Step | What to check |
|---|---|
| 1 | Stand tall in your walking shoes on flat ground |
| 2 | Set both poles to the same length using the scale markings |
| 3 | Tip on the ground beside you, elbow near a right angle |
| 4 | Lock each section and tug to confirm it holds |
| 5 | Adjust the wrist strap so your hand sits snug but can open |
| 6 | Walk a short loop and re-check length before going farther |
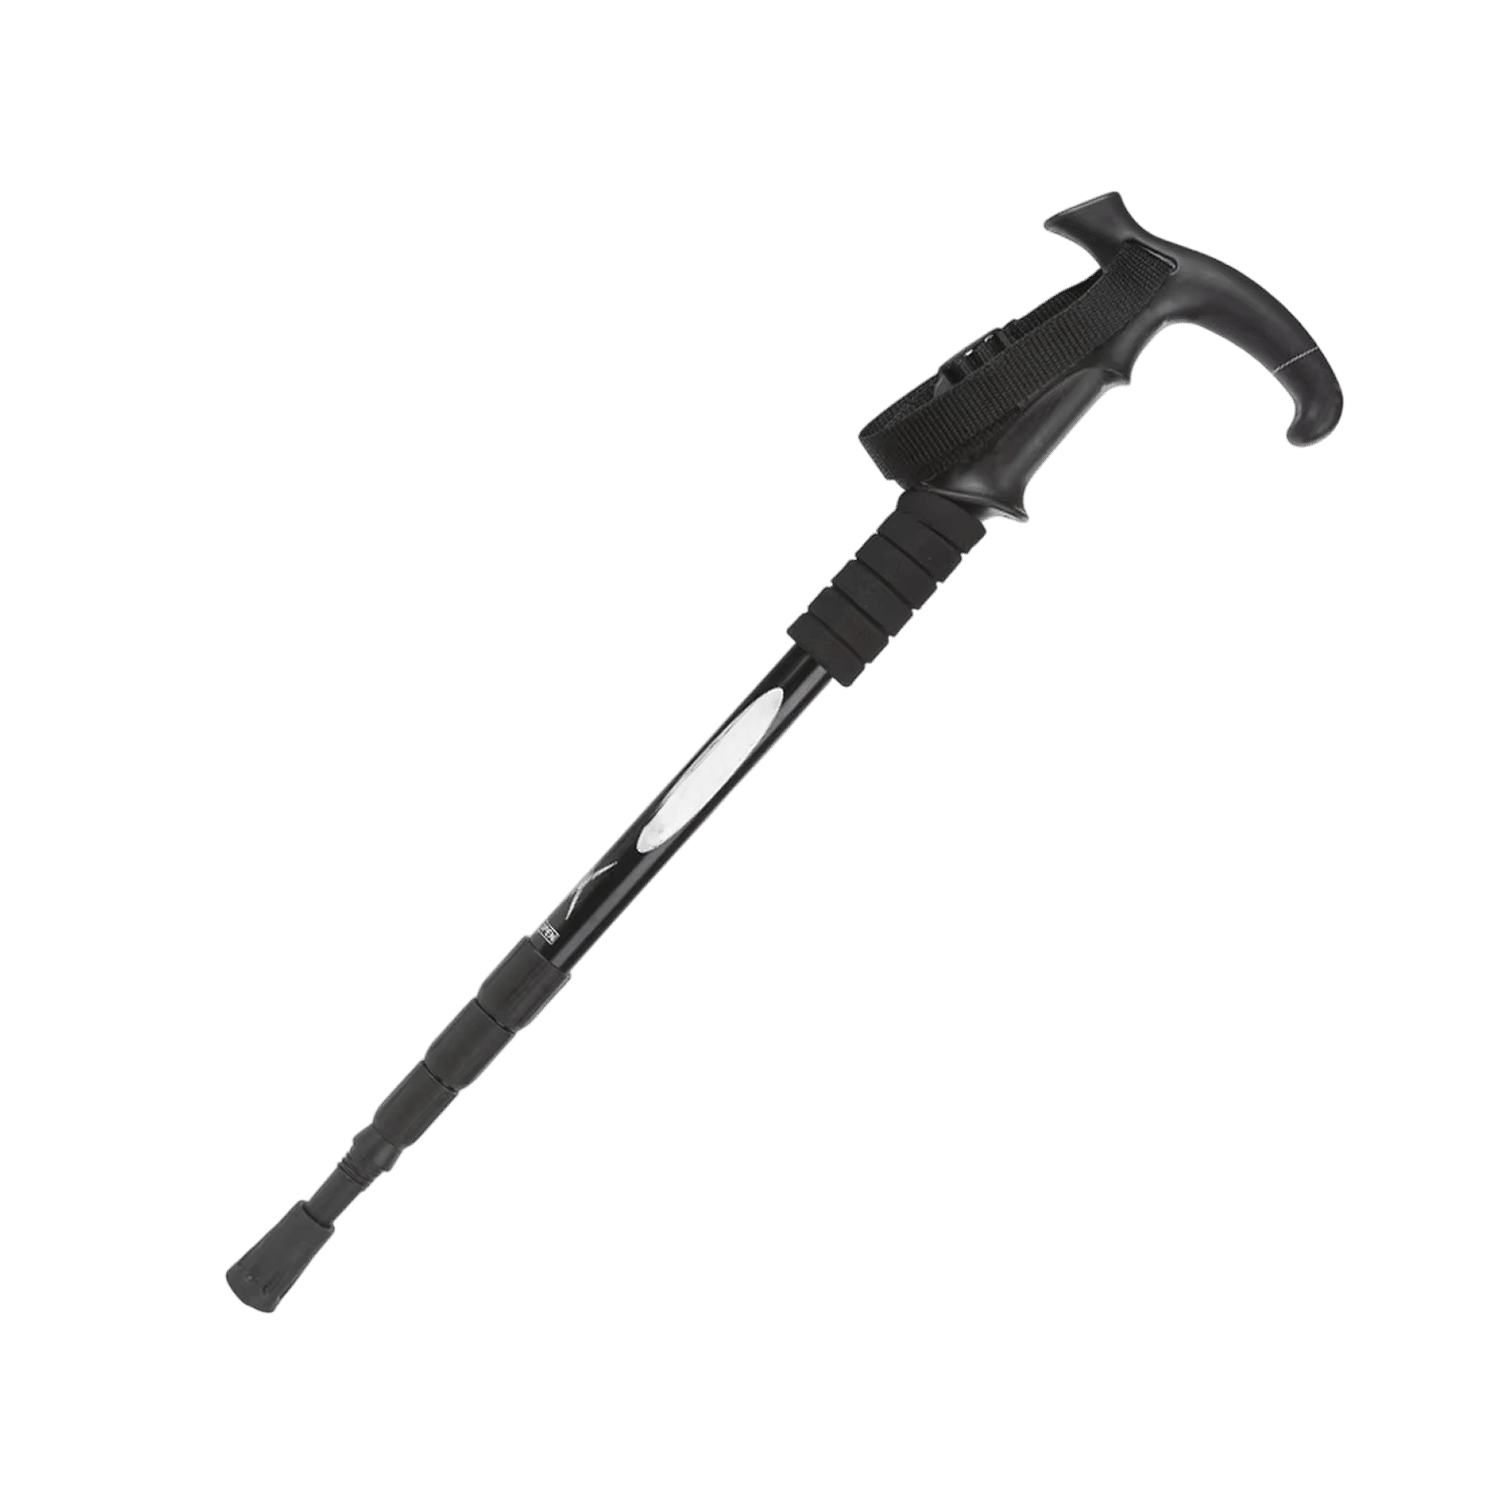
One limit to check: PeakStride adjusts from 53 to 110cm (about 21 to 43 in). If your elbow-at-right-angle length is above 110cm, these poles will be short for the Nordic motion, so they fit shorter walkers or hiking-style use. The poles are adjustable aluminum trekking poles with cushioned T-handles, adjustable nylon wrist straps and carbon tungsten steel tips. The lock combines a hidden lock, an adjusting ring and STOP markers, and the listed weight is 315g (about 11 oz).
 In this guidePeakStride$89.99View
Shoes and Clothing
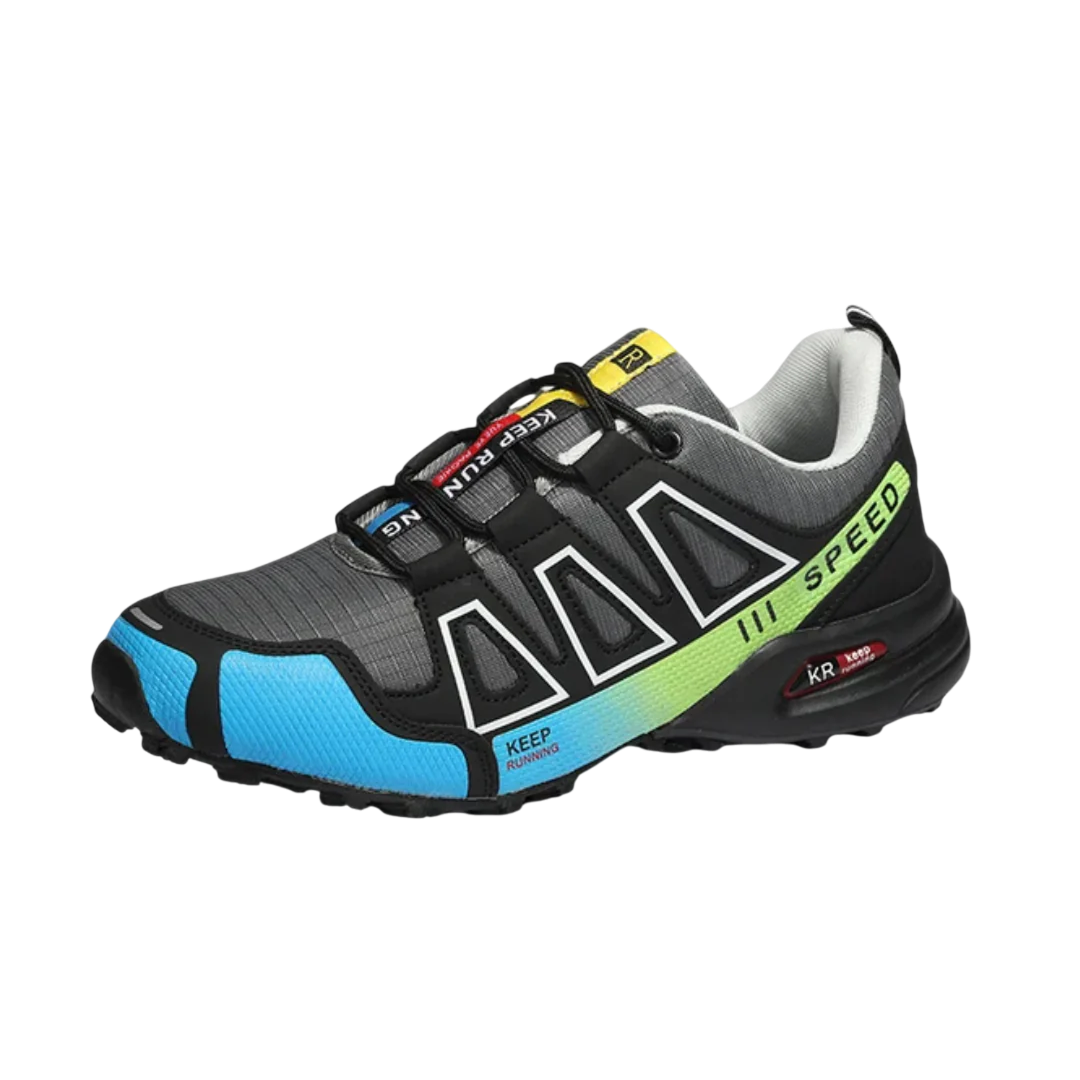
Because the stride lengthens and the foot rolls heel to toe, choose shoes with a flexible sole and room for your toes. GaitCloud are women's walking shoes with segmented cushioning zones under the heel and forefoot, a wide toe box and a curved sole for heel-to-toe rolling. A wide-fit sizing guide comes in the box. For a full fit routine, read Comfortable Shoes for Walking for Women: A Fit Checklist.
 In this guideGaitCloud$139.99View
For clothing, wear layers that let your arms move freely, and pick sleeves that do not catch on the straps. Carry water in a small pack so your hands stay free for the poles. More gear for trail and home sessions sits in Home & Trail Fitness.
Your First Walks
Use the first outings as practice sessions. Pick a flat, familiar loop and leave time to pause and adjust your poles.
- Walk 1: go without poles for the first few minutes, then add the poles and drag them behind you.
- Walk 2: plant the poles behind the front foot and focus on only the arm swing.
- Walk 3: add the hand release and a longer stride.
- Later walks: add gentle slopes, then longer routes as the motion feels natural.
Some local clubs and instructors run classes, so ask at a park office or fitness center about groups nearby if you want someone to watch your form. Ask a health professional before starting any new activity if you have a health condition.
Field note
Film a short clip from the side, or ask a friend to watch. If the pole tips land ahead of your front foot, shorten the reach and angle them back.
Common Mistakes and Drawbacks
Poles add gear to carry, a motion to learn and a need for ground that holds a tip. These are the real negatives of walking poles, and some are about handling rather than the activity itself.
- Poles set too long, which lifts the shoulders.
- Gripping tightly all the way through, so the hand never opens.
- Planting poles ahead like a brace.
- Skipping the lock check before a walk.
- Walking on slick surfaces without a rubber tip or good footing.
Narrow indoor spaces and crowded sidewalks are awkward with poles, and tips can catch on gaps and grates. Follow the manual for your poles and choose open routes while you learn.
As for other terms you may see: the 3-3-3 rule is not a standard Nordic walking guideline, and the label "Nordic Method" is used by different programs. Check what a given program means by it before you follow it.