Backpack for Climbing: How to Choose a Crag or Alpine Pack
Match the pack to the day: a small pack for the crag, a mid-size pack for multipitch, a large frame pack for alpine trips. Volume, rope carry, loops and helmet attachment decide the fit.
The Kesslund Team
November 11, 2026 · 7 min read
The right backpack climbing days call for depends on where you are going: a compact pack for the crag, a mid-size pack for multipitch, and a large frame pack for alpine trips. Choose by volume, rope carry, gear loops and helmet attachment, then check how the hipbelt sits with a harness on.
This guide walks through each decision in order, with a size table, a pack-by-pack checklist and the mistakes that cost the most on the approach.
Start with the type of climbing day
A pack that suits a sport crag is the wrong tool for a glacier approach, and the reverse is also true. Sort your trips into three groups before you compare any features.
- Crag days mean a short walk, a rope, quickdraws, shoes, water and a layer.
- Multipitch days add a second set of layers, food, a headlamp and gear you must reach while hanging at a stance.
- Alpine days add an ice axe, crampons, extra insulation and sometimes a tent and sleeping bag.
Choose for the group where you spend the most time. If you do all three, plan on two packs rather than one compromise.
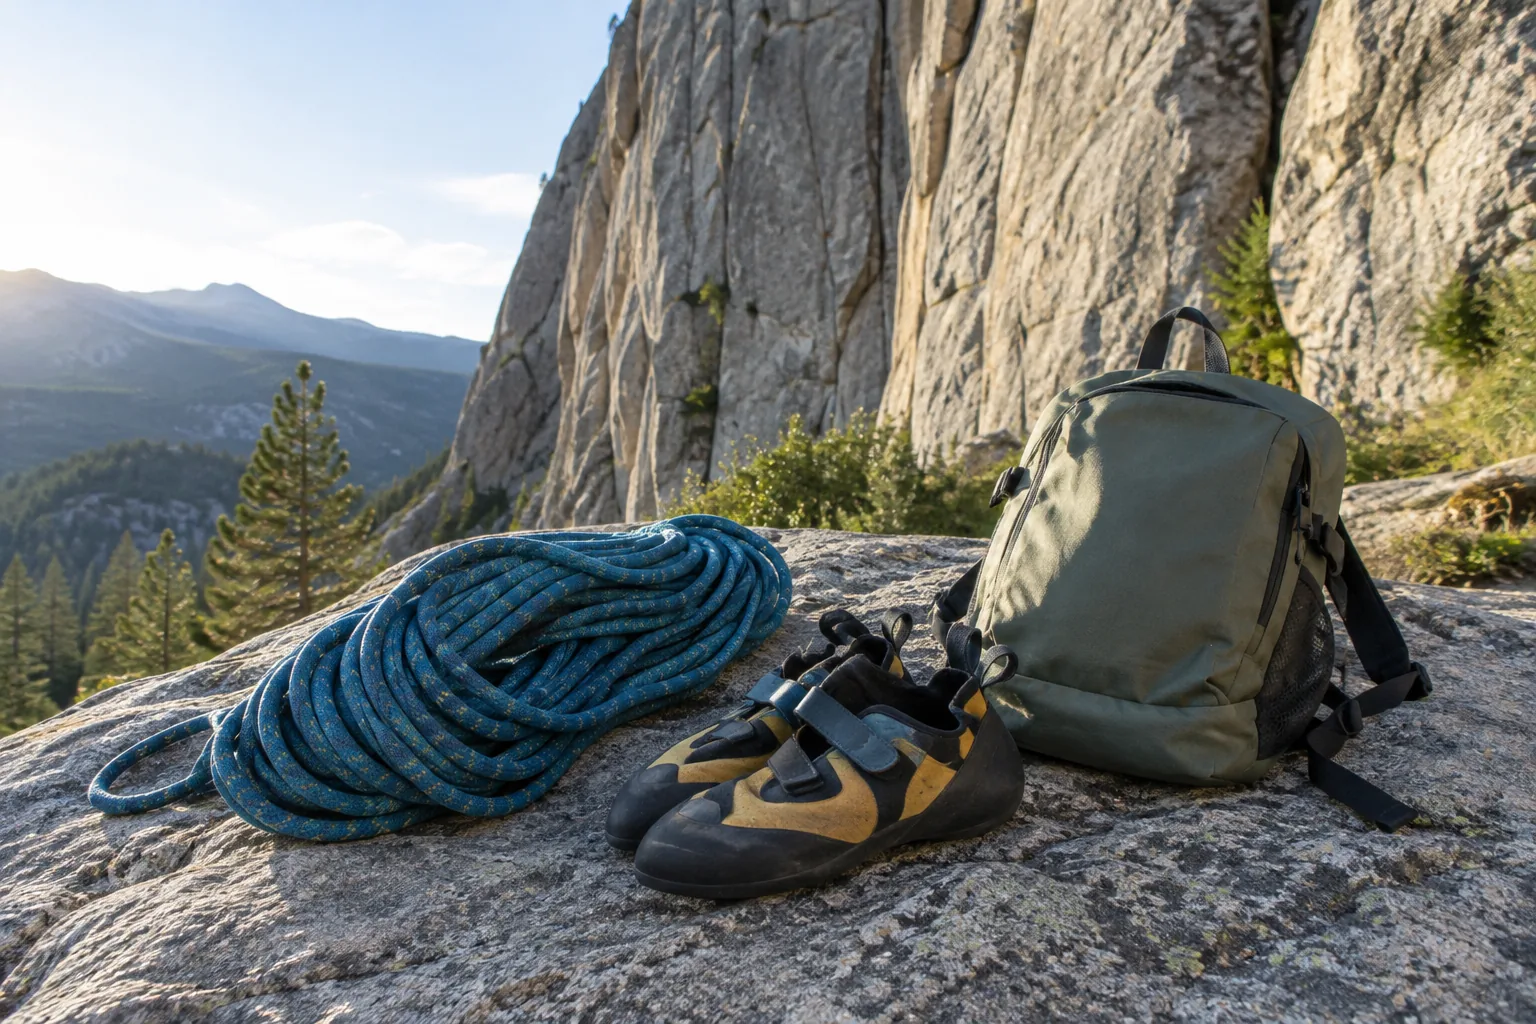
Pick the volume by day type
Volume is stated in liters, and a small number is not a flaw. A half-empty large pack flops around on rock, while an overstuffed small pack pulls on your shoulders at every reach. Use the table as a starting range, then adjust for cold weather and how much you carry for a partner.
| Day type | Typical volume | What it carries | Rope carry |
|---|---|---|---|
| Gym or short crag | 20 to 30L | Shoes, harness, chalk, water, light layer | Strap under the lid or a separate rope bag |
| Full crag day | 30 to 45L | Rope, quickdraws, helmet, food, water, layers | Rope inside the main compartment or strapped on top |
| Multipitch | 30 to 50L | Rack, slings, shell, headlamp, food, water | Rope on top, or split between partners |
| Overnight alpine | 50 to 70L | Sleeping system, stove, insulation, axe, crampons | Under the lid or against the back panel |
| Expedition or hut-to-hut with a tent | 70 to 85L | Tent, sleeping bag, food, clothing, technical gear | Strapped outside, bag compartment below |
If you are comparing a 30L, 45L, 50L or 70L mountaineering pack, read the table by row: the number only matters once you know what has to fit inside.
Backpack climbing gear: what to carry and where it sits
Heavy items go close to your back and high between the shoulder blades. Rope, rack and water make up most of the weight on a climbing day, so they set the pack's balance.
Rope carry
There are three ways to carry a rope. Check which one the pack supports before you buy.
- Inside the main compartment, coiled or in a rope bag, when the pack is wide enough.
- Under the lid with two straps, which keeps the main space free for other gear.
- Looped across the top of the pack on external straps, useful when the main compartment is full.
Carry a rope inside a rope bag or tarp so the pack interior stays clean and the rope can be laid out at the base of the climb.
Gear loops and racking
Look for daisy-chain loops or webbing anchors on the outside. They give you a place to clip a carabiner sling or a set of quickdraws on the approach. Keep sharp or heavy hardware inside the main compartment or on the outside of the lid where it cannot dig into your back.
Gear access
A top-loading pack is simple, but the item you need is always at the bottom. A zippered side or back panel gives gear access without unpacking. A lid pocket holds the items you reach for often: sunscreen, snacks, a headlamp, and your belay glove.
Check the fit with a harness on
A pack that fits at the store can bind once you are in a harness. The hipbelt needs to sit clear of the harness buckles and gear loops, or be removable. On multipitch routes, a removable hipbelt and a slim profile help the pack clear ledges.
For larger loads, torso length matters. An adjustable back length lets you set the shoulder straps to your frame, and load-lifter straps pull the weight toward your body. Our guide to choosing a pack for multi-day hunts covers the same frame and torso-fit steps in more depth.
Do the fit check in this order:
- Load the pack with the weight you will carry on the route.
- Put on your harness and tighten it.
- Set the torso length, then close the hipbelt.
- Pull the load-lifter straps and sternum strap.
- Reach overhead and bend forward to see if anything pinches or snags.
Field note
Wear your harness and helmet when you test a pack. Check the hipbelt buckles, the helmet at the back of your head and a raised arm: these are the three spots to watch.
Helmet attachment: inside, outside or on your head
You wear a helmet on the route, but you carry it on the approach. Pick one of three methods and check the pack allows it.
- A dedicated helmet holder, usually a stretch mesh or net on the outside of the lid.
- Straps or loops you can thread through the vents and clip to the pack.
- Inside the lid or the main compartment, when the pack has room for a hard shell.
Clipping a helmet to the outside leaves the interior free, but it can catch on brush and rock. If the approach is a scramble, strap it down tightly or wear it.
The CrestArmor is a climbing helmet that also fits cycling and skating. It pairs a hard outer shell with EPS foam, and a dial adjusts the fit across a 52 to 61cm (about 20.5 to 24 in) range. Airflow channels run through the shell, and the interior has removable moisture-wicking padding that comes out for washing.
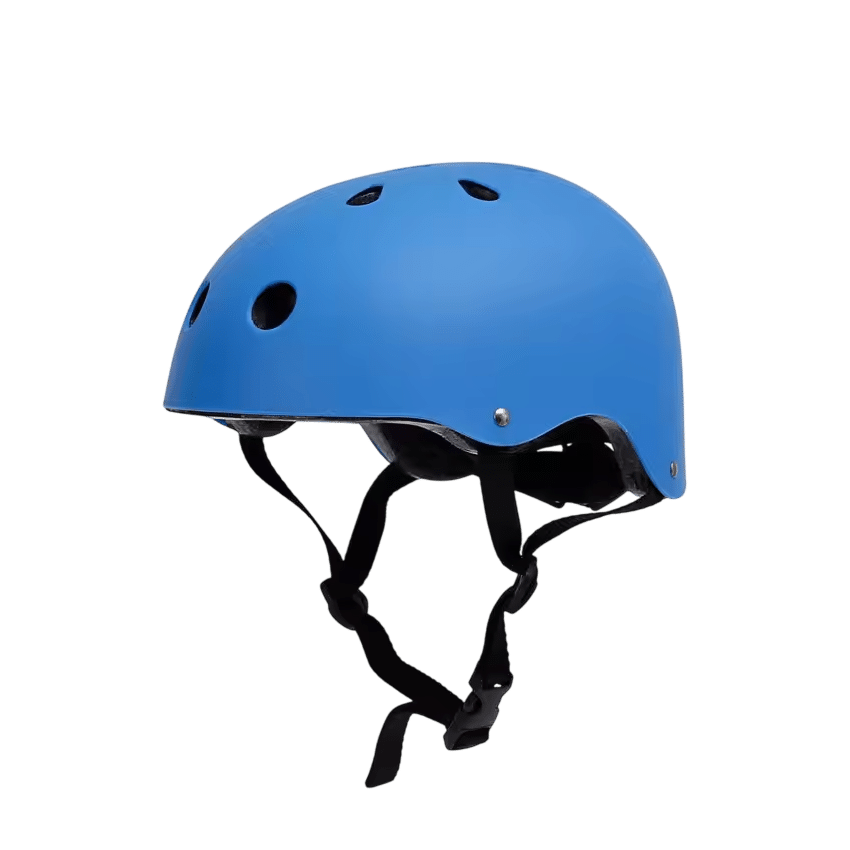 In this guideCrestArmor$79.99View
Alpine and mountaineering packs
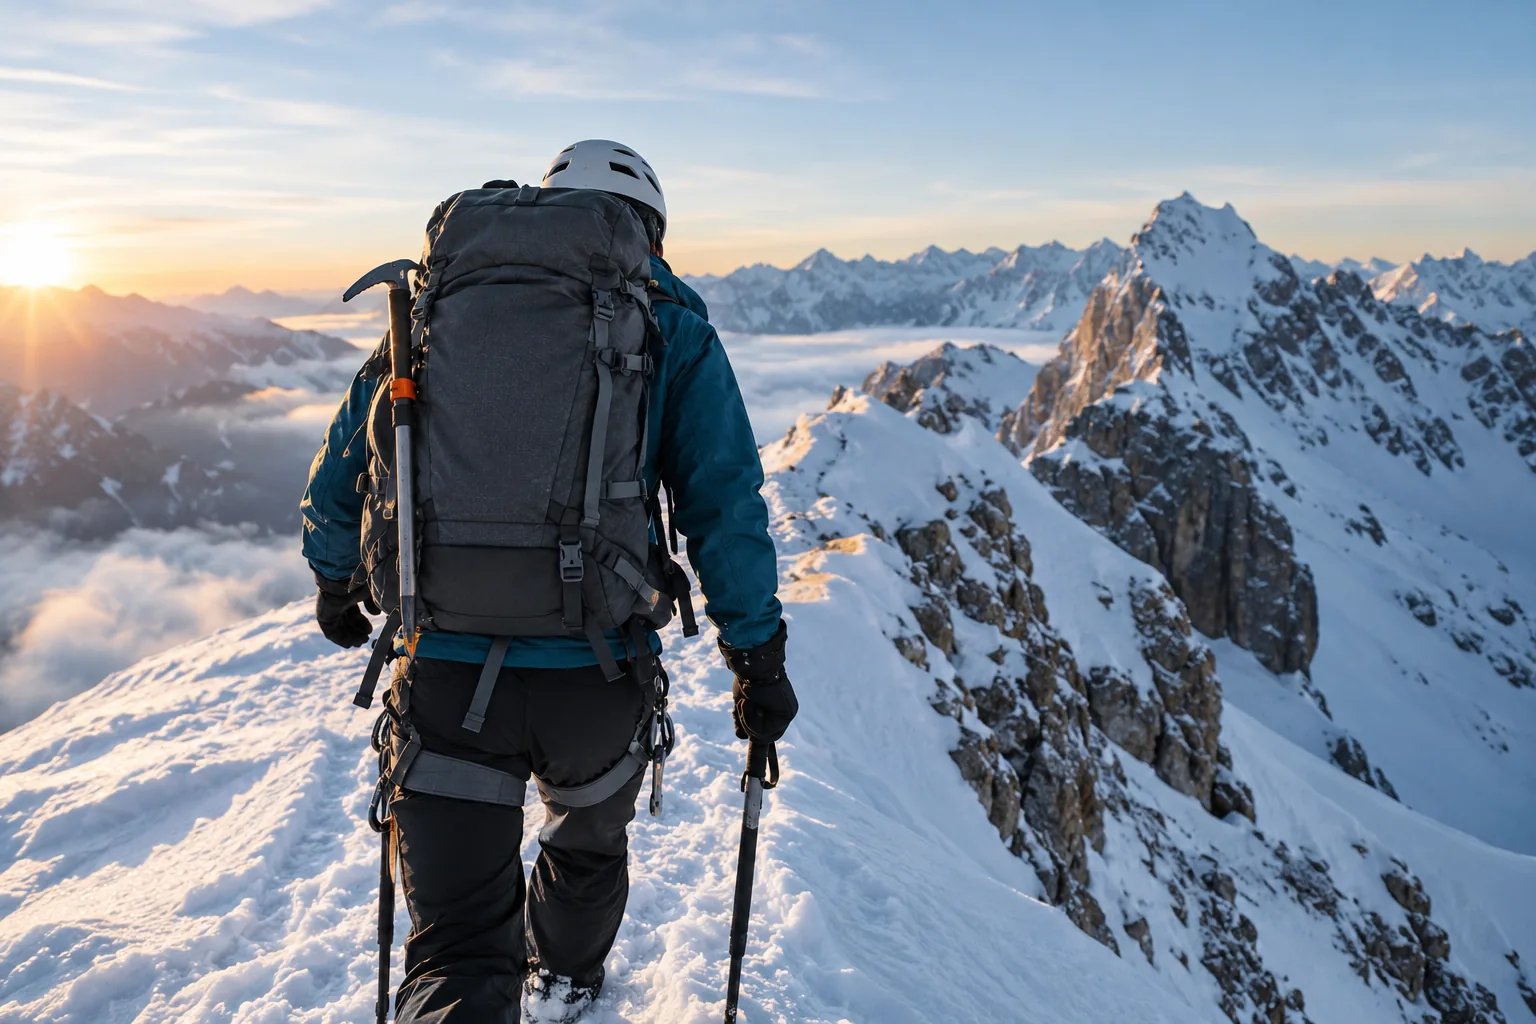
When the route includes a tent, a sleeping bag, or technical tools, you move to a frame pack. Features to look for are a removable frame sheet, ice axe loops, crampon straps and a base made from reinforced fabric, since the base meets rock and snow on the approach.
The SummitForge is an 85L mountaineering backpack built for that kind of trip. The main chamber holds a tent, clothing, food and technical gear, while a separate bottom compartment with its own zipper entry takes a sleeping bag or bulky footwear. Torso sliders set the back length, and load-lifter straps draw the load toward your hips. The padded hipbelt is cut to sit clear of a climbing harness.
For tools, it has ice axe loops, crampon straps and metal anchor points, plus daisy-chain points for clipping extra gear on the approach. The fabric is Oxford nylon with ripstop panels and a reinforced base. At the foot of the climb, you can take out the aluminum stay, frame sheet, hipbelt and lid to strip the pack down.
At 85L it is a big pack, so it suits long trips and heavy loads rather than a single crag day. For a day trip, pick a smaller pack from the table above.
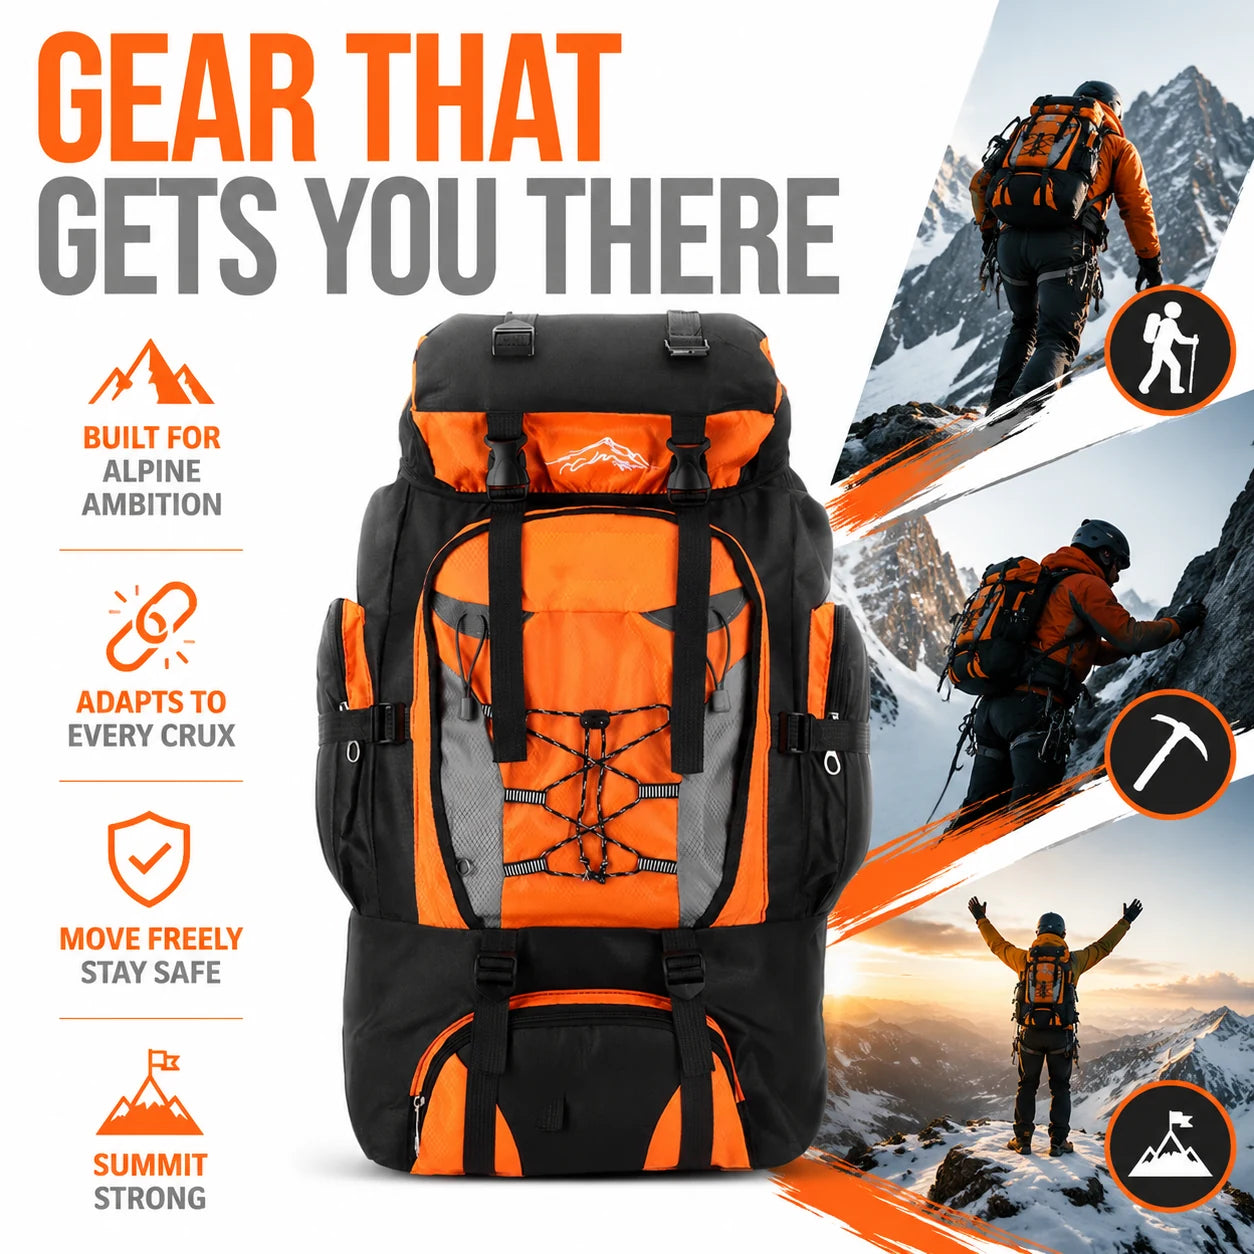 In this guideSummitForge$89.99View
Comfort, durability and weight
Comfort comes from padding where the load rests: shoulder straps, hipbelt and back panel. Durability comes from fabric and stitching. Ripstop panels and a reinforced base matter because rock abrades the pack at every belay.
Light packs trade padding and structure for lower weight. That suits a short crag day, but a heavy load on a minimal pack puts the strain on your shoulders. Match the structure to the weight you carry, not to the lightest number on the tag.
Common mistakes to avoid
- Buying a large pack for crag days, then filling it with weight you do not need.
- Ignoring how the hipbelt sits with a harness on.
- Choosing a pack with no way to carry a rope.
- Skipping the side or back access on multipitch packs.
- Clipping a helmet loosely on the outside of a pack on a scramble.
Pack and care checklist
Use this list the night before a climb and again after the trip.
- Empty the pack and shake out grit from the base and pockets.
- Check straps, buckles and daisy-chain loops for frayed stitching.
- Wipe the helmet padding, or remove and wash it if the manual allows.
- Dry everything fully before storage.
- Repack with heavy items close to your back, rope and tools on the outside or under the lid.
If you are still deciding on a general-purpose size, our day hiking backpack guide explains size, fit and features for shorter trips. To browse packs, helmets and tools in one place, see the Climbing & Winter Sports collection.