How to Wash a Sleeping Bag: Down vs Synthetic, Step by Step
Close the zipper, spot clean, wash gently with a cleaner made for your insulation, rinse well, and dry completely on low heat. One decision path covers down and synthetic.
The Kesslund Team
November 18, 2026 · 7 min read
The short answer to how to wash sleeping bag insulation, down or synthetic: close the zipper, spot clean stains, then wash it on a gentle cycle in a large front-loading machine or by hand in a tub, using a cleaner made for your insulation type. Rinse until no suds remain, then dry it completely on low heat or flat in the air. Down and synthetic bags follow the same path, but down needs more attention at the drying stage.
Can you wash a sleeping bag at home? Yes, if the care label allows it. Body oil and dirt build up in the fill over time, so an occasional wash is part of normal care. Read the care label first, because it overrules any general advice here.
The decision path in one table
Work through these decisions in order. Each one is explained in the sections below.
| Decision | Down bag | Synthetic bag |
|---|---|---|
| Wash frequency | Spot clean often, full wash when loft or odor calls for it | Spot clean often, full wash when dirty or after heavy use |
| Zipped or unzipped | Zipped closed, fasteners done up | Zipped closed, fasteners done up |
| Machine or tub | Large front loader, or a tub for hand washing | Large front loader, or a tub for hand washing |
| Cleaner | Down-specific wash | Technical-fabric wash or mild soap-free cleaner |
| Drying | Low heat with clean dryer balls or tennis balls, or air dry flat, until fully dry | Low heat or air dry until fully dry |
How often to wash a sleeping bag
Wash only when the bag needs it. Washing sleeping bag fill too often adds wear, because every full wash is a round of agitation and water on the shell, stitching and fill.
Between washes, use a sleeping bag liner and air the bag after each trip. Turn it inside out, hang it in the shade, and let moisture leave before you store it.
Plan a full wash when you see any of these signs:
- The bag smells of sweat or smoke even after airing.
- The lining looks stiff or greasy where your neck and shoulders rest.
- The loft looks flat or clumped in patches.
- Stains remain after spot cleaning.
- You are about to store it for a long stretch after a muddy or sweaty season.
For a bag used a few weekends a year, a wash once a season or less is a sensible rhythm. Heavy use, shared bags and trips with no shower call for more frequent washing.
Before you wash: spot clean and prep
Start with a spot clean. Dab small marks with a soft cloth or an old toothbrush, mild cleaner and cool water, then rinse the spot with a damp cloth. Some bags only need this.
Then run through this prep checklist:
- Read the care label for water temperature and heat limits.
- Empty pockets and remove any stuff sack or loose cords.
- Close the main zipper all the way and fasten any hook-and-loop tabs or drawcords.
- Check seams and the shell for holes, because water and agitation can pull fill through them.
- Choose a cleaner made for your insulation. Skip fabric softener, bleach and ordinary detergent with additives.
Zipped or unzipped?
Wash it zipped. An open zipper can snag the shell, the lining or other parts of the bag during agitation, and loose tabs can catch on the drum. Zip it closed, then follow the care label if it says to turn the bag inside out.
How to wash sleeping bag fill: machine or tub
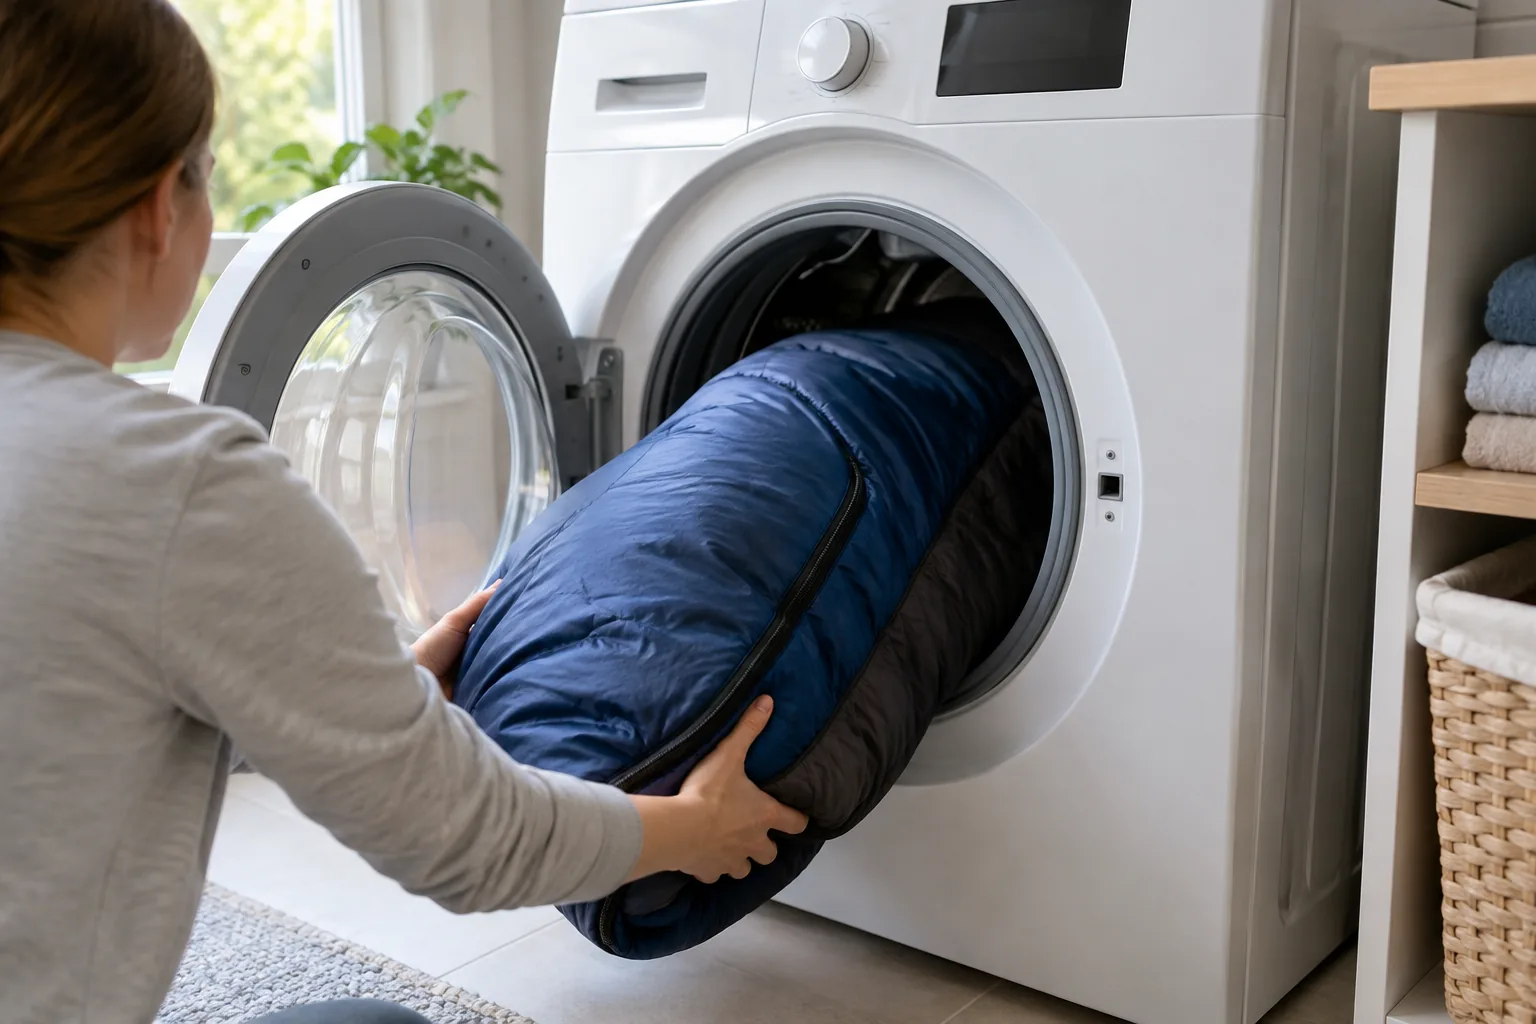
Use a front-loading machine with no center agitator, since an agitator can twist and strain the baffles. A home washer that fits the bag loosely works; if yours is small, use a large machine at a laundromat. Clean the drum of any leftover detergent first.
Machine wash steps
- Load the zipped bag by itself, with room for water to move through it.
- Add the amount of cleaner the label lists for a small load.
- Select a delicate or gentle cycle with cool or lukewarm water, as the care label allows.
- Add an extra rinse cycle, and a second one if suds are still visible.
- Lift the wet bag out with both arms underneath it. A wet bag is heavy, and pulling by one end can tear the baffles.
- Gently press out water against the drum or the tub. Do not wring or twist.
Hand wash steps
A bathtub fits hand washing. This route suits delicate, older or large bags that do not fit a washer.
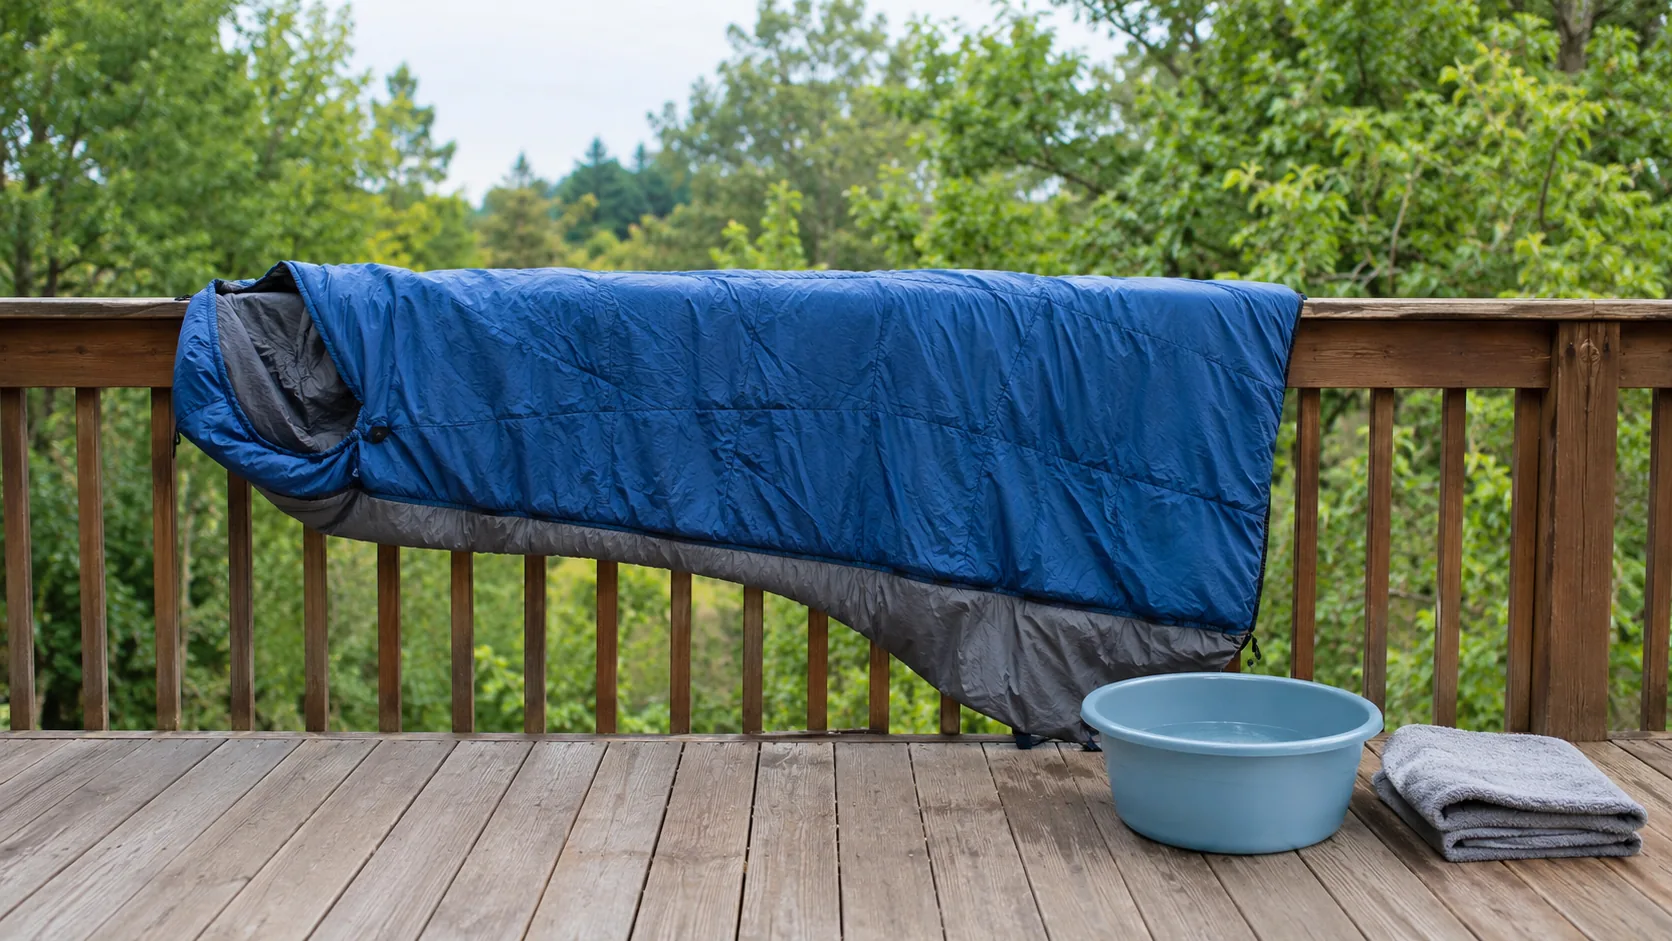
- Fill a clean tub with cool or lukewarm water and add the cleaner.
- Submerge the zipped bag and press it down gently so water works through the fill.
- Let it soak for the time the cleaner's directions or the care label give, pressing now and then.
- Drain the tub, then refill with clean water and press the bag to rinse. Repeat until the water runs clear and no suds remain.
- Press water out with your palms, supporting the bag's weight as you lift it.
A short note on cleaners: a down-specific wash suits down fill, and a technical-fabric wash or mild soap-free cleaner suits synthetic fill. Check the bottle and care label for the load size to use.
Synthetic bags: what changes
Synthetic fill is made of fibers rather than feathers. You still wash it gently, rinse it well and dry it fully. Damp fiber fill trapped in a stuff sack can hold odor and flatten, so loosen it as soon as the wash is done.
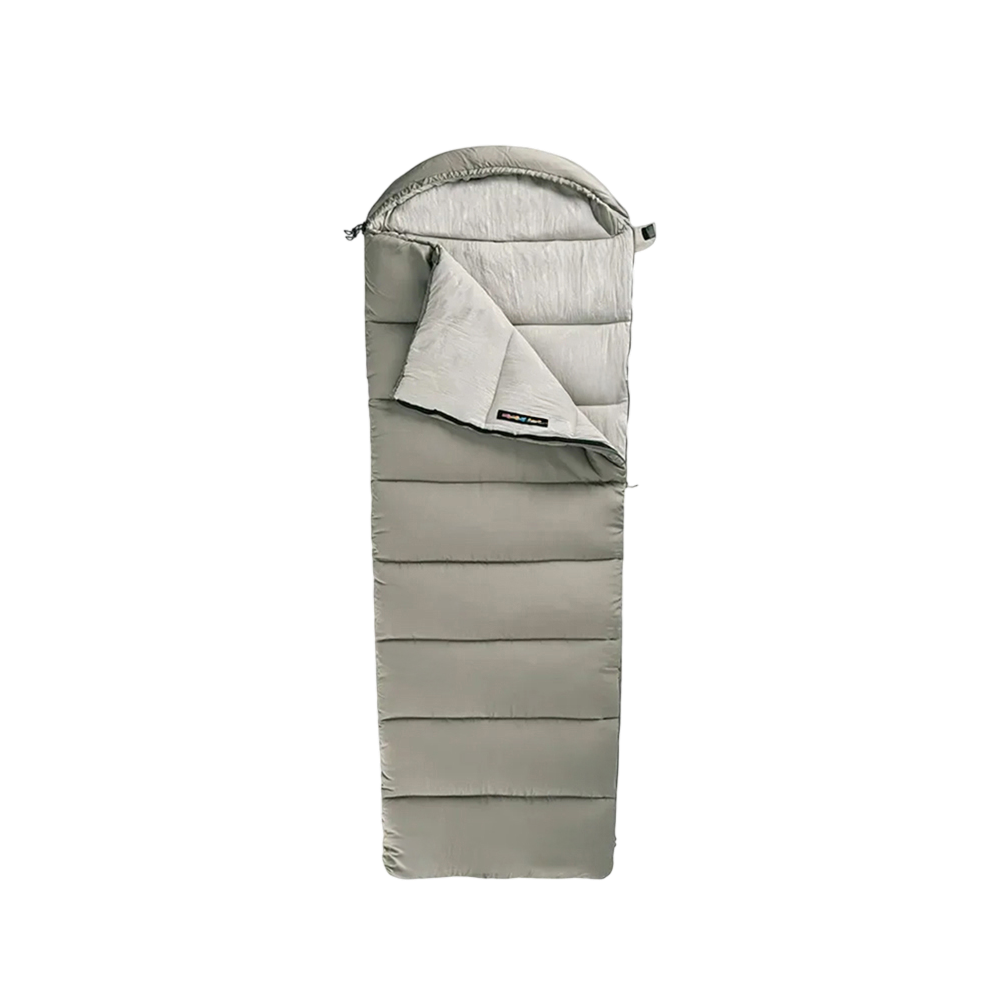
The EmberBivy is a trail sleeping bag with a cotton lining, a tightly woven 210T shell and synthetic fiber fill. It comes with a compression stuff sack and a care and storage guide in the box, so check that guide for its wash and dry settings before you start. If you are choosing a bag for trips where tents get damp, our travel camping plan covers how to build the rest of the kit.
 In this guideEmberBivy$119.99View
Field note
Keep the stuff sack out of the wash and store the bag loose or in a large cotton or mesh sack. A compression sack is for carrying to camp, not for storage between trips.
Drying checklist that keeps the loft
Whether you wash by machine or by hand, drying is the step to take slowly. A bag that feels dry on the outside can hold damp fill inside, and damp fill can clump or develop mildew.
Tumble dry
- Check the label for permitted dryer heat, then use the lowest setting.
- Use a large dryer, such as a laundromat machine, so the bag can tumble freely.
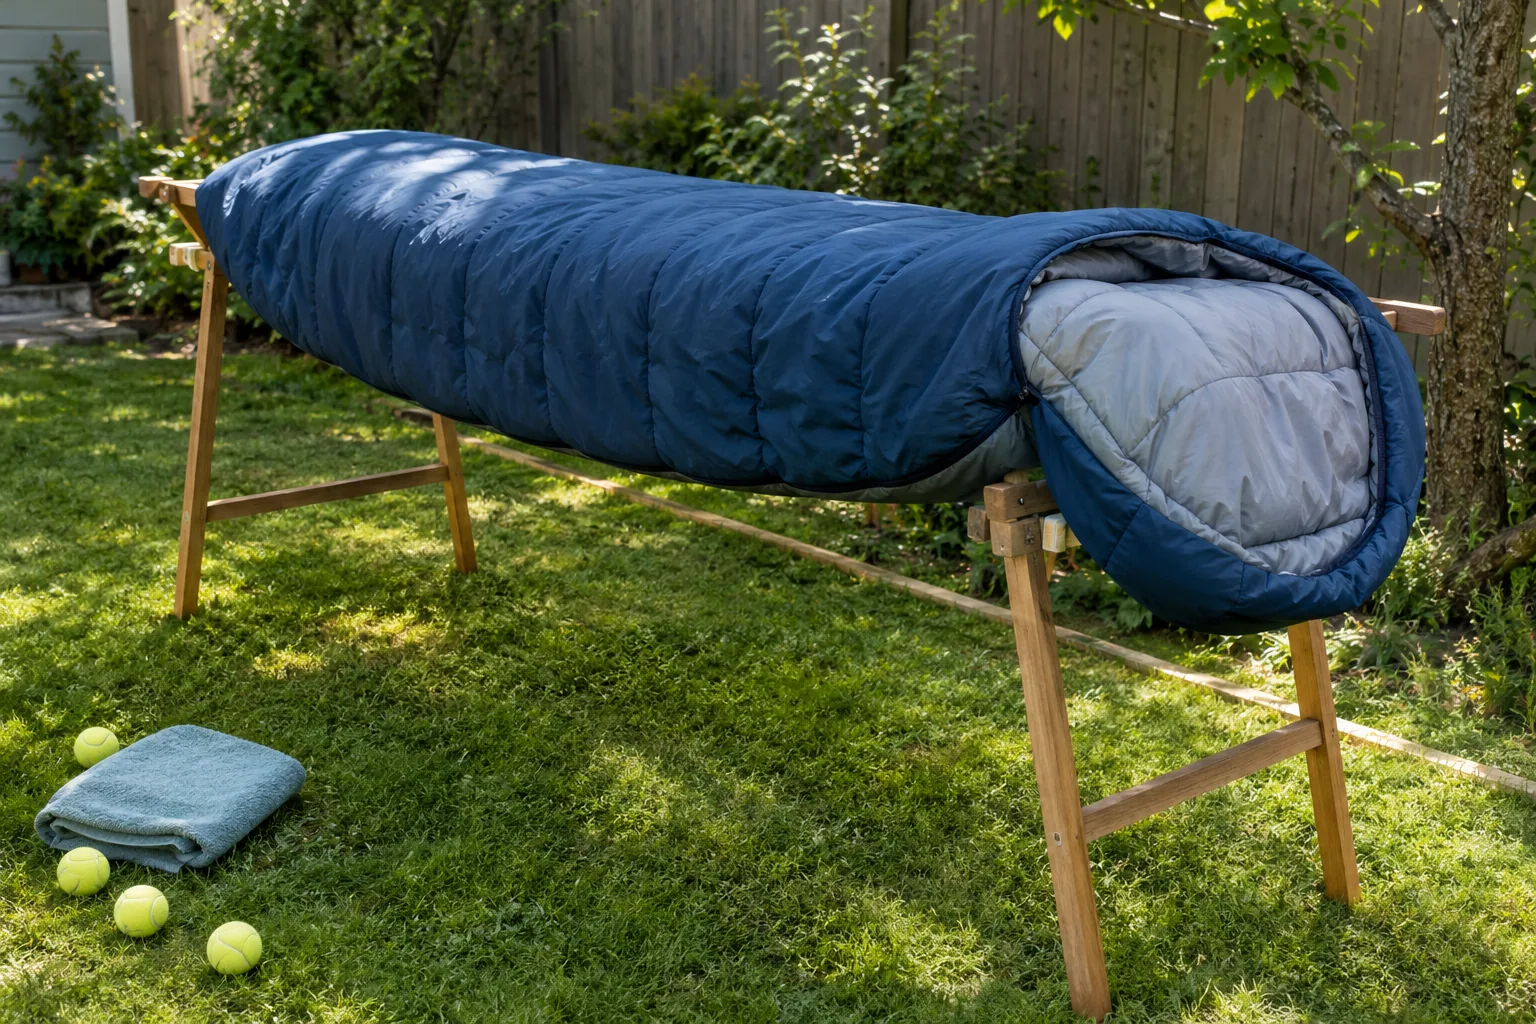
- Add a few clean tennis balls or dryer balls to break up clumps, especially for down.
- Pause the dryer every so often, pull the bag out and break up clumps by hand.
- Keep going until no cold, damp or lumpy spots remain. Down can take several cycles.
Air dry
- Lay the bag flat on a clean drying rack or bed of towels, out of direct sun.
- Turn it over and gently shake it out several times a day.
- Break up any clumps with your fingers while the fill is still slightly damp.
- Leave it until it is completely dry, including seams and the foot box.
Before you pack it away, hold the bag toward the light, squeeze the foot box, and smell it. Any chill, clump or musty odor means it needs more time to dry completely.
Common mistakes to skip
- Dry cleaning, which can strip oils and leave solvent residue in the fill.
- Using fabric softener or bleach.
- Washing with the zipper open.
- Machines with a center agitator.
- Hot dryer settings, which can damage shell fabric and synthetic fibers.
- Storing the bag compressed or while still damp.
If your bag is delicate, very old or has a repair, you can also ask a local gear-cleaning service, or find out what your laundromat allows for large items before you go.
Storage after washing
Store the clean, fully dry bag loose in a large breathable sack or hung in a closet. A compressed bag spends months with its fill squeezed flat. Keep it off the floor and away from damp walls and garages with temperature swings.
When you are ready for the next trip, shelter and camp comfort gear sits alongside a clean bag: browse the Tents, Shelter & Camp Comfort collection.