How to Change Bike Pedals: Thread Direction, Tools and Torque
Move the wrench handle toward the rear wheel to loosen either pedal, toward the front to tighten. This guide covers tools, stuck pedals, grease and torque.
The Kesslund Team
November 6, 2026 · 6 min read
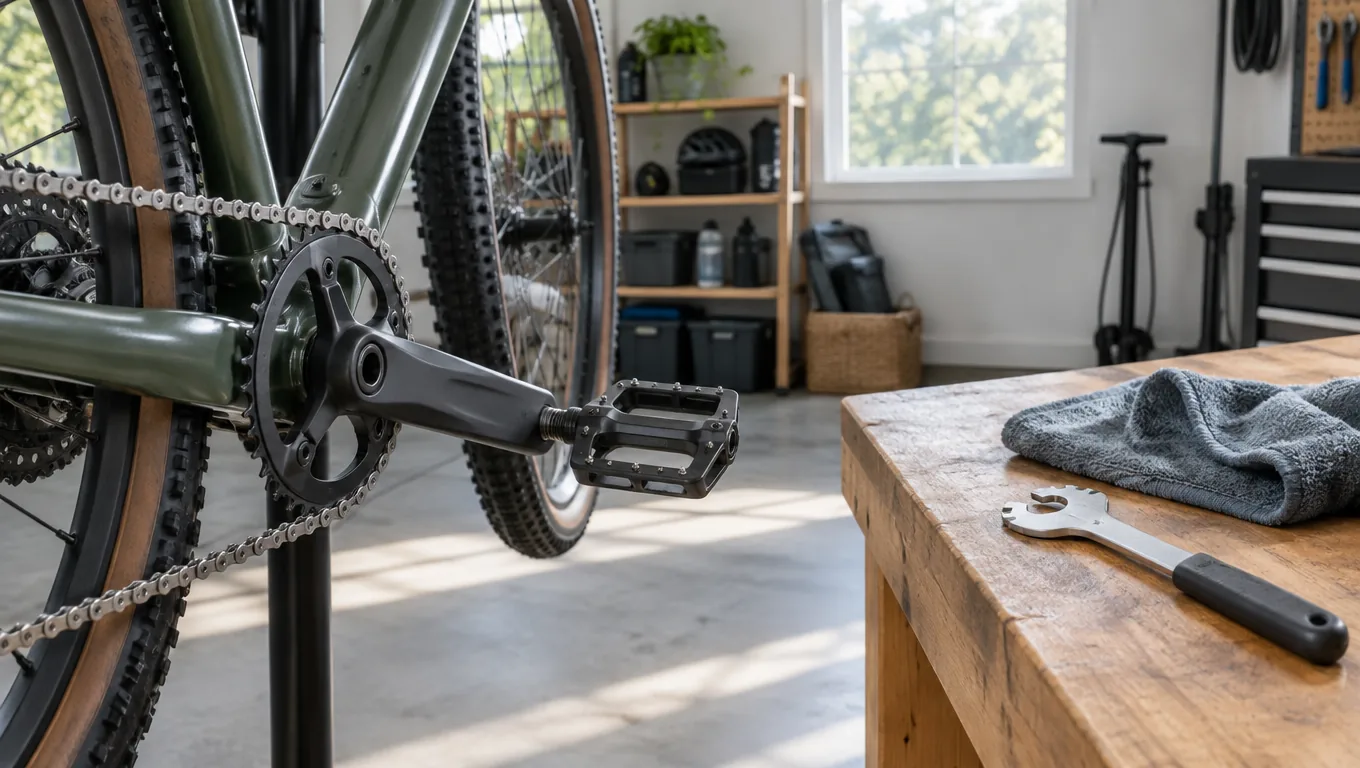
How to change bike pedals comes down to one rule: move the wrench handle toward the rear wheel to loosen either pedal, and toward the front to tighten. Because the left pedal has a reverse thread, it turns clockwise to loosen while the right one turns counterclockwise, but the handle direction is the same on both sides. You need a pedal wrench or a hex key, a little grease and clean threads in the crank arm.
This guide gives you one sequence to follow at the bike: the thread rule, a tool checklist, removal, a fix for stuck pedals, and installation with a torque check.
How to change bike pedals: the sequence at a glance
- Put the bike in a stand or lean it so the drive side faces you, and shift the chain onto the largest chainring so the teeth are covered.
- Identify which pedal is left and right (look for L and R stamps).
- Loosen the right pedal, then the left, with the wrench handle moving toward the rear wheel.
- Clean the crank arm threads and check them for damage.
- Grease the new pedal threads lightly.
- Start each pedal by hand, then tighten with the handle moving toward the front, to the torque in the pedal manual.
- Spin the cranks and check that both pedals sit snug and straight.
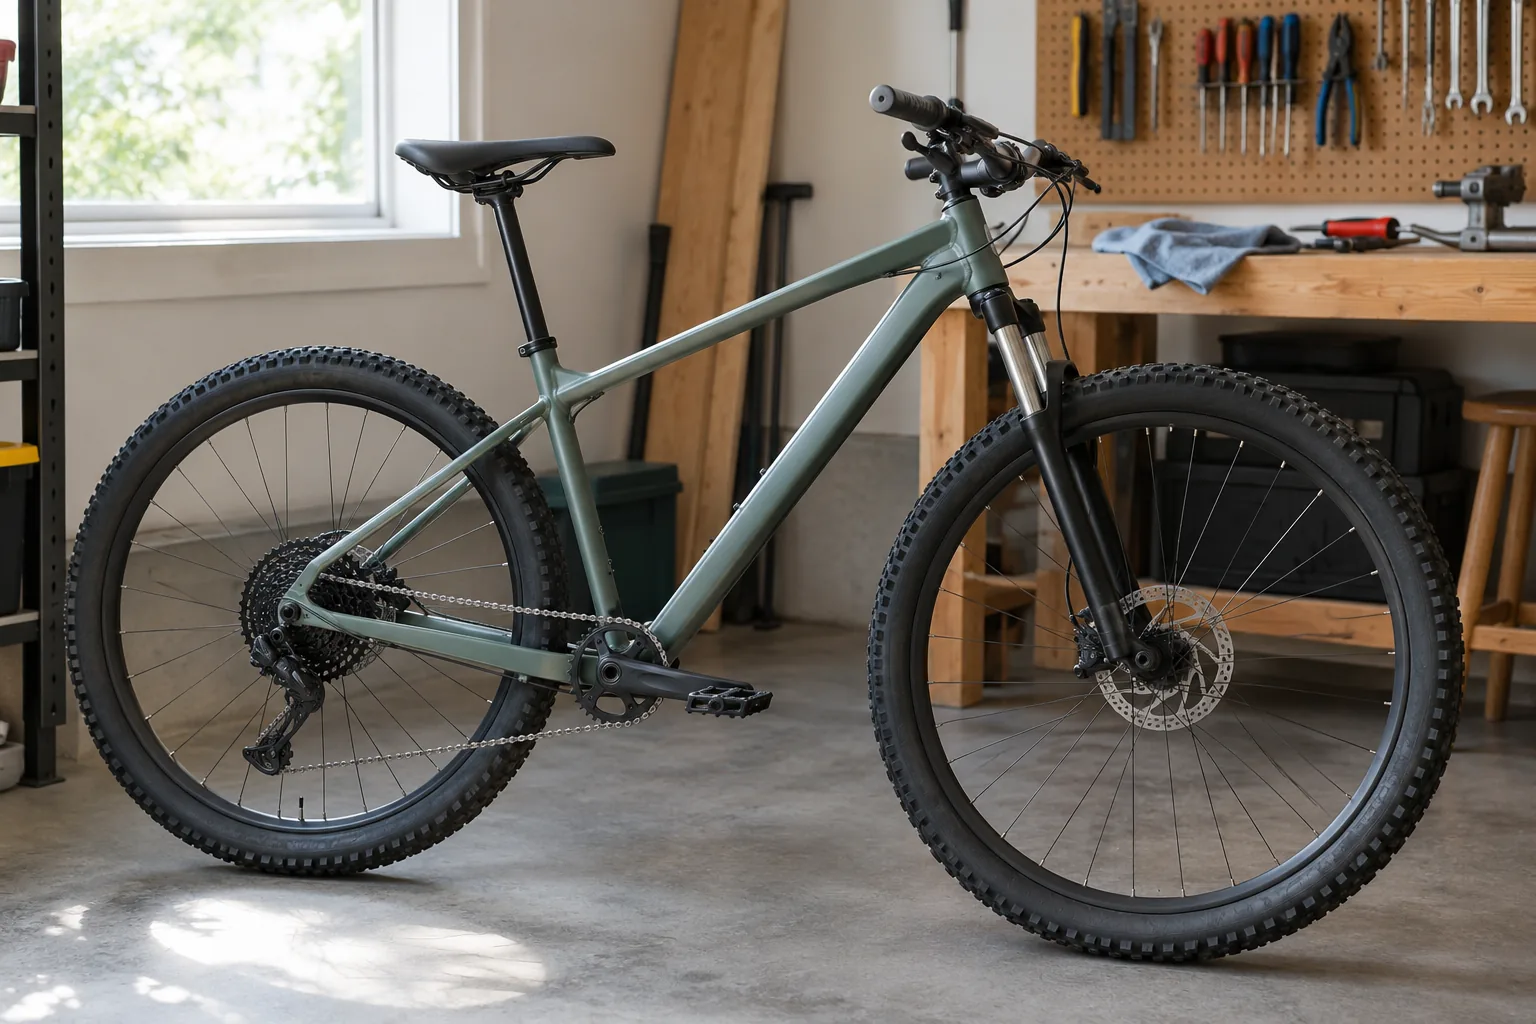
Which way do bike pedals unscrew?
Use one line for both sides: handle toward the rear wheel to loosen, toward the front to tighten. The left pedal's thread runs the opposite way, so the pedal itself rotates the opposite way when you look at it from its own side of the bike. The wrench handle ends up moving the same direction either way.
| Side | Also called | Thread | To loosen | To tighten |
|---|---|---|---|---|
| Right | Drive side (chain side) | Standard right-hand | Counterclockwise, handle toward the back of the bike | Clockwise, handle toward the front |
| Left | Non-drive side | Reverse (left-hand) | Clockwise, handle toward the back of the bike | Counterclockwise, handle toward the front |
Clockwise and counterclockwise here are as you look at the pedal from the side of the bike it is on. Put the wrench on the pedal axle flats with the handle above the axle, and push it toward the rear to loosen.
Are all bike pedals interchangeable?
No. Pedals come in left and right versions that do not swap. Thread sizes differ too: 9/16 inch is the size for multi-piece cranks, while some one-piece cranks on older or children's bikes use 1/2 inch. Check the size printed on the pedal axle or in the manual before buying.
Tool checklist for changing pedals
Gather everything before you start so you do not have to leave the bike halfway through.
| Item | Why you need it |
|---|---|
| Pedal wrench | Long, thin-jawed wrench made to fit the flats on the pedal axle; many use a 15 mm opening |
| Hex key | Some pedals have a hex socket in the back of the axle, often 6 mm or 8 mm; check the manual |
| Grease | A light coat on the new pedal threads |
| Rag and degreaser | Clean the crank arm threads and the pedal axle |
| Torque wrench (optional) | Tightens to the value the pedal maker lists |
| Gloves | Give you grip and cover your knuckles if the wrench slips |
A regular open-end wrench of the right size can fit flats, but a pedal wrench is thin enough for the narrow space between pedal body and crank arm, and its longer handle adds reach.
Can you remove pedals without a pedal wrench?
If the pedal has a hex socket in the axle end, a hex key works from the back of the crank. If it only has flats, use an open-end wrench that fits. For trailside work, a folding tool is handy. The SpokeForge is a folding bike multi tool with 16 tools, including hex keys, and its fold-out handle locks into an extended position for a longer grip on crank and pedal bolts.
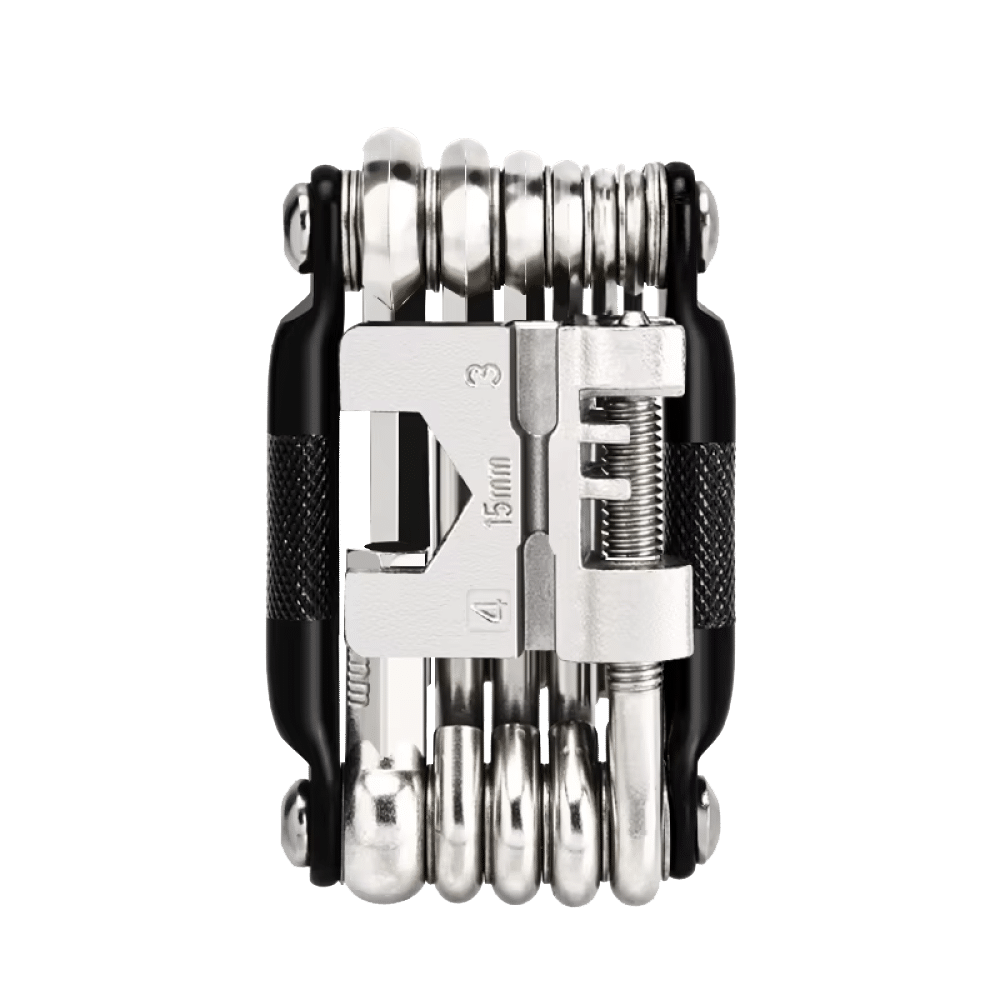 In this guideSpokeForge$39.99View
Remove the old pedals
- Shift the chain onto the largest chainring so the teeth are covered and stay clear of your hand.
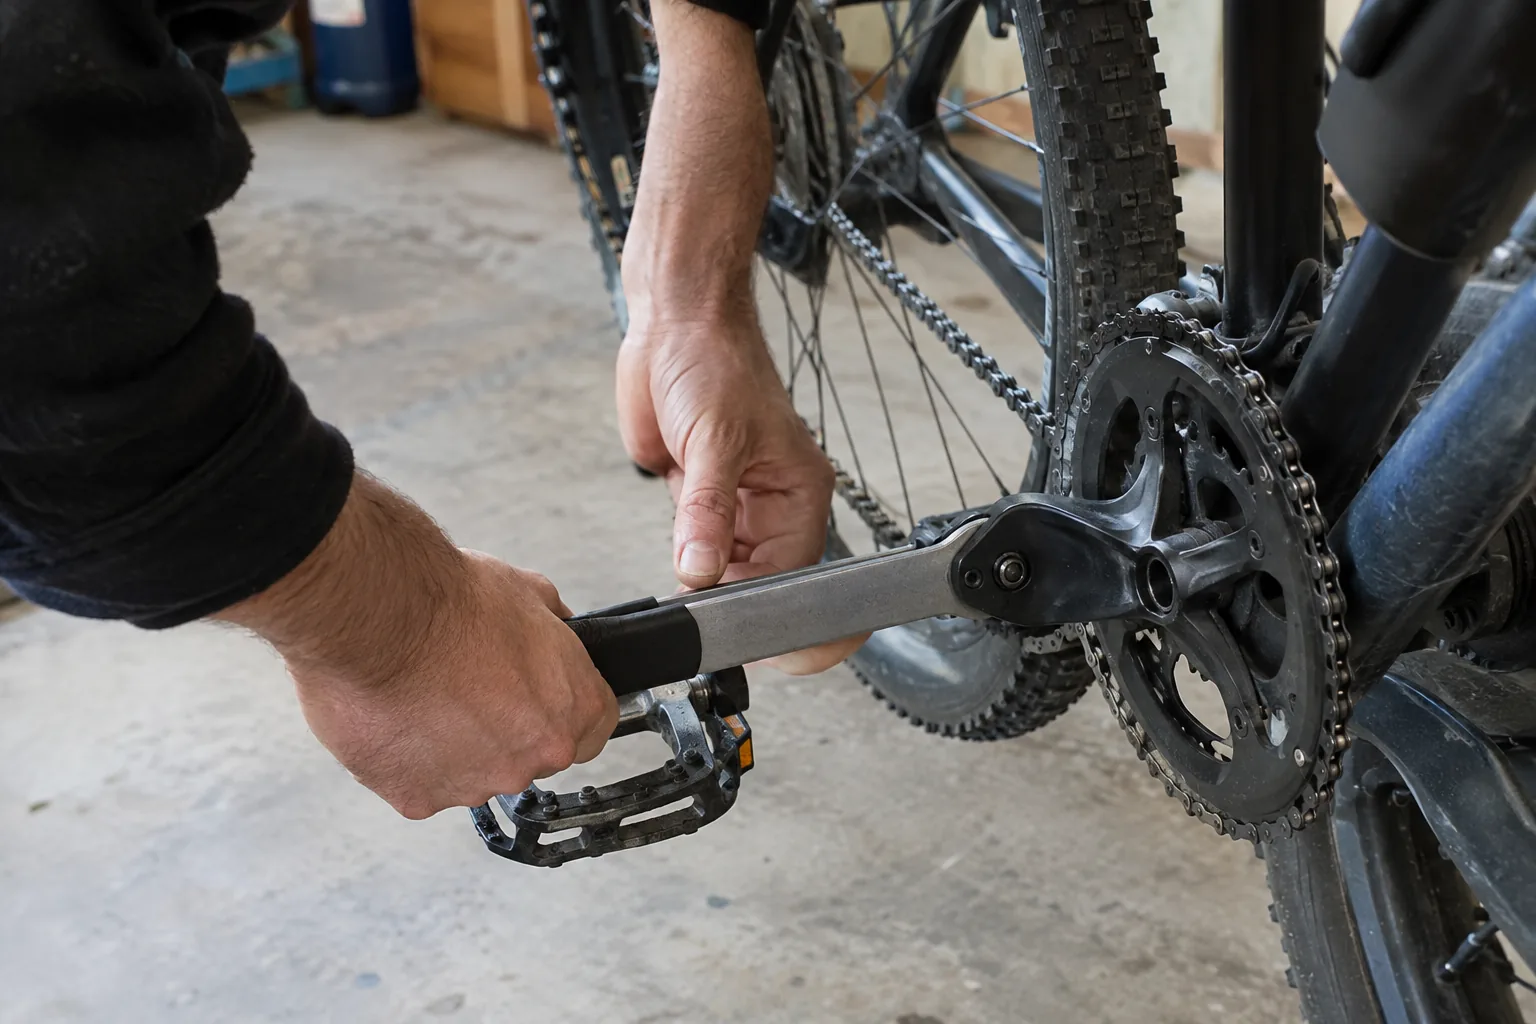
- Place the wrench on the right pedal axle flats, next to the crank arm, with the handle pointing toward the rear wheel, roughly level with the ground.
- Push down on the handle with steady force. If you use a hex key from the back of the crank, move its handle toward the rear of the bike, the same as with the wrench.
- Once it breaks loose, unscrew it by hand and set it aside.
- Move to the left side. Place the wrench so the handle again points toward the rear wheel, then push down. The pedal turns clockwise as you view it from the left.
- Wipe both crank arm threads clean with a rag and look for stripped or crossed threads.
Use a bike stand or hold the crank firmly so it does not spin while you push. Wear gloves, and follow the manuals for your bike and pedals.
Field note
With the crank arm pointing forward and the wrench handle pointing back, press down on the handle so your body weight does the work and the wrench is less likely to hit the chainring.
How to change bike pedals that are stuck
Pedals seize when threads corrode or when the left pedal was turned the wrong way and jammed. Before using force, confirm the handle moves toward the rear wheel.
- Spray a penetrating lubricant on the thread where the axle meets the crank arm and let it soak in. Keep it off brake surfaces and rotors.
- Use a longer wrench handle for added reach. A tool with a locking extended handle can also help.
- Tap the wrench handle with a rubber mallet to jar the threads.
- Brace the crank arm with your other hand or a stand so force does not bend anything.
- If the pedal rounds off or does not move, take the bike to a shop. Forcing a seized pedal can damage the crank arm threads.
Carbon and aluminum cranks both need care, so avoid heat and ask a shop before trying anything beyond these steps.
Install the new pedals and tighten them
Should you grease bike pedal threads?
Yes. Apply a thin coat of grease to the pedal threads before installing. Use a small amount, and keep it off bearing surfaces and brake parts. Some makers name a specific product, so check the manual.
Thread each pedal by hand first
- Find the L and R marks on the axle ends. The right pedal goes on the drive side.
- Insert the right pedal and turn it clockwise by hand for several full turns. It should spin in with no resistance.
- Insert the left pedal and turn it counterclockwise by hand for several full turns.
- If either pedal binds, back it out and restart. Forcing a crossed thread damages the crank arm.
- Seat each pedal with the wrench, handle moving toward the front, then tighten to the value in the pedal manual. A torque wrench lets you match that value; without one, tighten until firm and snug without straining.
After a first ride, recheck both pedals. Pedals that creak or wobble need to be removed, cleaned and tightened again.
Common mistakes and a care routine
- Turning the left pedal the wrong way, which tightens it into a jam.
- Skipping the cleaning step, so dirt sits in the crank arm threads.
- Using a wrench that is loose on the flats, which rounds the edges.
- Mixing up the L and R pedals and forcing the wrong one in.
- Installing the pedals dry, which makes the next removal harder.
Check pedal tightness every month or so, and re-grease the threads whenever you take the pedals off. If you are still learning the basics of riding, see How to Ride a Bike: A Step-by-Step Plan for Adult Beginners. For more wrenches and carry-along tools, browse Bike Storage & Tools.
Wheel work such as how to change a bike tire is a separate job, but the habit is the same: set the bike up first and keep your tools within reach.