How to Ride a Bike: A Step-by-Step Plan for Adult Beginners
Learn how to ride a bike in four stages: balance, braking, starting and turning. Start with a fit and gear checklist, then practice each skill on flat, open pavement.
The Kesslund Team
November 4, 2026 · 6 min read
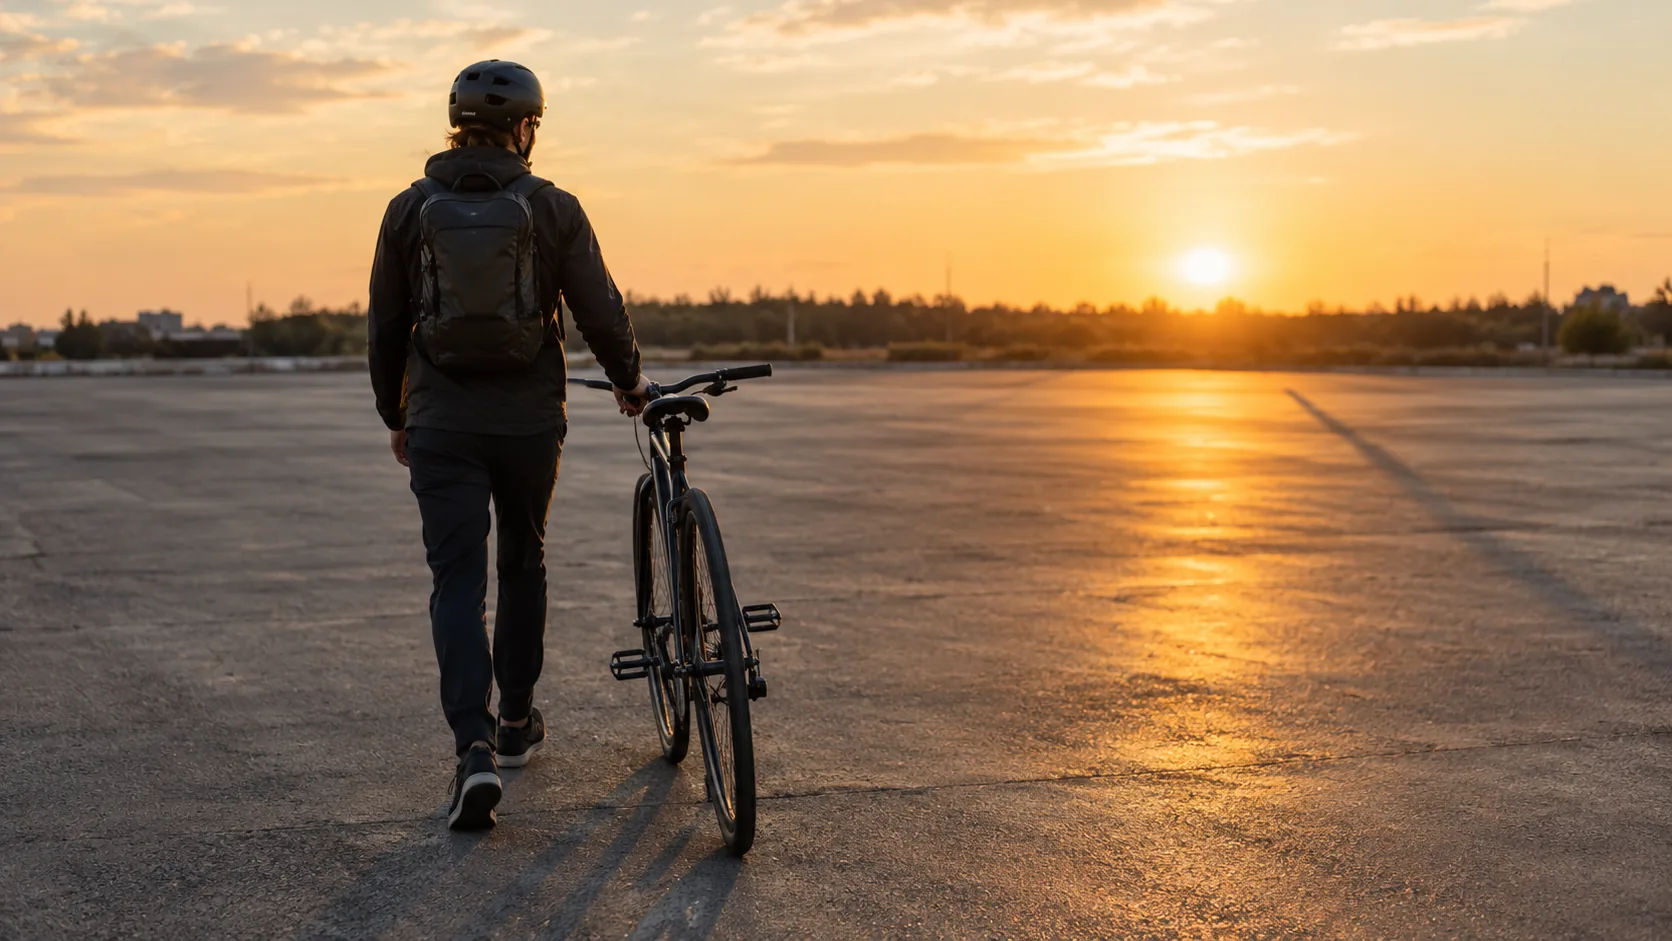
To learn how to ride a bike, lower the seat so both feet rest flat on the ground, then practice four skills in order: balance by scooting, braking, starting, and turning. Do each one on flat, empty pavement before you add the next. Pedaling comes last, because balance is the skill that makes everything else work.
This guide gives you a pre-ride checklist, a bike-choice table, and a staged plan you can repeat across several practice sessions. It is written for adults, so there are no training wheels and no one running behind you holding the seat.
Before the first ride: gear and fit checklist
Set up the bike and yourself before you leave the driveway. Early frustration often comes from a seat that is too high or brakes that are hard to reach, not from a lack of talent.
| Check | What to look for |
|---|---|
| Seat height | Low enough that both feet sit flat on the ground with your knees bent |
| Handlebar reach | Elbows slightly bent, shoulders relaxed, brake levers reachable with one or two fingers |
| Tires | Inflated to the pressure printed on the tire sidewall |
| Brakes | Squeeze each lever with the bike stationary; the wheel should resist rolling when you push |
| Helmet | Level on your head, snug, strap clipped |
| Shoes | Flat, closed-toe soles; no loose laces near the pedals |
| Clothing | Pant legs that cannot catch in the chain |
If you are unsure about the brakes or tire pressure, a local bike shop can look the bike over. Follow the bike's manual for any adjustment.
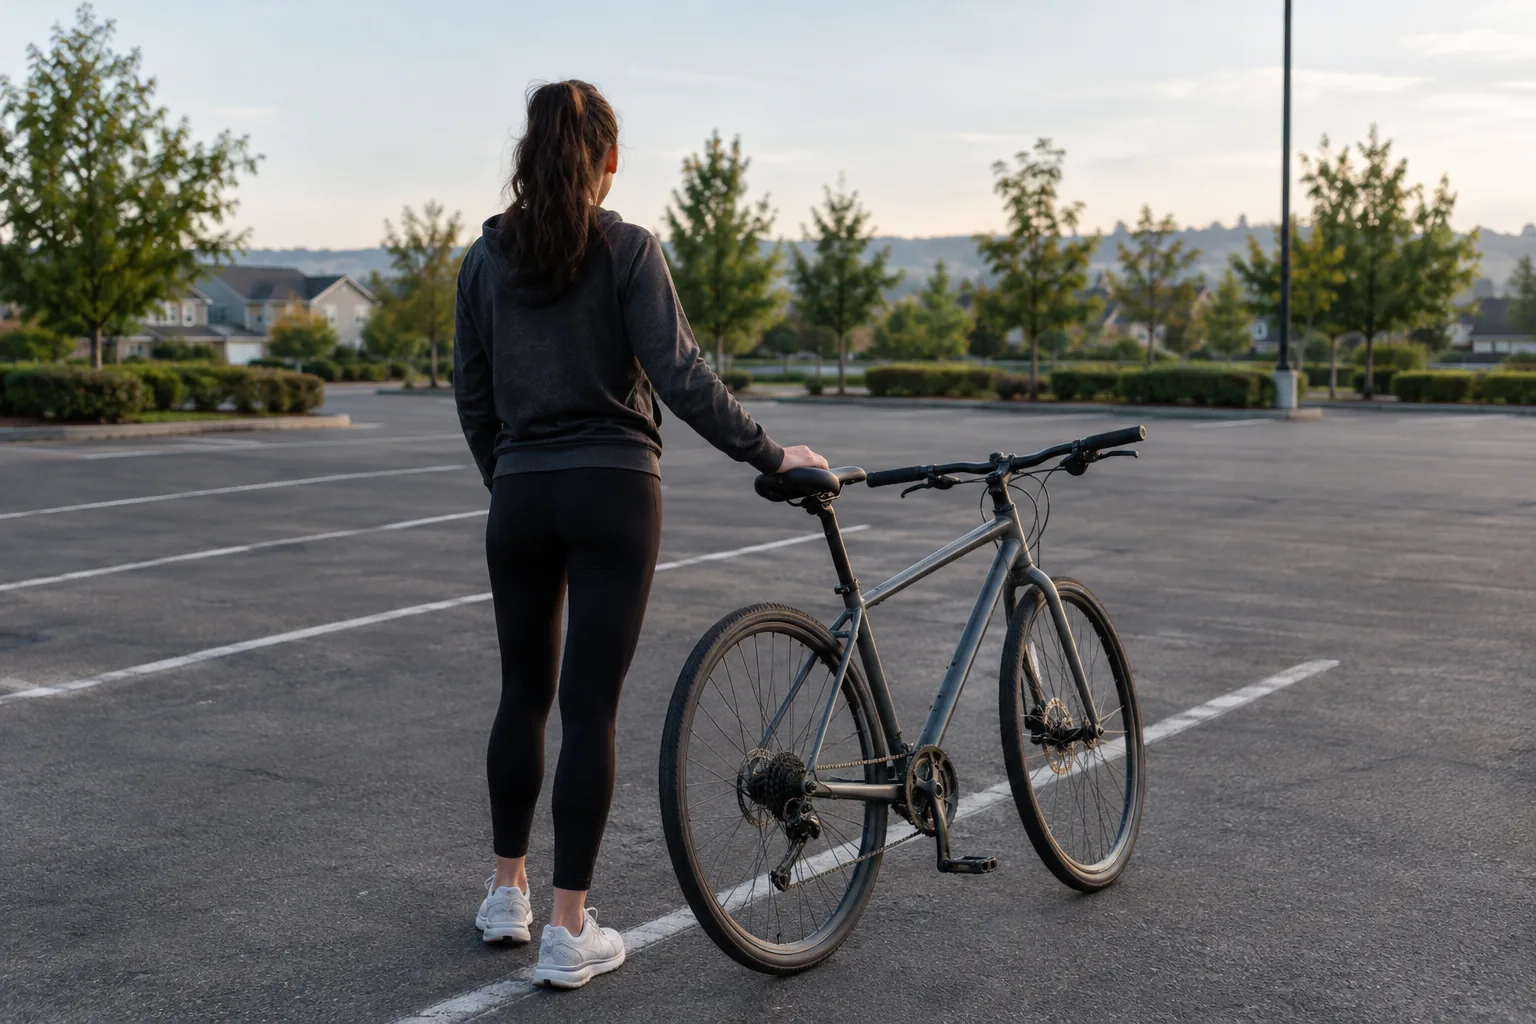
Helmet and gloves for your first sessions
Falls at low speed still happen while you learn, so wear a helmet from the first scoot. Fit it level on your head, with the front edge sitting above your eyebrows, and tighten the strap until it is snug. The federal bike-safety page on learning to bike covers helmet fit and basic riding habits.
The CrestGlide is a cycling helmet with a polycarbonate outer shell over an EPS foam layer and sixteen vents. A rear dial adjusts the fit, and the interior padding comes out for washing. It weighs 210 grams (about 7.4 oz).
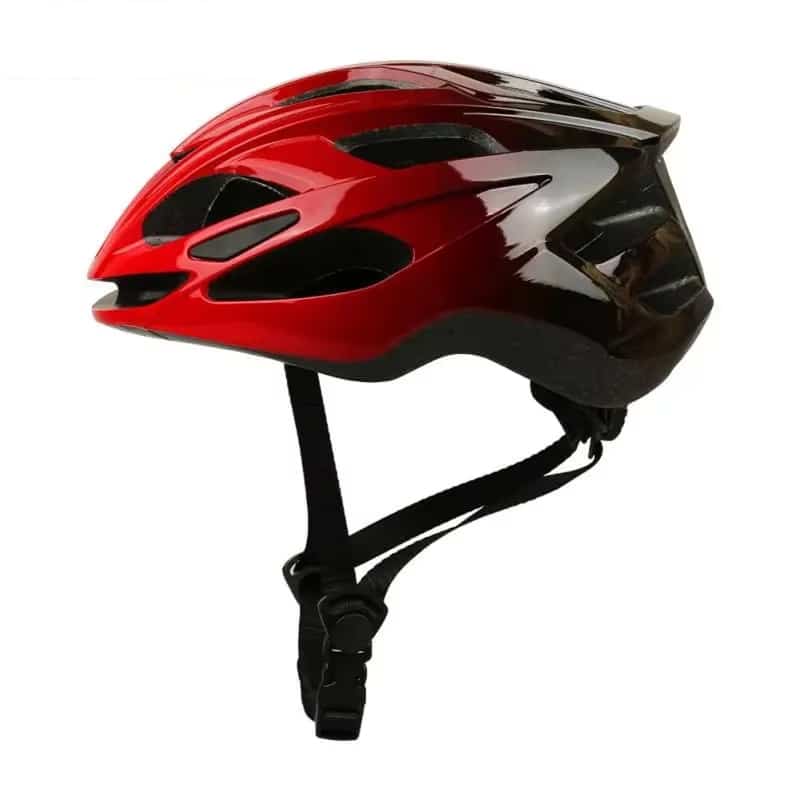 In this guideCrestGlide$89.00View
Gloves are optional, but they put a layer between your palm and the grip. RideFlex gloves have multi-module SBR padding in the palm, mesh panels, and a velcro strap at the wrist. If you want eye cover for glare or debris, browse the Bike Safety & Eyewear collection.
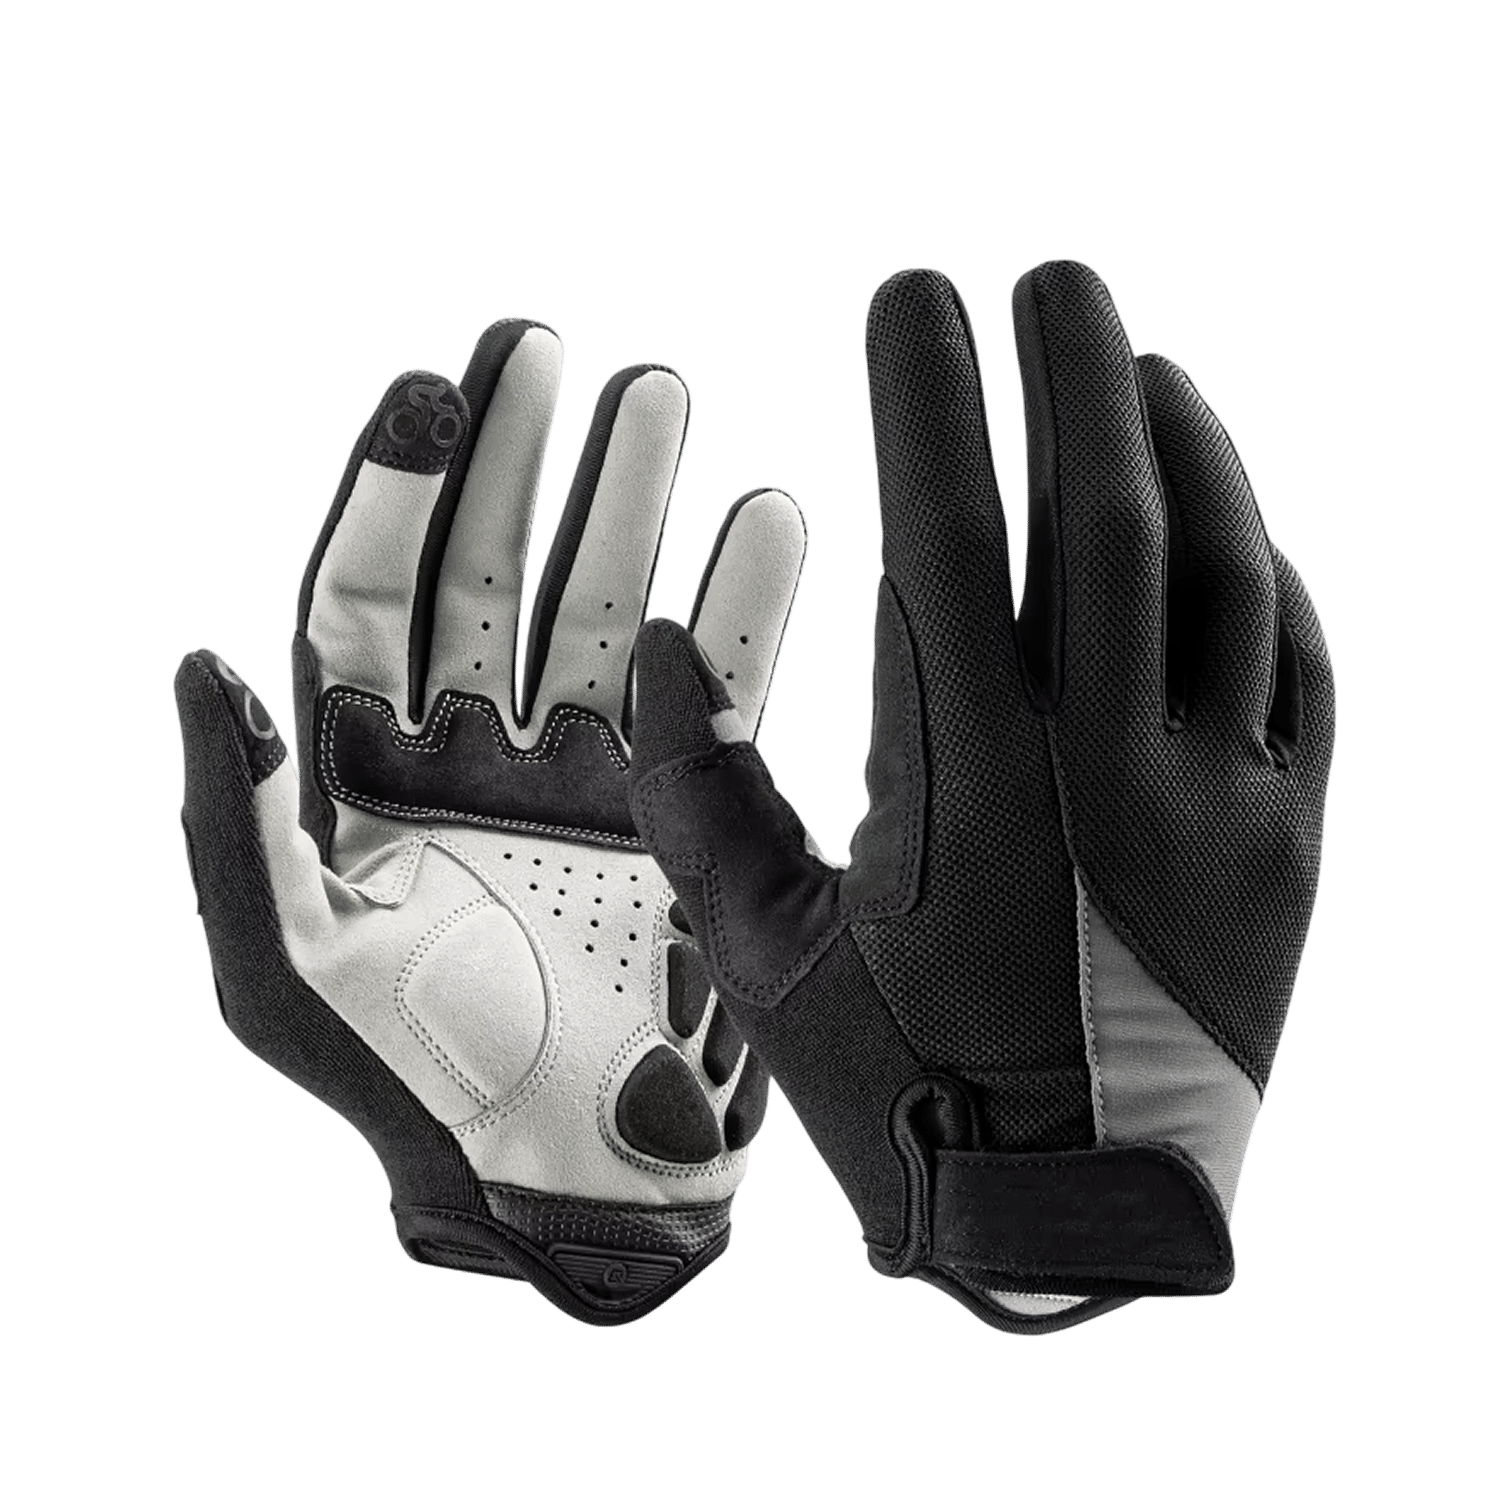 In this guideRideFlex$79.99View
What kind of bike should you learn on
Pick a bike where you can stand over the top tube or step-through frame with both feet flat. Frame size matters more than type at this stage. A frame that is too tall is a common reason adults cannot get their feet down, so check the standover height first.
| Bike type | Why it suits learning | Watch for |
|---|---|---|
| Step-through city bike | Low frame makes it simple to step on and off | Frame can be heavy to move around |
| Hybrid | Upright posture, flat handlebar, common gearing | Check the standover height |
| Comfort or cruiser | Relaxed seating, wide seat | Wide handlebars take room to turn |
| Mountain bike | Flat bar, upright fit | Knobby tires feel draggy on pavement |
| Road bike | Light frame | Drop bars and a forward lean take more adjustment while learning |
If you borrow a bike, lower the seat and confirm the brakes work before anything else. Gears can stay in one low, easy gear for the whole plan.
How to ride a bike: the four-stage plan
Work through the stages in order. Move on only when the current skill feels routine, even if that takes several sessions. Short sessions with rests work well, and you can stop whenever your focus fades.
Stage 1: Balance by scooting
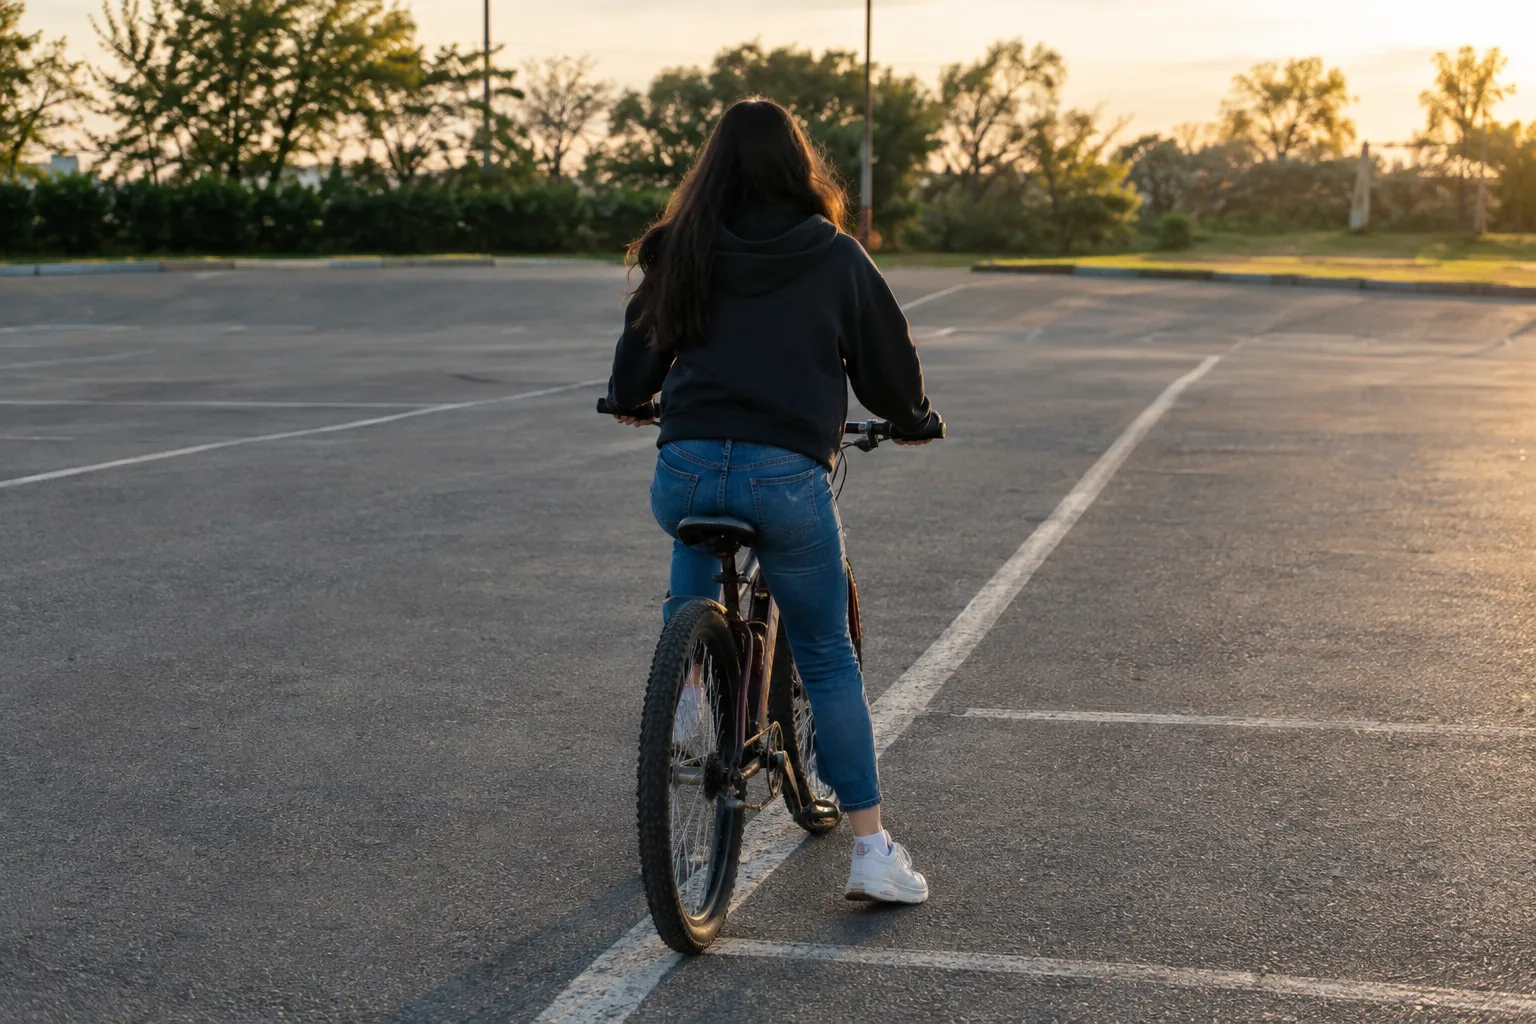
With the seat low, sit on the bike and push off the ground with both feet, like walking while seated. This scooting drill builds balance before any pedaling. Look ahead at the far end of the lot, not at the front wheel. The bike stays upright because it is moving and because you steer slightly toward any lean.
Progress from short shuffles to longer glides. Lift both feet for a moment and set them down again. Once you can glide in a fairly straight line with your feet off the ground, you have the main skill. This is also the answer to whether you need good balance: you build it here, and you do not need to have it first.
Stage 2: Braking
Learn to stop before you learn to pedal. Roll at walking pace, squeeze both levers evenly, and put a foot down as the bike slows. The front brake does a large share of the stopping, so squeeze both levers together rather than grabbing one hard.
Repeat until stopping feels routine. Practice from a scoot, then from a longer glide, always on dry pavement and with clear space ahead.
Stage 3: Starting and pedaling
Now bring in the pedals. Place your preferred foot on a pedal set at about two o'clock, push down, and lift yourself onto the seat as the bike rolls. Put the other foot on its pedal and keep pedaling in a steady rhythm.
- Keep your eyes up and your arms loose.
- If you wobble, pedal a little more rather than stopping.
- To stop, brake, slide forward off the seat, and put one foot down.
- If starting feels awkward, raise the seat one small step so your leg extends more at the bottom of the stroke, but keep a toe able to touch the ground.
Stage 4: Turning and looking
Start with wide, gentle curves in the lot. Look where you want to go, and the bike tends to follow. Do not lean hard; slow down before the turn and keep your pedals level, with the inside pedal up.
Then add the skill that makes road riding workable: glance over your shoulder while holding a straight line. Practice it on a painted line or parking stripe. Signal with one arm only once you can hold the line with the other hand.
Common mistakes and how to fix them
| Mistake | Fix |
|---|---|
| Seat too high | Lower it until both feet rest flat |
| Staring at the front wheel | Pick a point far ahead and look at it |
| Gripping the bars tightly | Relax your elbows and shoulders; keep a light hold |
| Braking with one lever | Squeeze both levers together |
| Going too slowly | Roll at a steady walking-plus pace; very slow speeds wobble more |
| Practicing near traffic | Stay in an empty lot or a quiet path until all four stages feel routine |
After the lot: your first real rides
Move to a quiet bike path or a low-traffic street once you can start, stop, turn and look back without thinking about it. Choose daytime and dry weather. A university transportation article on learning to ride at any age offers more encouragement for adult learners.
Keep a small routine for each ride: check tire pressure and brakes, fit your helmet, then pedal. After rides, wipe down the bike and take out the helmet padding to wash it as the manual describes. For gloves, our guide to hand washing clothes walks through the method, and the glove care instructions come first.
Field note
Practice the first two stages with the pedals still on but your feet off them. If a wobble starts, put your feet down. Only add pedaling once you can glide in a straight line.