How to Tighten Bike Brakes: Rim, Cable Disc and Hydraulic Fixes
Match your problem to your brake type, then adjust the barrel adjuster, cable clamp, pads or caliper. Finish with a standing squeeze test and a slow test ride.
The Kesslund Team
November 7, 2026 · 7 min read
How to tighten bike brakes depends on the brake type: on cable brakes, turn the barrel adjuster at the lever or caliper counterclockwise a few clicks to take up slack. If the lever still pulls too far, loosen the cable clamp bolt, pull the cable taut, and retighten the bolt. Hydraulic brakes have no cable to pull, so a loose lever there points to pad wear, air in the line, or a shop visit.
This guide is organized by problem, because a loose lever, weak grip and rubbing each have a different fix. Find your brake type, follow the steps for how to tighten bike brakes of that type, then finish with the test ride check before you trust the bike on a road or trail.
How to tighten bike brakes: find your problem and brake type
Look at the brake itself. Rim brakes squeeze pads against the metal wheel rim. Disc brakes clamp a caliper around a metal rotor at the hub, and they are either cable-pulled (a steel cable runs to the caliper) or hydraulic (a sealed fluid line, thicker than a cable).
| Problem | Likely cause | First fix |
|---|---|---|
| Lever pulls almost to the grip | Cable stretch or worn pads | Barrel adjuster, then cable clamp (cable brakes); pad check (hydraulic) |
| Brakes not gripping | Worn pads, oily rim or rotor, misaligned pads | Inspect pads, clean the braking surface, reposition pads |
| Wheel rubs or squeals while rolling | Caliper or brake arms off center, bent rotor | Re-center the caliper or arms |
| Lever feels spongy | Air in a hydraulic line | Bleed per the manual, or see a bike shop |
| Lever sits too far from the grip | Reach setting | Reach adjust screw on the lever |
Before you start: checklist and tools
Spend a minute on checks, because a pad or cable problem can look like a loose brake. Work with the bike upright or in a stand so the wheel spins freely.
- Spin each wheel and check that it runs straight and does not wobble.
- Look at the pads. If the wear lines or grooves are gone, or the metal backing shows, replace the pads instead of adjusting.
- Check the cable housing for kinks, fraying or rust.
- Wipe the rim or rotor with a clean rag. Oil or grease on a braking surface causes weak grip that no adjustment fixes.
- Check that the quick-release or thru-axle holds the wheel fully seated.
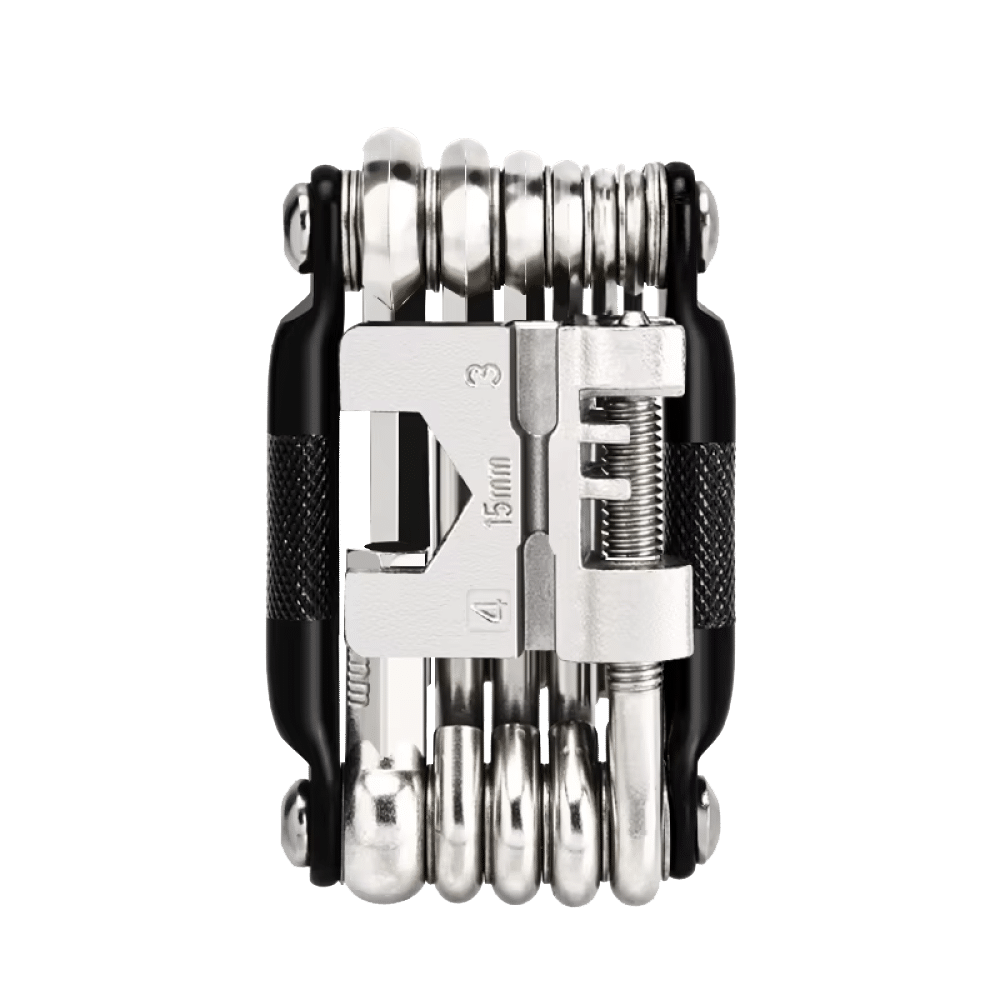
The work needs mostly hex keys. A bike multi tool with hex keys and Torx bits covers caliper bolts, pad bolts and cable clamp bolts, and it fits in a saddle bag for trailside fixes. If you also want to adjust pedals and cranks, see our guide on changing bike pedals, which covers the same tools.
 In this guideSpokeForge$39.99View
SpokeForge is a folding multi tool with 16 tools in one steel frame, including hex keys, Torx bits, spoke wrenches and a chain breaker. It folds flat for a pocket or saddle bag. Match the bit to the bolt head before you turn anything, and seat it fully so it does not round the bolt. More options live in the Bike Storage & Tools collection.
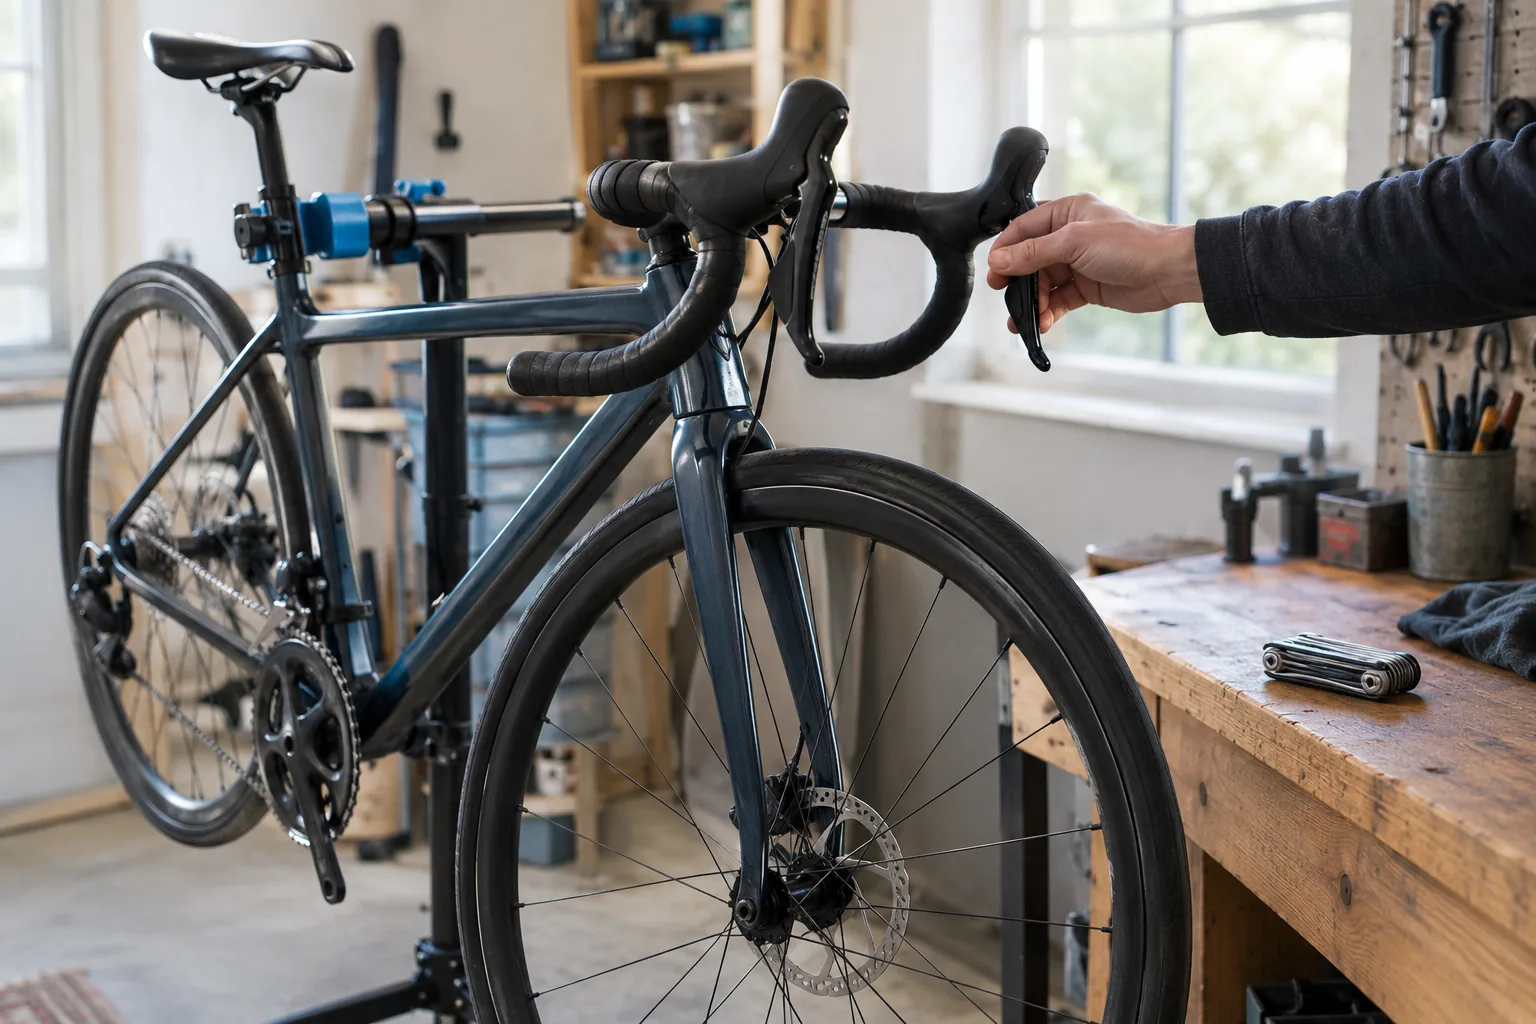
Rim brakes: fix a loose lever, weak grip or rubbing
Loose lever: use the barrel adjuster
The barrel adjuster is the knurled cylinder where the cable meets the lever or caliper. Turn it counterclockwise, one or two turns at a time, to shorten the slack in the cable. Squeeze the lever after each change. The pads should sit close to the rim, and the lever should have clear space before it touches the grip.
If the adjuster is already unscrewed most of the way, turn it back in fully, then use the cable clamp below.
Still loose: reset the cable at the clamp
- Turn the barrel adjuster fully in, then back out one full turn.
- Squeeze the pads against the rim by hand, or have a helper hold the caliper closed.
- Loosen the cable clamp bolt with the matching hex key.
- Pull the cable taut with pliers or your fingers, keeping the pads near the rim.
- Retighten the clamp bolt, then check that the cable end has no fraying.
Weak grip: reposition the pads
Pads should hit the flat of the rim, not the tire above it or the spokes below it. Loosen the pad bolt slightly, set the pad so it meets the rim squarely with a small toe-in if the manual calls for it, and retighten while holding the pad in place. Check both sides.
Rubbing: center the brake arms
If one pad drags, look for a small centering screw on the caliper. Turn it a quarter turn at a time until both pads sit an equal distance from the rim. On some calipers, you loosen the mounting bolt, center the caliper by hand, and retighten.
Cable disc brakes: tighten the pull and align the caliper
Cable disc brakes use a mechanical caliper. Some have a pad adjuster on the caliper as well as a barrel adjuster at the lever. Which parts your bike has depends on the model, so check the manual for the exact layout.
Take up cable slack
- Turn the lever barrel adjuster counterclockwise a few turns, squeezing between turns.
- If slack remains, loosen the cable anchor bolt on the caliper, pull the cable through, and retighten the bolt.
- Spin the wheel and listen for rotor rub.
Adjust the pads as they wear
Disc pads wear down toward the rotor. Some mechanical calipers have a dial or knob on the outside that moves a pad inward. Turn it in small clicks until the pad sits near the rotor without dragging. Some calipers also have an inner adjuster that sets the other pad, so check both.
Fix rubbing by re-aligning the caliper
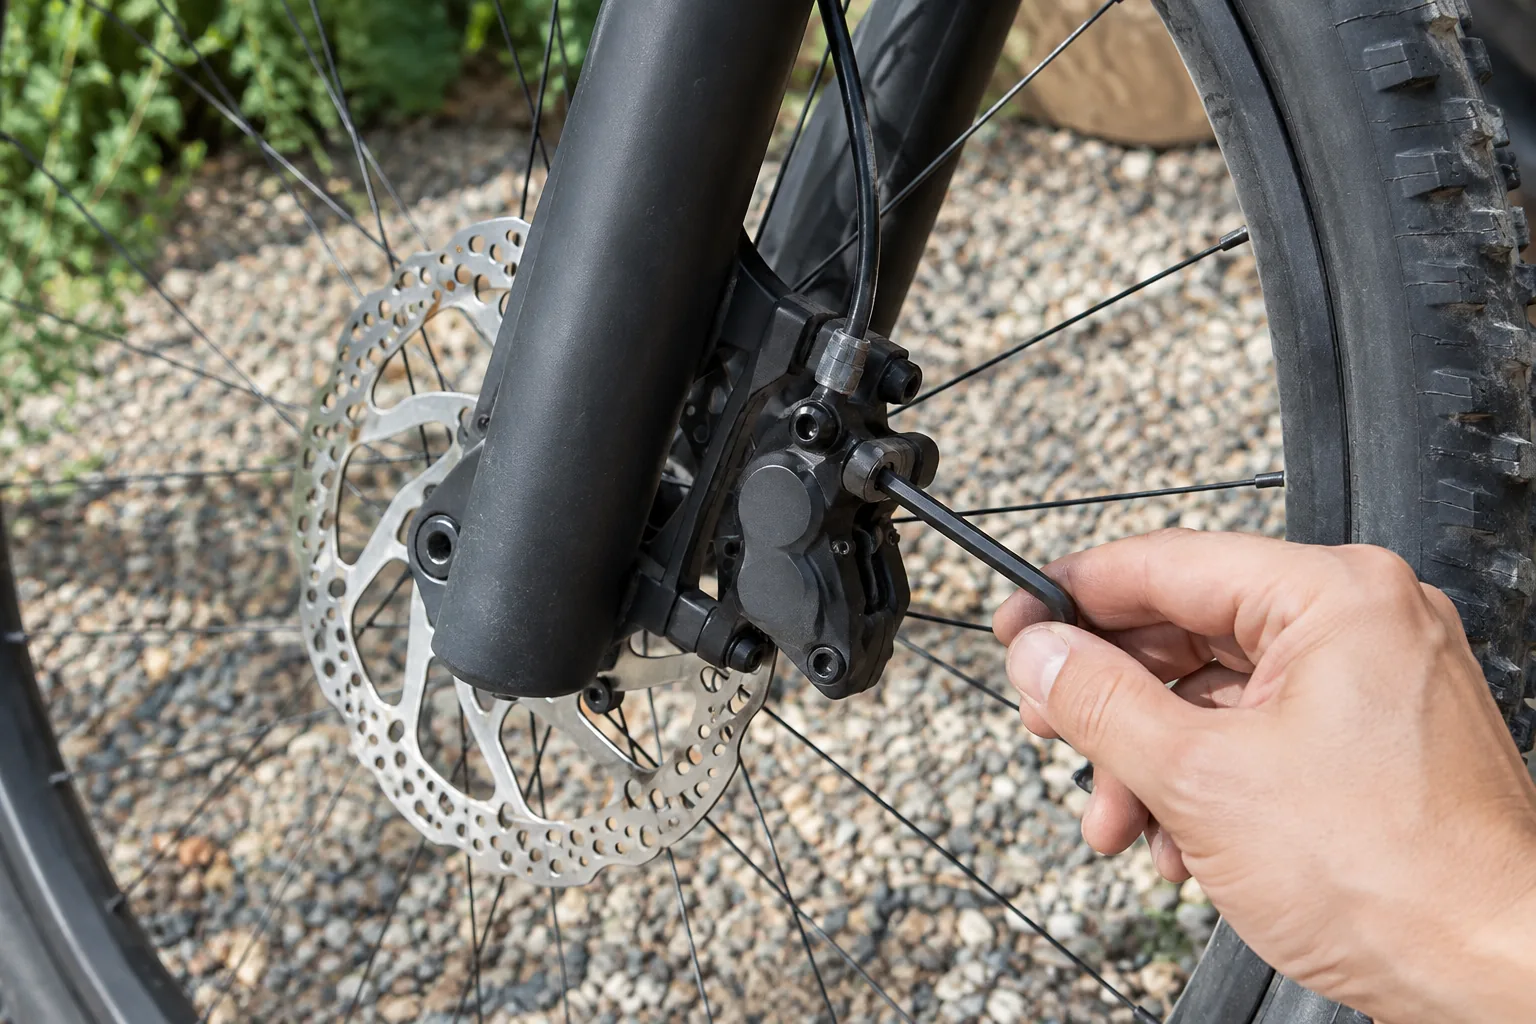
- Loosen both caliper mounting bolts just enough for the caliper to move.
- Squeeze the lever and hold it. This centers the caliper over the rotor.
- While holding the lever, retighten the bolts evenly.
- Release the lever, spin the wheel, and look through the caliper window to check for even gaps on each side.
If the rotor is bent, rub will return. A bent rotor needs straightening or replacement at a bike shop.
Field note
Rotors and pads pick up oil easily. Handle rotors by the edge, and wipe them with a clean rag before you ride. If oil has soaked into a pad, replace the pad.
Hydraulic disc brakes: what you can adjust
With a hydraulic brake, a lever that moves farther than before points to one of three things: worn pads, air in the line, or a lever reach setting. These systems hold pressurized fluid, so follow the manual and ask a bike shop if you are unsure.
Check pad wear first
Look through the caliper. If the pad material is thin, replace both pads. New pads may need a bedding-in routine from the manual.
Set the lever reach
Some levers have a small reach screw, a hex or dial near the lever pivot. Turning it moves the lever blade toward or away from the grip. This changes where the lever sits, not how the brake grips, so use it to fit your hand.
Spongy lever: bleed or visit a shop
A spongy feel, or a lever that pulls to the grip, points to air in the line. Bleeding needs a kit made for your brake and the fluid type listed in the manual. If you have not done it before, bring the bike to a shop.
Fix rubbing
Use the same caliper alignment steps as above: loosen the mounting bolts, squeeze and hold the lever, and retighten evenly. If a piston sticks out unevenly, stop and have a shop inspect the caliper. The same steps apply to e-bike hydraulic brakes, so check the pads on an e-bike regularly.
Test ride check before you trust the bike
Finish every adjustment with these steps, in order. Do not skip to the road.
- Standing next to the bike, squeeze each lever hard. It should feel firm and stay clear of the grip.
- Push the bike forward while squeezing the front brake. The bike should resist rolling and the rear wheel may lift.
- Spin each wheel and check for rub, rasp or pulsing.
- Check that the bolts you touched are tight and the cable end cap is in place.
- Ride slowly on a flat, empty area. Brake gently, then harder, with each lever separately.
- Repeat the squeeze test after your first short ride, since a new cable fit can settle.
If the lever pulls to the grip, the bike drags, or you hear metal on metal, take it to a bike shop. If you are newer to riding, our adult beginner plan covers braking practice on an open, flat area.
Common mistakes when tightening brakes
- Overtightening the cable until the pads drag on the rim or rotor.
- Adjusting only one brake and leaving the other.
- Ignoring worn pads and trying to fix them with the cable.
- Greasing the cable clamp or touching rotors with oily hands.
- Using the wrong size hex key and rounding the bolt head.
- Skipping the standing squeeze test.
Now that you know how to tighten bike brakes, make a habit of looking at pads, cables and bolts on a regular schedule, and after any crash or hard fall, before riding again.