How to Tie Fishing Knots: 5 Knots Every Beginner Needs
Five knots cover the whole job: the improved clinch, Palomar and non-slip loop for terminal tackle, plus the uni and double uni for tying line to line.
The Kesslund Team
November 4, 2026 · 6 min read
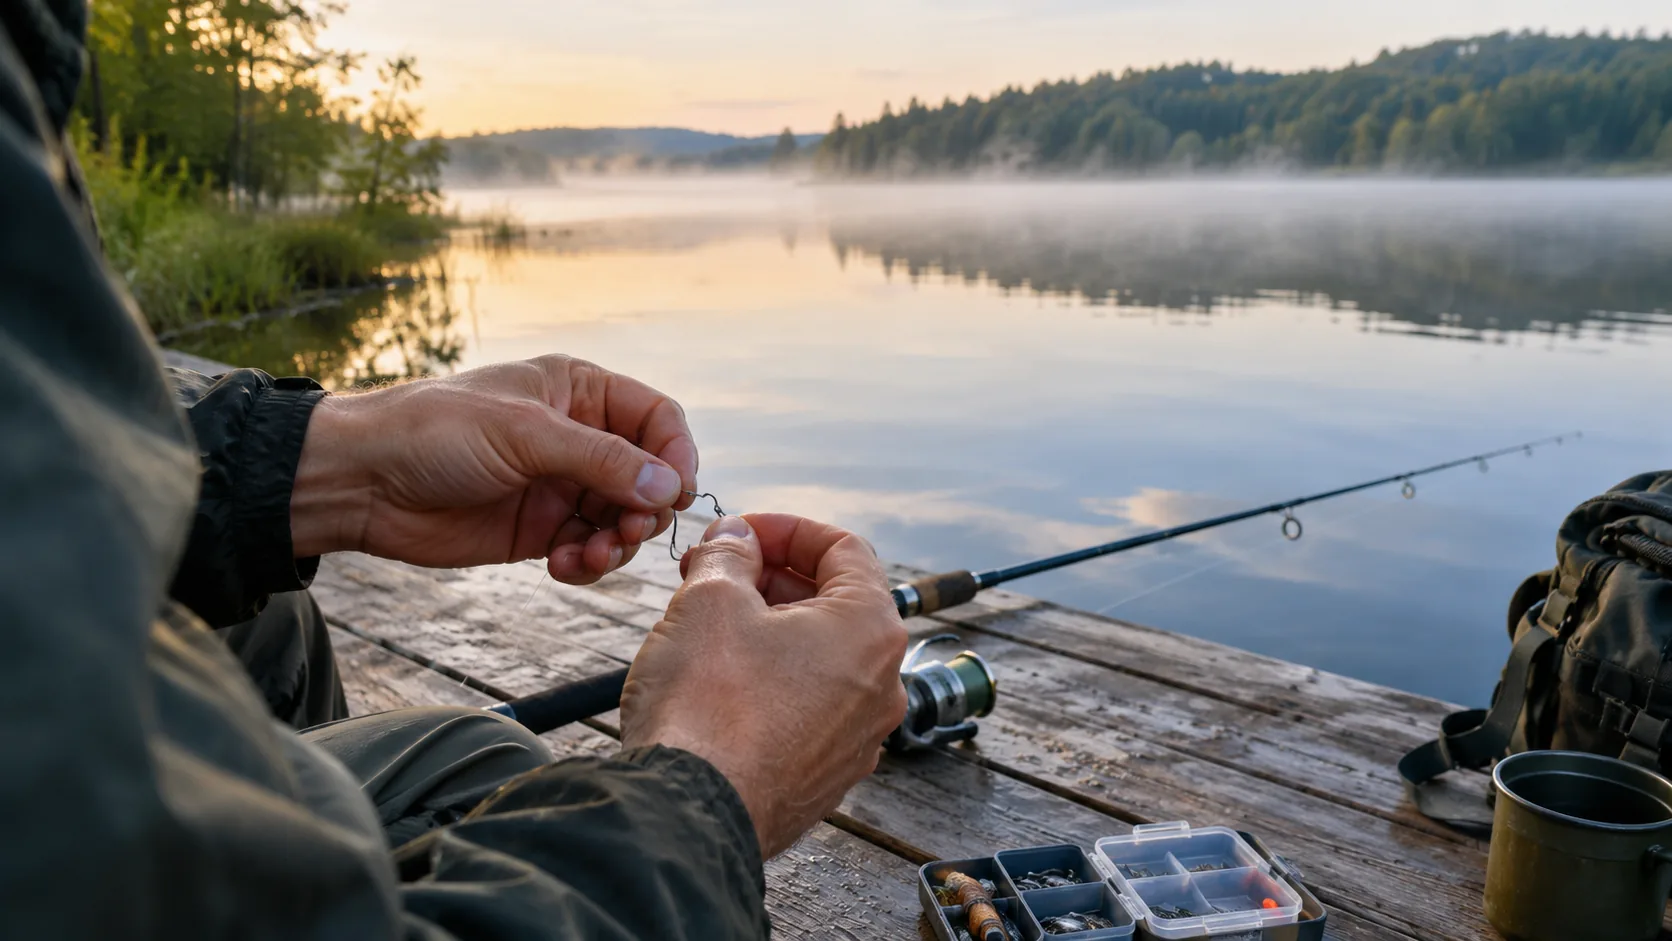
To learn how to tie fishing knots, start with five: the improved clinch knot for hooks, lures and swivels, the Palomar knot for hooks, the non-slip loop for lures, the uni knot for general use, and the double uni for joining two lines. Each one follows the same pattern: thread the line, wrap, pass the tag end back through, moisten, and pull snug.
This guide matches each knot to a job, shows the steps, and ends with a pull check and a field checklist so a knot is checked before you cast.
How to tie fishing knots: match the knot to the job
A knot has one task. Pick it by what you are connecting, not by how many knots you can name. The table below is the whole decision.
| Job | Knot | Works with |
|---|---|---|
| Hook, swivel or lure on monofilament | Improved clinch | Monofilament, fluorocarbon line |
| Hook on braided line, with an eye large enough to pass a doubled line | Palomar | Monofilament, braided line |
| Lure that should swing freely | Non-slip loop | Monofilament, fluorocarbon line |
| All-purpose hook or swivel tie | Uni knot | Monofilament, braided line |
| Join two lines | Double uni | Similar-diameter lines |
The uni and Palomar are the knots to reach for with braided line, because braid is slick and calls for extra wraps or a doubled line.
Prepare the line before any knot
A frayed or kinked line end can spoil a knot. Cut off the last few feet if the line looks damaged. Use sharp line clippers or small scissors for a clean cut, and keep them in a pocket within reach.
Always moisten the line with water or saliva before you tighten. A wet knot lets the coils slide into place instead of binding. Trim the tag end last, leaving a short tail.
Knots for hooks, lures and swivels
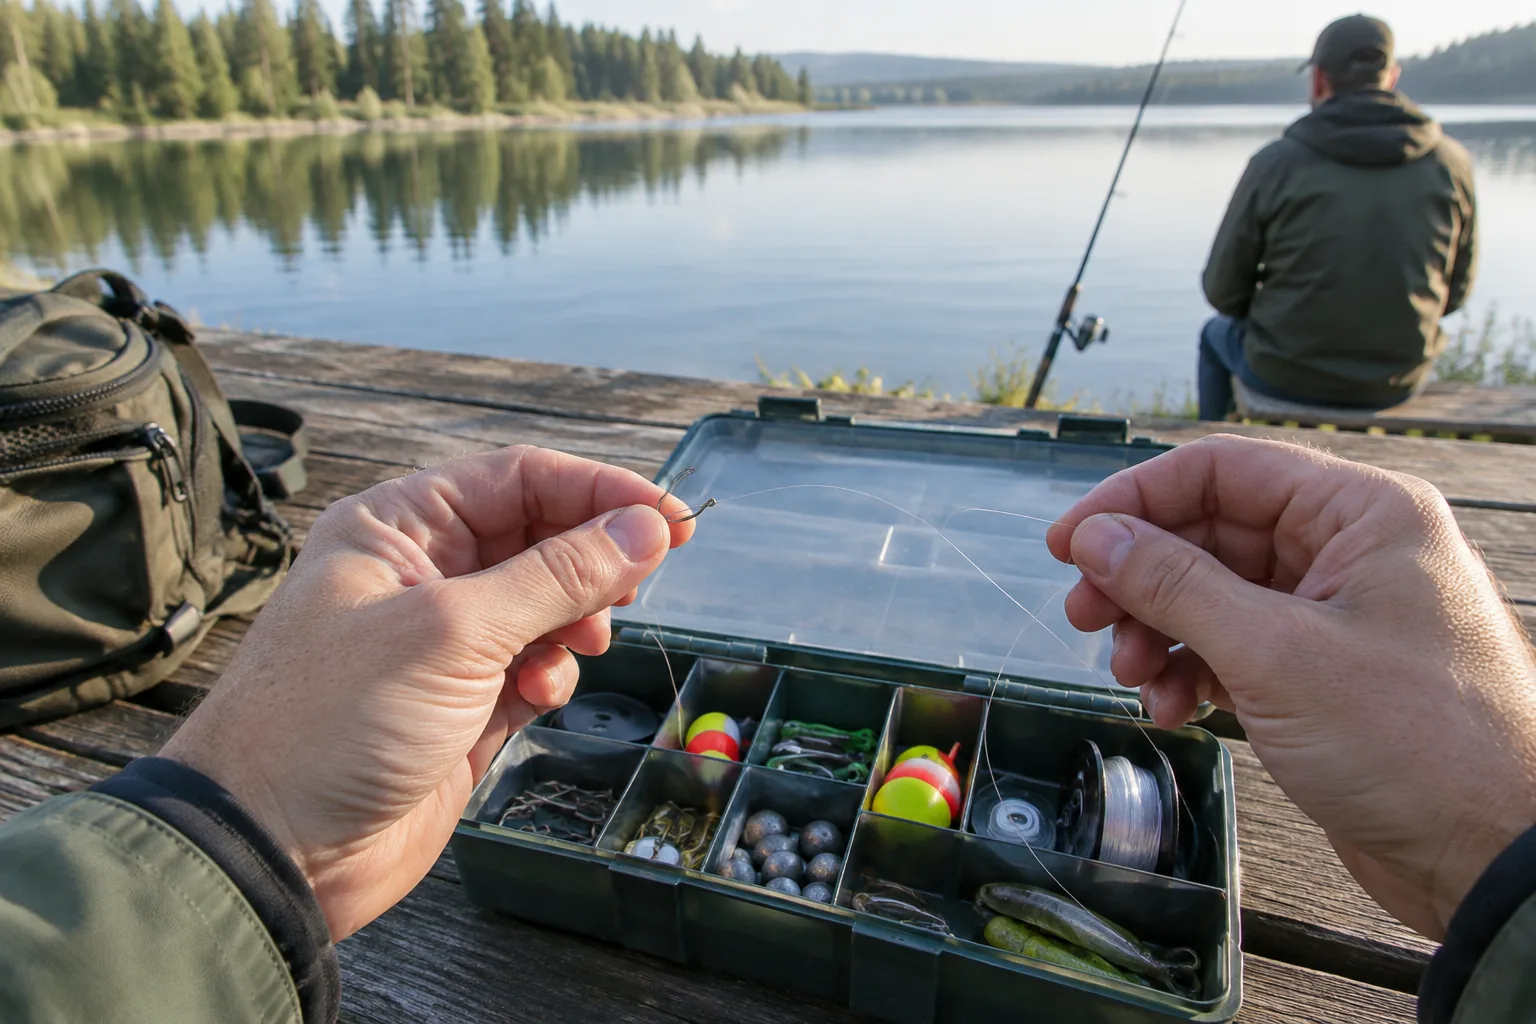
This is where beginners start, and it is also how to tie a fishing hook to your line.
Improved clinch knot
- Pass about 6 inches (15 cm) of line through the eye of the hook.
- Wrap the tag end around the standing line five to seven times.
- Pass the tag end through the small loop next to the eye.
- Pass it back through the larger loop you just formed.
- Moisten, pull the tag end and the standing line to tighten, then trim.
The extra pass through the big loop is what separates the improved version from the plain clinch. Use fewer wraps with heavier line, since thick line bunches up.
Palomar knot
- Double about 6 inches (15 cm) of line to make a loop.
- Pass the loop through the eye of the hook.
- Tie a loose overhand knot with the doubled line, letting the hook hang below.
- Pass the loop over the entire hook, then down past the eye.
- Moisten, pull the standing line to tighten, and trim the tag.
Because you are working with a doubled line, the eye must be large enough to take both strands. Make sure the loop clears the whole hook before you tighten.
Non-slip loop knot
- Tie a loose overhand knot about 8 inches (20 cm) up the line.
- Pass the tag end through the lure eye, then back through the overhand knot the same way the line exits it.
- Wrap the tag end around the standing line three to five times.
- Pass the tag end back through the overhand knot.
- Moisten, pull the tag end and the standing line, then slide the knot to size the loop and trim.
The open loop leaves the lure free to move on the line, which is why some anglers use it for crankbaits and jigs.
Knots for line to line and to swivels
Uni knot
- Pass the line through the eye and double back, leaving a tag of about 6 inches (15 cm) parallel to the standing line.
- Form a loop by laying the tag end over the doubled lines.
- Wrap the tag end through the loop and around both lines five or six times.
- Moisten, pull the tag end to snug the wraps, then pull the standing line to slide the knot toward the eye.
- Trim the tag.
The uni is the one knot to learn if you want only one. With braided line, add a few extra wraps and check that each coil lies flat.
Double uni knot to join two lines
This is how to tie fishing line together, for example when adding a leader to your main line.
- Overlap the ends of the two lines by about 6 inches (15 cm), running in opposite directions.
- With one tag end, tie a uni knot around the other line, wrapping four to six times, and moisten.
- Do the same with the other tag end around the first line.
- Pull the two standing lines in opposite directions so the knots slide together, then trim both tags.
A fisherman's knot is a close relative: each line gets an overhand knot tied around the other, and the two knots are pulled together. The double uni adds several wraps to each side instead of a single overhand knot. Use lines of similar diameter for either one.
A pull check before you trust any knot
Every knot you tie should pass a short check, whether it is your first or hundredth. It costs only a retie.
- Look at the coils. They should lie side by side with no crossovers.
- Moisten and snug the knot completely, so it sits against the eye.
- Hold the hook or lure in one hand and the line in the other, and give a firm, steady pull. Do not jerk.
- If the knot slips, cuts the line, or leaves a curly tail, cut it off and retie.
- Trim the tag, leaving a short tail so a coil cannot unwind.
Wear eye protection and keep hook points away from your hands while you pull. Do the check before you add bait.
Tie a knot that does not come undone
When a knot slips, check these causes one by one.
| Mistake | Fix |
|---|---|
| Dry tightening | Moisten before every pull |
| Too few or too many wraps | Use five to seven on thin monofilament, fewer on thick line, more on braid |
| Crossed coils | Keep wraps parallel and tighten slowly |
| Tag end cut flush | Leave a short tail |
| Mismatched lines in a join | Join lines of similar diameter |
| Reusing a knotted section | Cut off and retie after a snag or a long fight |
Line type matters too. Monofilament and fluorocarbon line take most knots well. Braid is slick, so choose the Palomar or uni and add wraps.
Which knot to start with
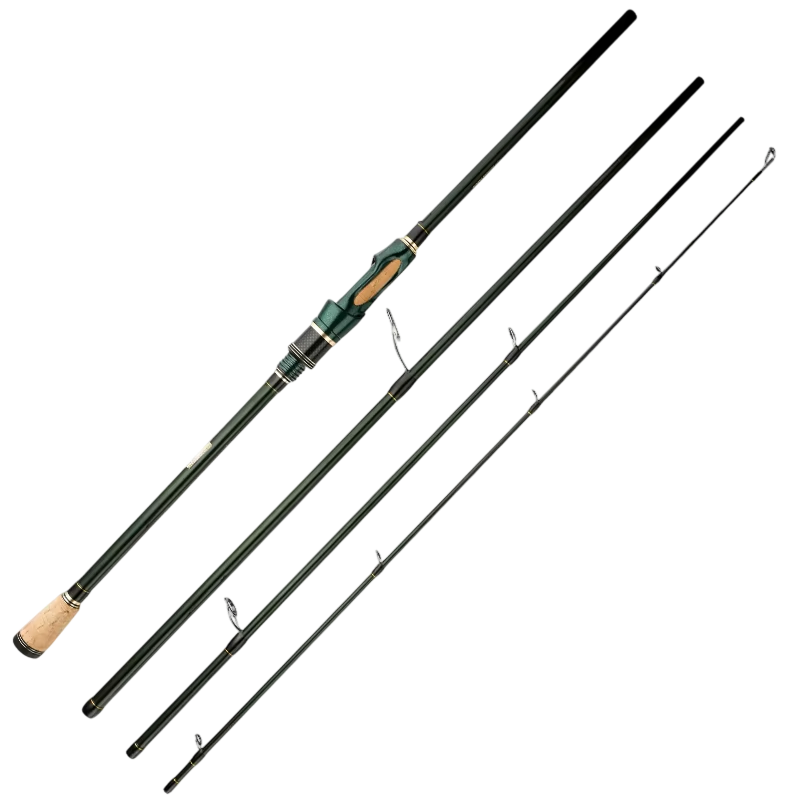
The improved clinch is a sensible first knot: it has few steps and it works on monofilament line, the line that comes pre-spooled on the reel of the CastRidge Pro combo. Once your hands know it, add the Palomar and the uni.
Practice at home with a paper clip and a few feet of line. Then try the one-handed version: hold the hook or lure against your palm with your thumb and use your free hand to wrap.
If you still need a rod and reel, our guide to rod and reel fishing combos explains how to pick a setup, and fishing reel types compares spinning, baitcasting and spincast.
 In this guideCastRidge Pro$99.99View
Field note
Tie two practice knots at home on a spare length of line, then pull each one. The one that slips tells you which step to repeat.
Field checklist for knots on the water
Keep these items together so a retie does not mean a trip back to the car.
- Line clippers or small scissors
- Spare hooks, swivels and leader material
- A short length of practice line
- Pliers for pulling a tight knot or a hook
- A small cloth to dry your hands
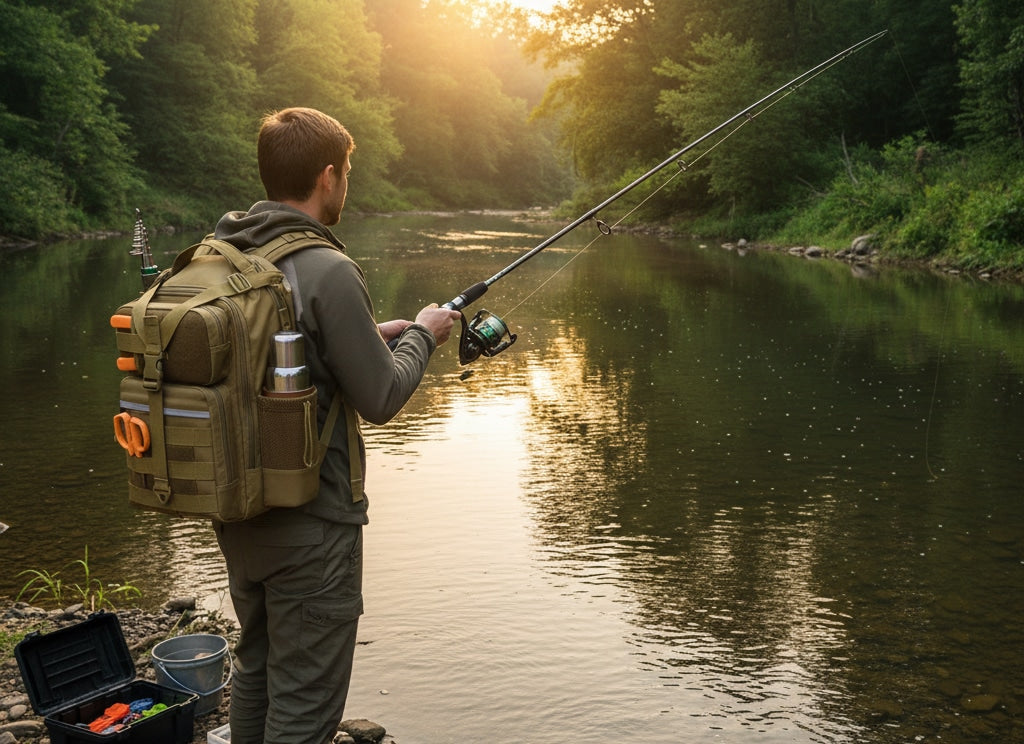
A CatchFlex tackle pack has pockets for pliers, line and small tools, plus slots for three tackle boxes, so these items stay in one place. It switches between backpack, sling, chest and shoulder carry. Browse more in our fishing gear collection.
 In this guideCatchFlex$98.99View