Good Underwater Camera for Snorkeling: How to Choose One
A good underwater camera for snorkeling needs a depth rating above your deepest dive, inspectable seals, a float strap and lens fog control. Use this checklist to choose.
The Kesslund Team
November 9, 2026 · 8 min read
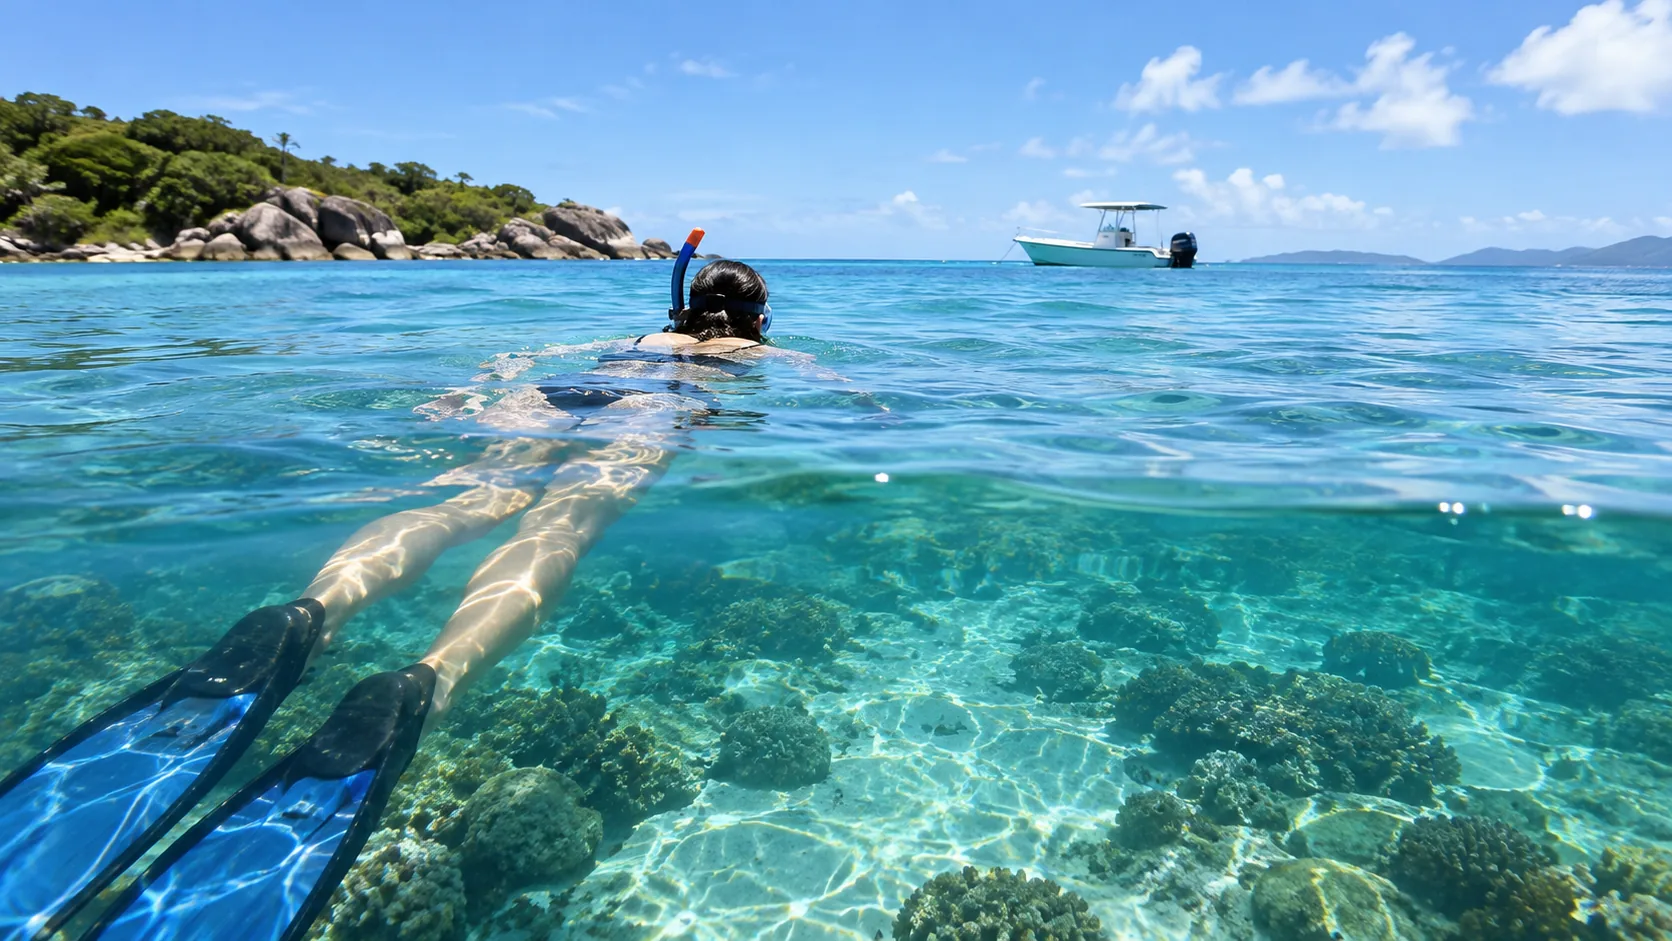
A good underwater camera for snorkeling has a depth rating above the depth you will swim, a seal you can inspect, a float strap, and a lens you can keep from fogging. Because you shoot between the surface and about 5 m (16 ft), you do not need scuba-level housings, strobes or a full-frame body. You need a camera you can hold with one hand, that stays on your wrist and that records clear video in bright, shallow water.
This guide is a decision checklist: what to confirm on the spec sheet, what to check on the water, and which camera type fits how you snorkel.
The checklist for a good underwater camera for snorkeling
Run any camera through these six checks before you commit. If a camera fails the first two, the rest do not matter.
| Check | What to look for | Why it matters at the surface |
|---|---|---|
| Depth rating | A stated depth with or without a housing, above the depth you will swim | Free-diving dips can go deeper than you plan |
| Seals | A visible gasket, a lock on the door, a manual that explains care | One grain of sand on a gasket can let water in |
| Float strap | A strap, grip or float that gives the camera buoyancy, or a lanyard that fits your wrist | A dropped camera sinks and is hard to find |
| Lens fog control | Space for an anti-fog insert, or a lens that sits behind a sealed window | Fog turns a clear reef into a gray blur |
| Light handling | Color or white balance modes, low-light settings, stabilization | Water filters light as you go down |
| Controls | Buttons you can press with wet hands or while wearing gloves | Touchscreens can misread water drops |
Notice what is missing: megapixels, interchangeable lenses and flash sync. Those matter for macro work and deeper dives, not for floating on the surface.
Depth rating, seals and float strap
A depth rating tells you how far down the camera, or its housing, is built to go. For snorkeling, pick a camera whose rating clearly exceeds your deepest breath-hold dive. The figure only holds if the gaskets are clean and the doors are latched.
Built-in seal or separate housing
Some cameras have a sealed body. Others need a separate housing that wraps the camera and adds its own depth rating. A housing adds bulk and a second set of seals to inspect, so read the manual for both the camera and the case.
Check the seal every time
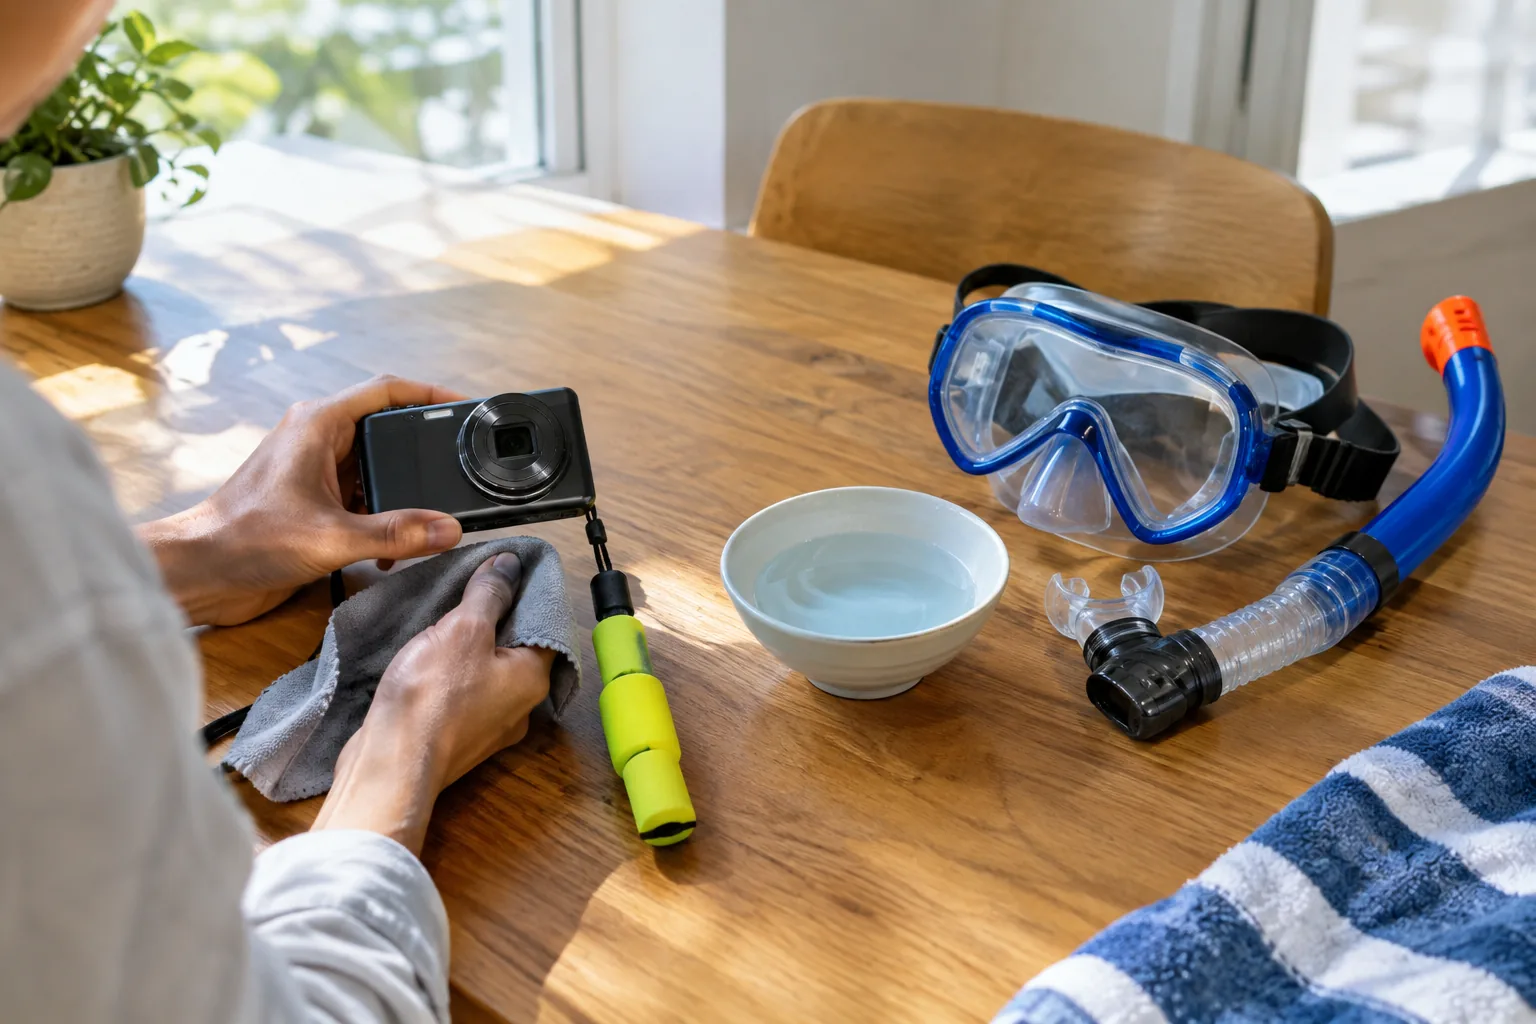
Open the door, wipe the gasket with a lint-free cloth, look for hair, sand or cracks, then close and lock it. Rinse the camera in fresh water after salt water, and let it dry with the door closed before you open it. Follow the manual for care and replacement of gaskets.
Float strap, grip and wrist leash
Snorkeling means one hand on the camera and the other adjusting a mask or sweeping through water. A float strap adds buoyancy so the camera tends to stay near the surface if it slips. Check the strap's instructions for the camera weight it supports.
A wrist leash is the minimum. Loop it on before you enter the water, not after. If you shoot from a pole or handle, attach the leash to the handle and to your wrist.
- Pick a strap in a bright color so you can spot a floating camera.
- Keep the leash short enough that it does not tangle with fins or snorkel.
- Test the float with the empty camera in a sink or pool before the trip.
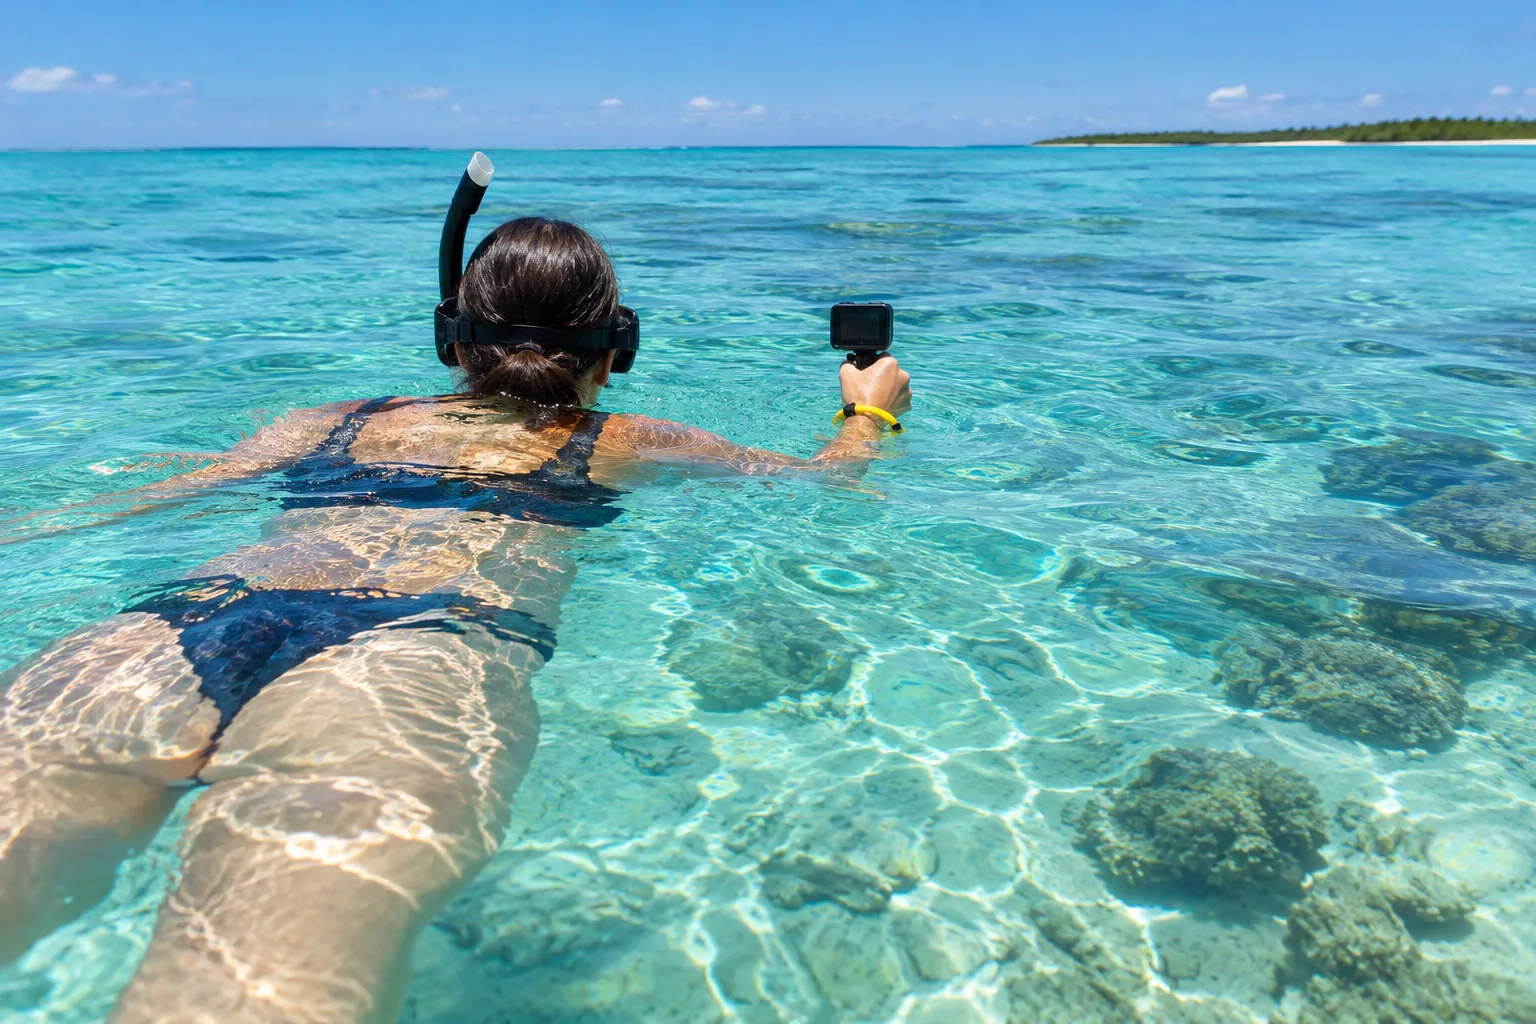
Lens fog and light between 0 and 5 m
Fog forms when warm, humid air trapped inside the camera meets a cooler lens. It often happens when you close a camera in a warm car or on a sunny boat deck, then plunge it into cold water.
Before you get in
- Close the camera in a dry, shaded spot, not in the sun.
- Add an anti-fog insert if the manual lists one for your model.
- Let the camera sit in the shade or in the water at the surface for a short while so it matches the temperature.
In the water
Dip the lens in the water before you press record, so a thin film covers it and large droplets do not form. When you lift the camera out to look at it, tilt it so water runs off the lens window. Wipe with a soft cloth that is damp with fresh water, then dry.
Light and color
Water absorbs red light first, so reds and oranges fade even in shallow water, and footage can shift blue-green. In the top 5 m (16 ft) the effect is mild on a sunny day, but it grows with depth, with cloud cover and with stirred-up sand.
- Shoot with the sun behind you, so light falls on the reef and fish rather than into the lens.
- Pick a time when the sun is high and the water is calm.
- Stay close to the subject. Less water between lens and fish means more color and less haze.
- Use an underwater or white balance mode if the camera has one. Check the manual for how it works.
- Choose a camera with image stabilization, since you are floating and kicking.
Video lights and strobes are used in scuba kits, but at snorkeling depth sunlight does most of the work. Add a light only once you want to film in shade, under ledges or in murky water.
Camera types compared
Each type fits a different style of snorkeling. Use the table to narrow your choice, then confirm the depth rating on the product page.
| Type | Fits when | Watch out for |
|---|---|---|
| Action camera | You want video, a wide view and hands-free mounting | Confirm whether it needs a housing for water use |
| Rugged compact camera | You want stills and video in a pocket-sized body | Smaller lens window; fog inserts matter |
| Phone in a sealed pouch or case | You already own the phone and swim near the surface | Check the depth rating of the pouch; touchscreens react to water |
| Mirrorless in a housing | You want macro, wide-angle and manual control | Bulk, weight and a long seal-care routine |
| Boat-mounted camera | You want to look at a reef before you get in | It stays on the boat and does not follow you |
An action camera is a starting point for beginners because the lens is wide and the body is small. Browse the Action Cameras & POV collection for mountable options, and check each product page for water-use details. Our guide to types of camera shots shows how to frame wide, close and tracking shots with one.
Scout the spot before you get in
Sometimes the underwater camera for a snorkeling day stays dry. If you snorkel from a boat, a transom camera lets you look at a reef or a drop-off from the helm and decide where to anchor or drift.
ReefScope is a snorkeling camera built for boat mounting. The stainless camera head bolts to the transom with the included bracket, and a marine-grade cable carries video and power to the video input on your multifunction display. It runs from a 12V power source, and the picture appears at the helm, so everyone aboard can look at the same reef and fish whether or not they plan to swim.
It does not replace a handheld camera, since the head stays on the boat. Think of it as a scouting tool that pairs with whatever you carry in the water. In the box you get the camera head, the stainless bracket, the cable, mounting hardware and a quick-start install guide.
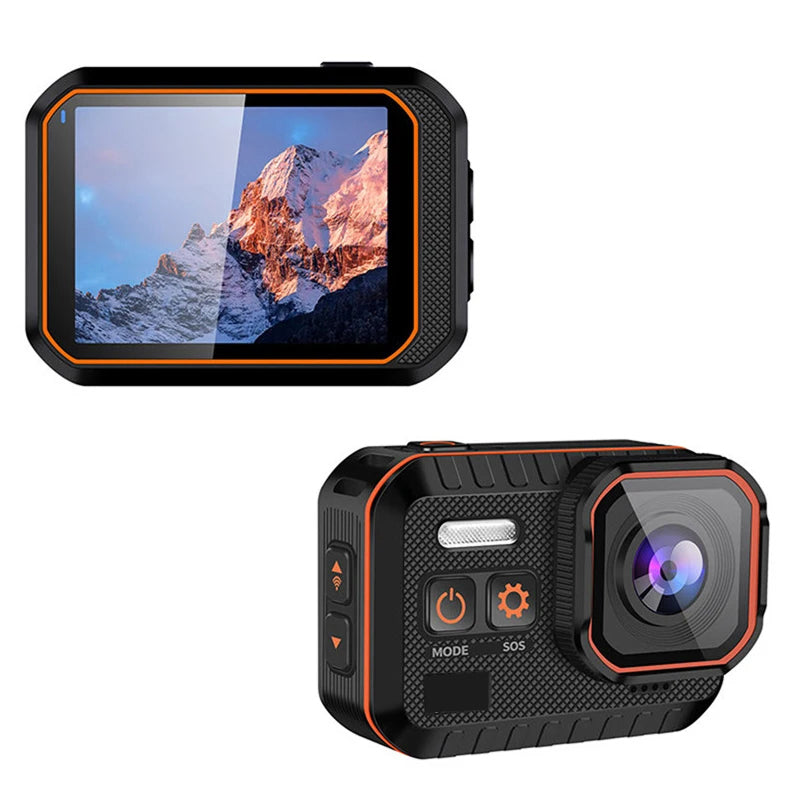 In this guideReefScope$179.99View
Setup checklist and common mistakes
Setup the night before
Do this the night before, so there is time to fix anything you find.
- Charge the battery and format the memory card.
- Read the depth rating and the manual section on seals.
- Clean and inspect the gasket; close and lock the door.
- Attach the float strap and wrist leash; test floating in a sink or pool.
- Set video resolution and stabilization; set white balance if offered.
- Add an anti-fog insert if the manual lists one.
- Pack a soft cloth, a freshwater bottle for rinsing and a protective case.
On the water, do a short test clip near the shore, then play it back. If the picture looks cloudy, check for fog or smudges before the main swim. For gear to pair with the camera, see the Diving & Snorkeling collection.
Field note
Rinse the camera in fresh water while the door is still closed, dry the outside, and only then open the door. This keeps salt crystals out of the gasket channel.
Common mistakes
- Choosing by megapixels. At snorkeling depth, clean glass, steady footage and a wide view matter more.
- Skipping the gasket check, because the camera "looked fine" last time.
- Opening the door on the beach with wet, sandy hands.
- Using a camera with a depth rating close to your deepest dive.
- Leaving the camera in a hot car or in the sun, then dunking it in cold water.
- Forgetting a leash on the first swim.
If you plan to go deeper than snorkeling allows, our comparison of snorkeling and diving gear and skills explains how the two activities differ before you buy more equipment.
How to choose: a four-step decision
- Decide your deepest dive, then add margin and pick a depth rating above it.
- Pick the type: action camera for video, rugged compact for stills, housing for control.
- Check the float strap, fog control and buttons.
- Practice at a pool or shallow beach, play back the clip, then take it to the reef.
A budget model can serve a beginner if it meets the depth, seal and strap checks. A higher-end camera adds control, but it also adds seals to maintain. Start with the simplest camera that meets your checklist, and upgrade when you know what you miss.