Camping With Solar Panels: Sizing Watts for Your Gear
Add up the watt-hours your devices use per day, divide by your sun hours and a loss factor, and you have your panel size. This guide shows the math and a placement checklist.
The Kesslund Team
October 26, 2026 · 6 min read
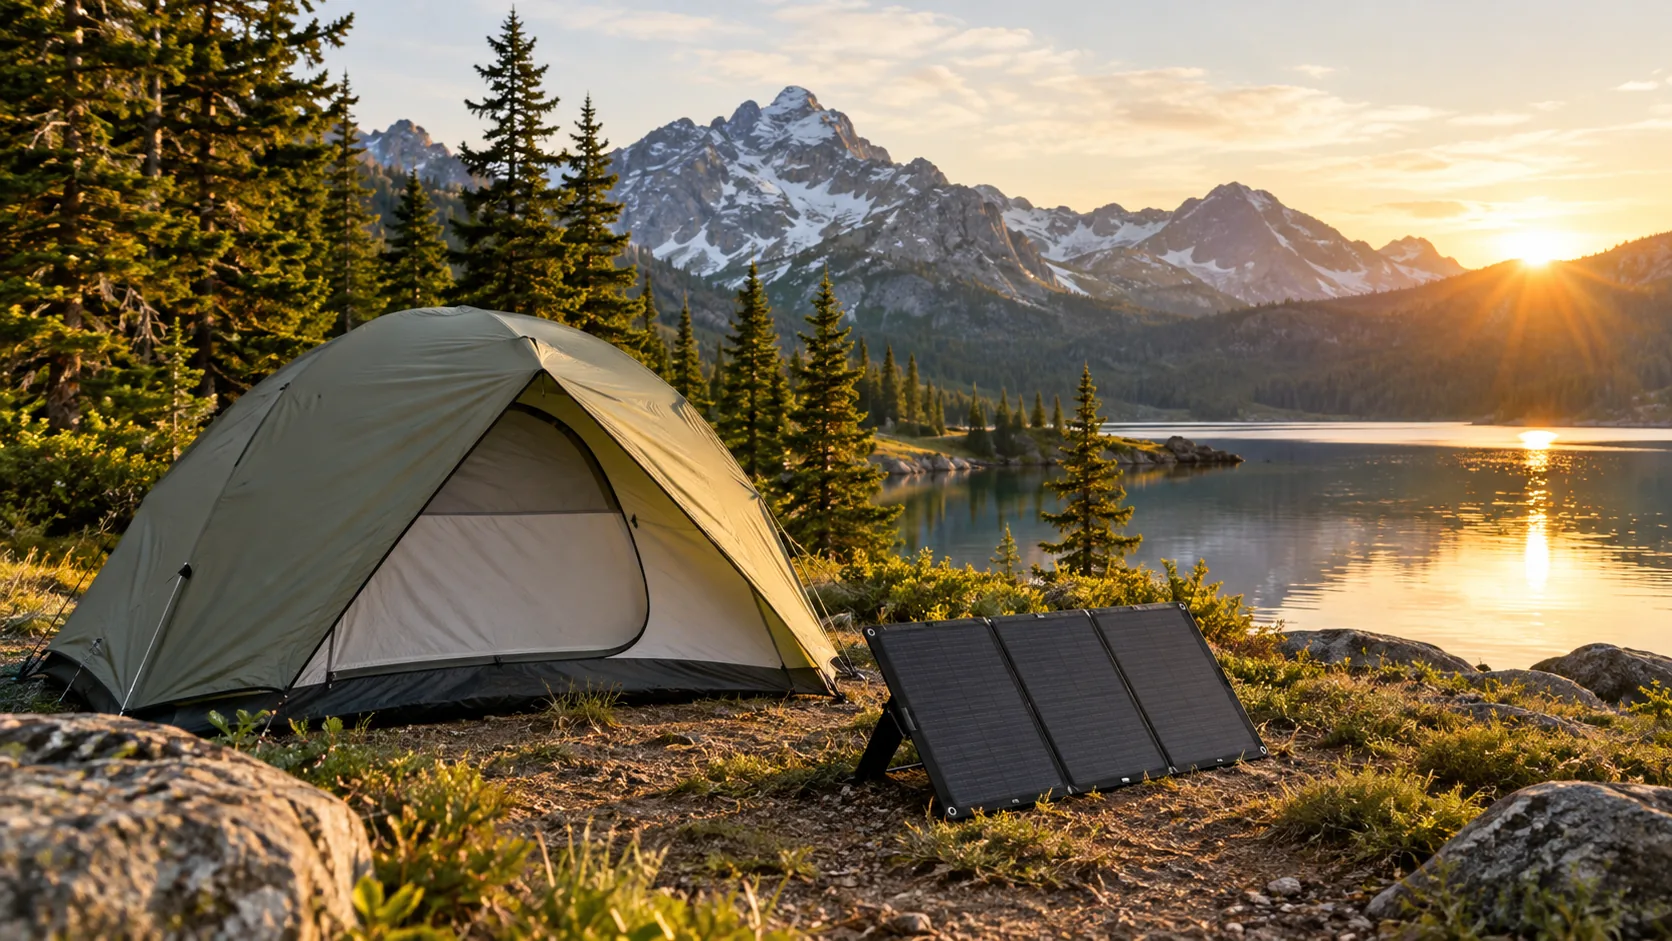
Camping with solar panels works when the panel's daily watt-hours match what your devices use. Add up the watt-hours (Wh) your gear needs in a day, divide by the hours of direct sunlight you expect and a loss factor, and the result is the panel wattage to look for. Phones, a headlamp and a camera need a small foldable panel; a 12V fridge needs a much larger setup with a battery.
Is camping with solar panels worth it?
It depends on what you plan to charge and how long you stay out. For a weekend with a phone, a headlamp and a camera, a power bank may cover everything. For several days at a campsite, or for anything that draws power through the night, a panel gives you a way to refill a battery without driving or swapping cells.
Use this filter before you buy anything:
- Short trips with a few small devices: a power bank may be enough on its own.
- Multi-day camps with phones, lights and a camera: a foldable panel plus a power bank fits.
- Camps with a fridge, fans or a laptop: you need a power station or battery, and a larger panel array.
The same math answers the question of how many panels a camper needs. Count the watt-hours, not the number of panels.
Step 1: List your devices and their watt-hours
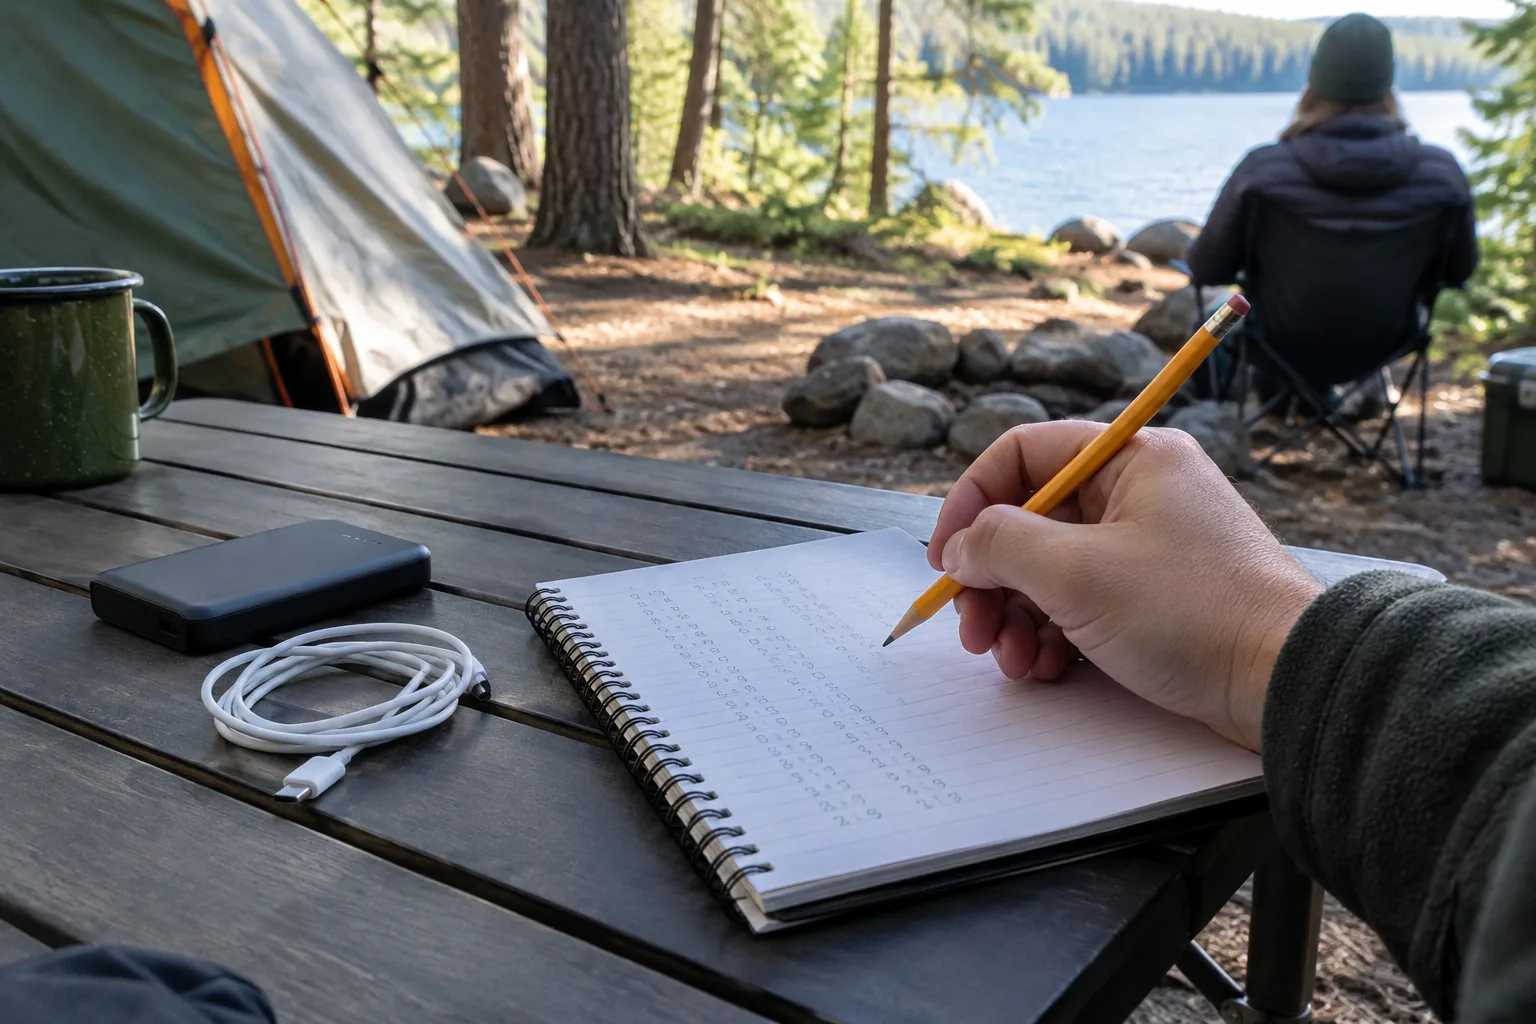
Find the wattage on each device's label or manual, then multiply by the time you run it per day. For batteries, look for a Wh figure; if you only see volts and amp-hours, multiply the two to get watt-hours. Charging a battery loses some energy as heat, so use your list as a minimum and add a safety margin of your own.
The table below uses example values to show the method. Replace them with the figures from your own gear.
| Device | Example draw | Daily use | Daily Wh |
|---|---|---|---|
| Phone (two full charges) | 12 Wh per charge | 2 charges | 24 Wh |
| Headlamp | 2 W | A couple of evening hours | 4 Wh |
| Camera battery | 10 Wh per charge | 1 charge | 10 Wh |
| Small speaker or GPS unit | 12 Wh per charge | 1 charge | 12 Wh |
| Total | Four items | Per day | 50 Wh |
Step 2: Estimate your sun hours and loss factor
Panel ratings assume strong, direct sunlight. A camp rarely gets that from morning to evening, so planners use peak sun hours, the number of hours per day that equal full midday sun. Check a sun-hours map for your region and month, and use a low number if you camp in trees or in cloudy seasons.
Then apply a loss factor for cable resistance, heat, panel angle and charging losses. A value such as 0.7 is a reasonable planning assumption; adjust it if your site is shaded or your panel sits flat.
Step 3: Calculate the panel wattage
Use this formula: panel watts = daily Wh ÷ (sun hours × loss factor).
- Take your daily total, for example 50 Wh.
- Pick sun hours, for example 4.
- Pick a loss factor, for example 0.7, so 4 × 0.7 = 2.8.
- Divide: 50 ÷ 2.8 is about 18 W.
That means a panel of roughly 18 W or more covers the phone, headlamp and camera example on a sunny day. Round up, and add margin if you expect clouds.
What about a fridge or a camper?
Add a 12V fridge to the example. If it draws 40 W while running and is on about half the time over a full day, that is roughly 480 Wh, which brings the daily total to 530 Wh. Then 530 ÷ 2.8 is about 189 W of panel, plus a battery to carry the load through the night.
So a 400W panel can run a fridge on paper, because the daily output at 4 sun hours and a 0.7 loss factor is 1,120 Wh. It only works with a charge controller and a battery or power station that can hold that energy, and it needs sun on the panel. Check the fridge's real running draw on its label or in the manual.
Step 4: Match the panel to your battery or ports
Check three things before you connect anything: the panel's output ports, the voltage and amperage it delivers, and the input range of your battery or power station. If the numbers do not match, the device may not charge correctly.
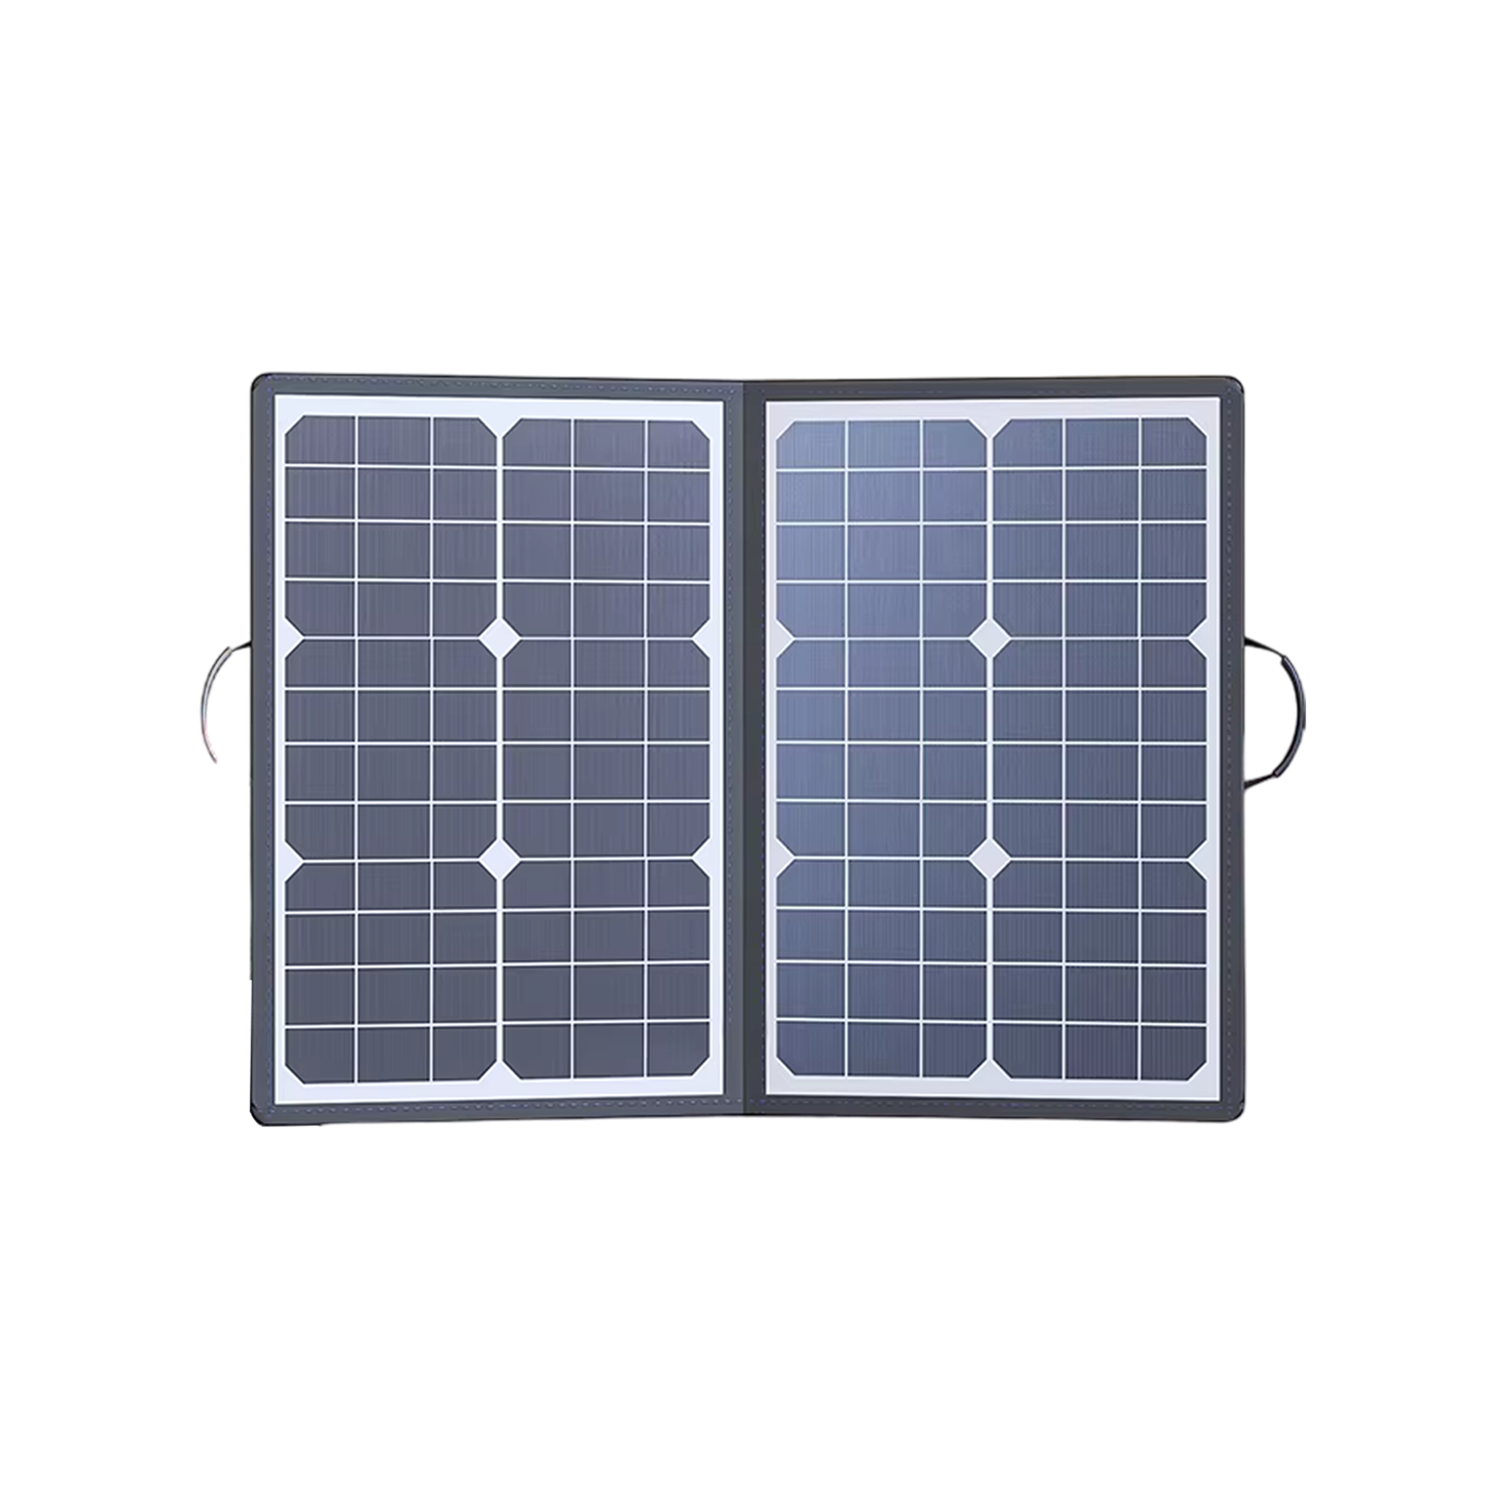
For small gear, a foldable panel with USB ports is the direct route. HelioCrest is a foldable camping solar panel with monocrystalline silicon cells, an adjustable kickstand, two USB-A ports, one USB-C port and a DC5521 output at 18V, 2.4A. You can connect phones, a power bank, a camera or a power station with a matching input. The panel folds down into a carrying bag that also holds the cable.
 In this guideHelioCrest$179.99View
Panel placement checklist
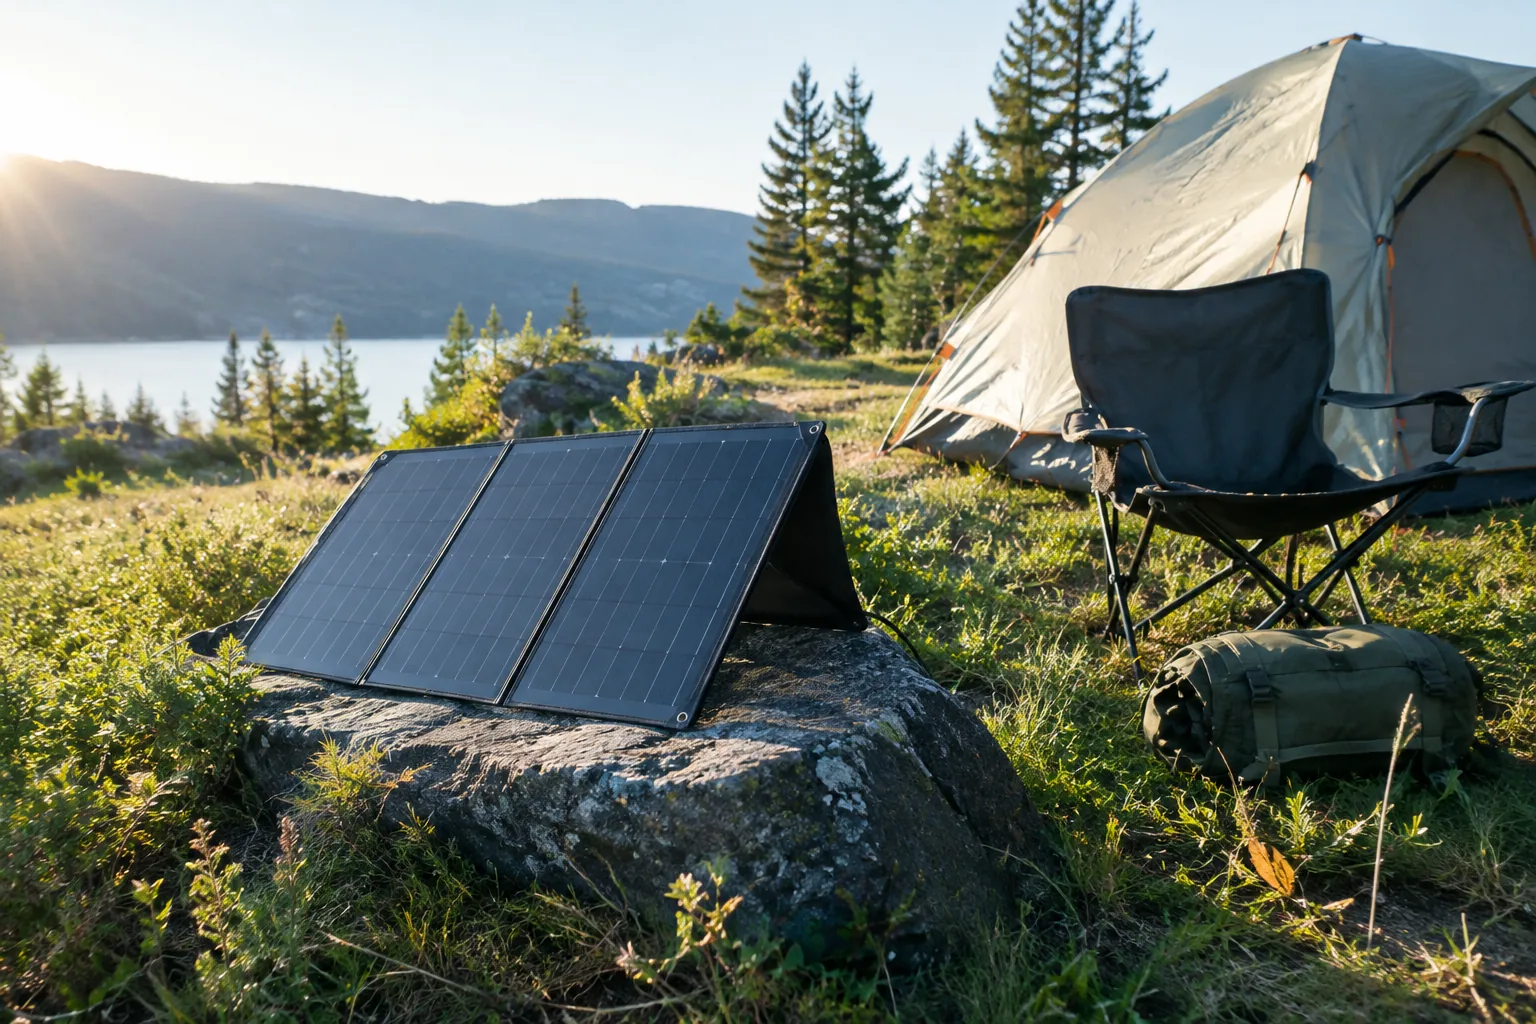
Where and how you place the panel changes how much energy reaches your battery. Run through this list when you set up camp and again after midday.
- Pick a spot with direct sunlight and no shade from trees, tents, vehicles or ridges.
- Face the panel toward the sun and angle it with the kickstand so the sun hits it squarely.
- Keep the panel clean of dust, pollen and dirt; wipe it with a soft cloth.
- Lay it on rocks, dirt or a table so it stays steady in wind, and weigh down the edges if the manual allows.
- Move and re-aim it every few hours as the sun moves across the sky.
- Keep cables out of walkways and away from water, and keep devices out of direct sun while they charge.
- Charge a power bank or battery in daylight so you can use it at night.
Follow the manual for every connection, and unplug the panel before you change cables or devices.
Field note
Charge a power bank during daylight and power your devices from it at night. A panel makes nothing after dark, so a stored battery carries the evening load.
Mistakes to avoid when sizing a camp solar setup
- Using the panel's label wattage as your daily output. Real output depends on sun angle, haze, heat and cable length.
- Ignoring the night load. Lights, a fridge and phone charging after dark all come from storage.
- Mismatching ports. A USB panel cannot charge a power station that only accepts a DC input, so check the input rating first.
- Leaving a panel set up in shade because it was sunny when you arrived.
- Packing the panel damp. Wipe it down and let it dry before you fold it into its bag.
Pack and plan the rest of the trip
Solar covers the power side. For the meals, add cooking gear from the Camp Kitchen & Fire collection, and plan a route and packing list with Travel Camping: A Road Trip Camping Plan and Packing Checklist. If you sleep off the ground, Hammock Camping: Setup, Insulation and Site Checklist covers choosing a site, which also affects where your panel gets sun.
Reference: panel size by camp type
| Camp type | Main loads | What to plan for |
|---|---|---|
| Weekend tent camp | Phone, headlamp, camera | Small foldable panel with USB ports, or a power bank alone |
| Multi-day base camp | Phones, lights, camera, power bank | Foldable panel plus a power bank or power station |
| Camper or trailer | Fridge, fans, lights, devices | Larger panels, charge controller and battery sized from your Wh total |
Whatever the setup, the loop stays the same: list the loads, add the watt-hours, divide by sun hours and the loss factor, and round up.