Fishing With an Underwater Camera: Setup and Tactics
Lower the camera beside your lure, set depth and angle for the strike zone, use infrared in dark water, and watch fish reactions before you change anything.
The Kesslund Team
October 28, 2026 · 7 min read
Fishing with underwater camera gear comes down to four choices: how deep the lens hangs, which way it points, how much light reaches it, and how long you watch before you move it. Lower the camera on its cable beside your lure or bait, aim it at the structure or the strike zone, and read the live feed on the monitor. This guide covers setup for open water and ice, plus what fish behavior looks like on screen.
Fishing With Underwater Camera Gear: What to Pack
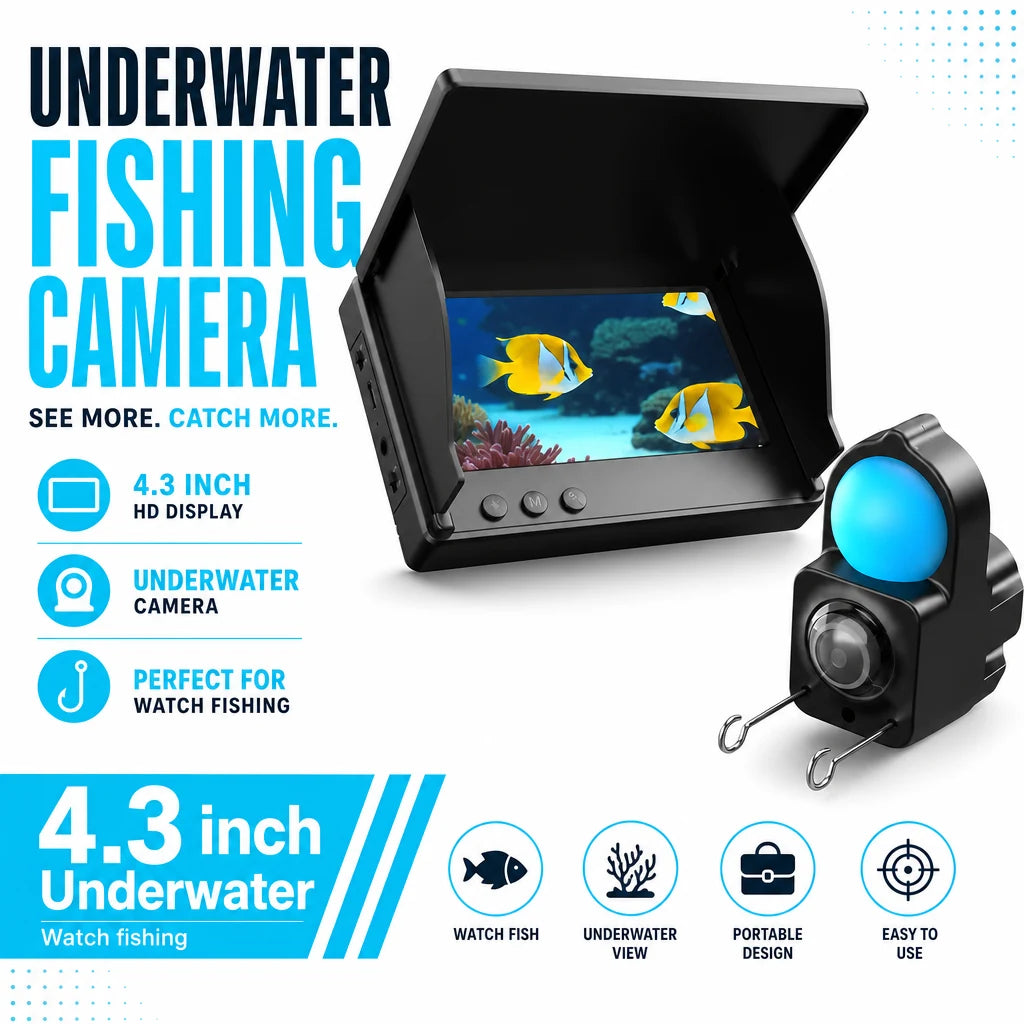
An underwater fishing camera has three parts: a camera head on a cable, a monitor, and a power source. The AquaLens Pro pairs a 1000TVL camera head with built-in infrared lights and a 4.3-inch color monitor. A 5000mAh lithium battery powers the camera and monitor together, and the cable comes in 15 m (about 49 ft) or 30 m (about 98 ft) lengths.
You lower the camera on the cable through open water or an ice hole and watch the live feed from the bank, boat or shelter. The feed appears on the monitor in your hands, so the setup is a cabled one: the picture comes up the cable, not through the air.
Choosing a cable length
Pick the cable length from the water you fish, not from the longest number on the box. Extra cable is more to coil, untangle and keep clear of a motor, so match it to your typical depth.
| Where you fish | Cable length to consider |
|---|---|
| Shallow lakes, ponds, ice holes | 15 m (about 49 ft) |
| Deeper basins, drop-offs, boat fishing | 30 m (about 98 ft) |
| Docks and piers | 15 m (about 49 ft), unless the water beside the pier is deep |
Whichever you choose, the camera is made for freshwater, saltwater and ice fishing use, so one unit covers several kinds of trips.
 In this guideAquaLens Pro$159.99View
Underwater Camera Fishing Setup Checklist
Run through this list at home, not at the water's edge. A dead battery or a loose connector is easier to sort out on a kitchen table.
| Step | What to do | Why it matters |
|---|---|---|
| 1 | Charge the battery with the included USB charging cable or the power adapter | The battery powers the camera and monitor together |
| 2 | Read the user manual | Connector and mounting details differ by model |
| 3 | Check the cable and connectors for cuts or debris | A damaged cable can cut the feed |
| 4 | Pack both charging options | You can recharge from a USB source or an outlet |
| 5 | Bring a rag for the monitor | Glare and fingerprints hide detail |
| 6 | Turn on the monitor and confirm a picture before leaving | You find a fault at home, not on the ice |
The box holds the monitor, the camera with infrared lights, the power adapter, the USB charging cable and the user manual. Check each item against that list before you pack.
The operating temperature range is 14°F to 122°F. Check it before a cold-weather trip, and keep the monitor and battery out of the wind between sessions.
Setting Cable Depth and Camera Angle
Start shallow, then work down
Attach the camera to your line or rig and lower it on the cable to the depth you want to watch. Begin a few feet above the bottom, then adjust. Once you find a depth that shows fish clearly, mark the cable with a piece of tape so you can return to it.
Let the camera hang still for a while before you judge the view. Silt and plant debris stirred up on the way down need time to drift off.
Aim the lens at the strike zone
The wide-angle 1000TVL head gives a broad view below the surface. You use it to look at bottom structure, fish and your lure or bait while the line is in the water. Point it slightly toward your presentation, not straight down, so you see both the lure and the area around it. A lens aimed straight at the bottom shows mostly sand or mud.
Keep the cable slack so the head does not spin. If the picture turns, raise the camera and let the cable settle.
Adjusting by situation
| Situation | Depth | Angle |
|---|---|---|
| Fish holding near the bottom | A few feet above the bottom | Slightly toward the lure |
| Fish suspended in open water | At the depth of the fish | Level, facing the lure |
| Rocks, weeds, ledges | Just above the structure | Angled along the edge |
| Checking your knot or bait | Close to the lure | Aimed at the rig |
Ice Fishing With an Underwater Camera
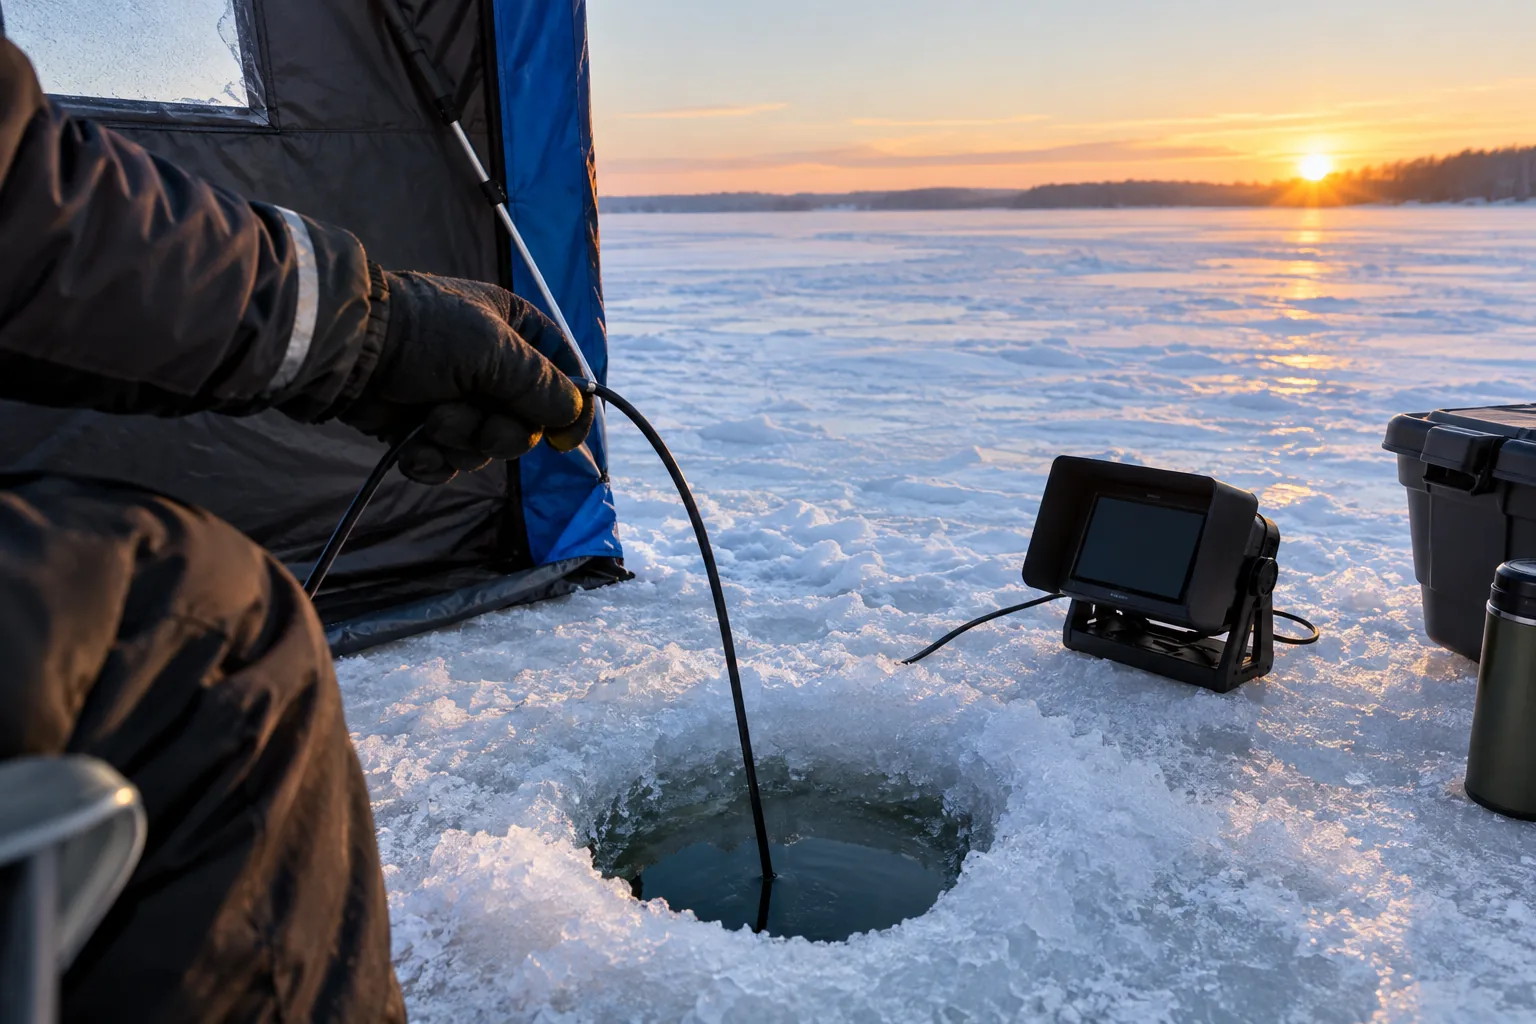
For ice fishing, drill the hole, clear the slush, and lower the camera through it. The monitor sits in your shelter or on a sled, where you can shade the screen. The camera is made for ice fishing use within its stated temperature range.
Drill a second hole a short distance from your fishing hole if you want a wider view without the camera crowding your line. Rest the cable on a notch or a piece of foam so it does not freeze to the hole edge. Check ice thickness locally, follow standard ice precautions, and ask local bait shops or wildlife officials about conditions before you walk out.
Ice setup order
- Drill and clear the fishing hole.
- Set up the shelter and place the monitor out of the wind.
- Attach the camera to your line or rig.
- Lower it to a few feet above the bottom.
- Turn on the monitor and watch before you jig.
Because the hole is small, only a narrow slice of the water is visible. Rotate the cable gently between sets to scan the area, then hold still when fish appear.
If you are building out the rest of your kit, our guide to rod and reel fishing combos covers matching a rod to your target species.
Lighting and Murky Water
Built-in infrared lights sit on the camera head for use in dark or stained water. Infrared is light outside the normal visible range, so the picture on the monitor is black and white at night.
| Condition | What to try |
|---|---|
| Clear water, daylight | Color picture; shade the monitor |
| Stained water | Raise the camera closer to the subject; use the infrared lights |
| Night or deep, dark water | Use infrared; expect a black and white view |
| Suspended particles | Hold the lens still and wait for the cloud to settle |
Murky water shortens how far you can see. Bring the lens within a few feet of your bait rather than hanging it far away.
On a bright day, a hood or your jacket held over the screen cuts glare. In a dark shelter, the monitor is easier to read, which is one reason many ice setups put the screen inside.
Reading Fish Behavior on Screen
Watch before you change anything. How fish react to the lure tells you what to adjust.
| What you see | What to try |
|---|---|
| Fish approach, then turn away | Slow the presentation, or switch to a smaller or more natural lure |
| Fish ignore the lure | Change the color or depth, or add subtle movement |
| Fish hover just above the bottom | Lower the bait into that band |
| Fish scatter when the camera moves | Pull it back and keep it still for a while |
| Fish follow the lure but do not bite | Pause the retrieve to give them a moment |
Use the camera to spot rocks, weeds and ledges, where fish may hold. Move the camera or change your presentation while you watch the view below, and change one thing at a time so you can tell what caused a reaction.
Keep notes on the depth, lure and structure where fish showed up. A short list in your phone or a notebook helps you set up the same way on your next trip.
Open Water, Boat and Bank Tips
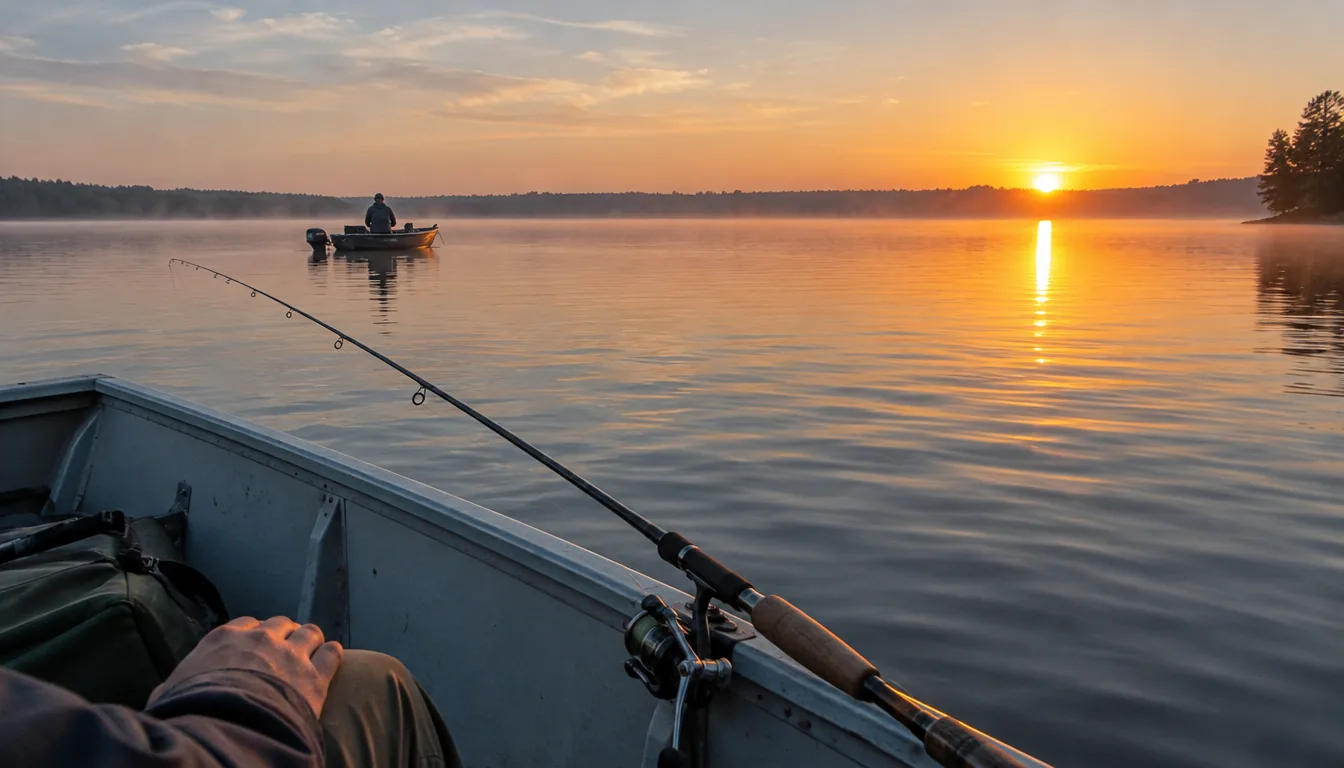
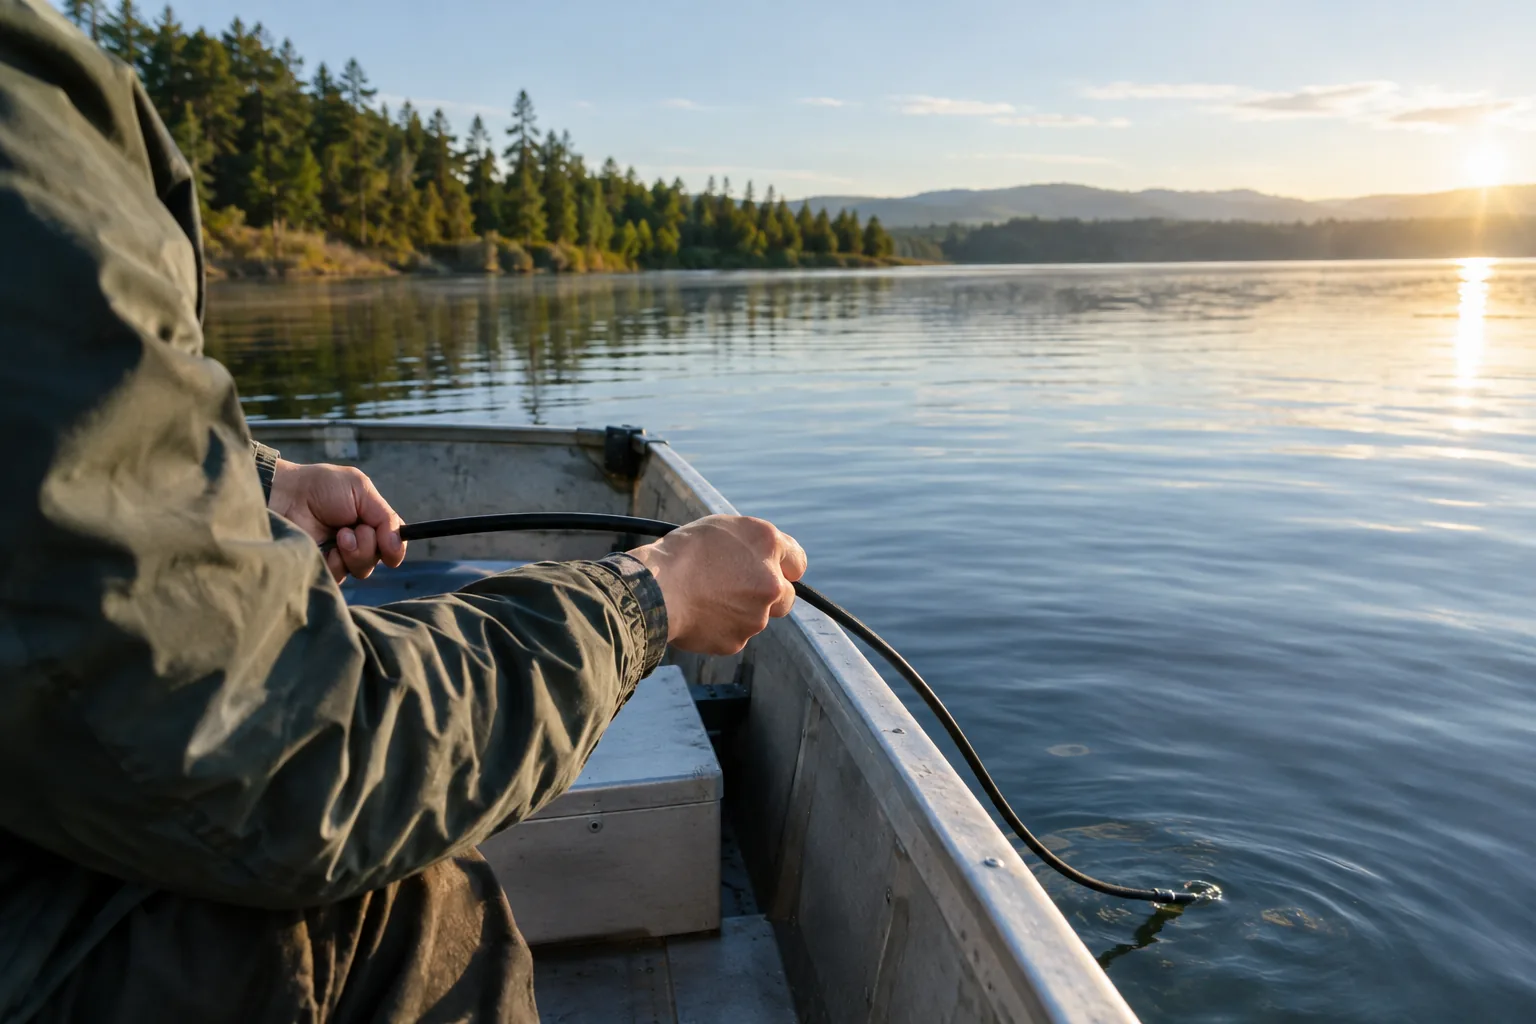
From a boat, drift or anchor, then lower the camera on the cable beside the line. Keep the cable clear of the motor and anchor rope. From the bank, lower it off a dock or a rod holder and place the monitor where you can see it without standing in glare.
Sun glare on the water also hides detail on your own eyes, not only the screen. See fishing with polarized sunglasses for lens colors by water type.
Common mistakes
- Starting the trip with an uncharged battery.
- Dropping the camera too close to the bottom and stirring silt.
- Moving the camera constantly, so fish do not settle.
- Letting the cable tangle with the line or anchor rope.
- Skipping the rinse after saltwater.
Field note
Charge the battery the night before, then pack the USB charging cable and the power adapter. Both come in the box, so you can recharge from either source.
Care and Storage Between Trips
Rinse and dry the housing and connectors after each outing, especially after saltwater. Coil the cable loosely, not kinked, and keep it away from sharp edges and hooks.
- Rinse the housing and connectors with fresh water.
- Dry them before you close the case or bag.
- Recharge the battery before the next outing.
- Look over the cable for nicks before you store it.
Browse our Diving & Snorkeling collection if you want gear for getting in the water yourself.