Night Vision Monoculars: How to Choose for Hunting and Camping
Choose by technology (digital or tube), infrared illuminator, magnification and how you carry the device. This guide walks through each decision for hunting and camping.
The Kesslund Team
October 20, 2026 · 8 min read
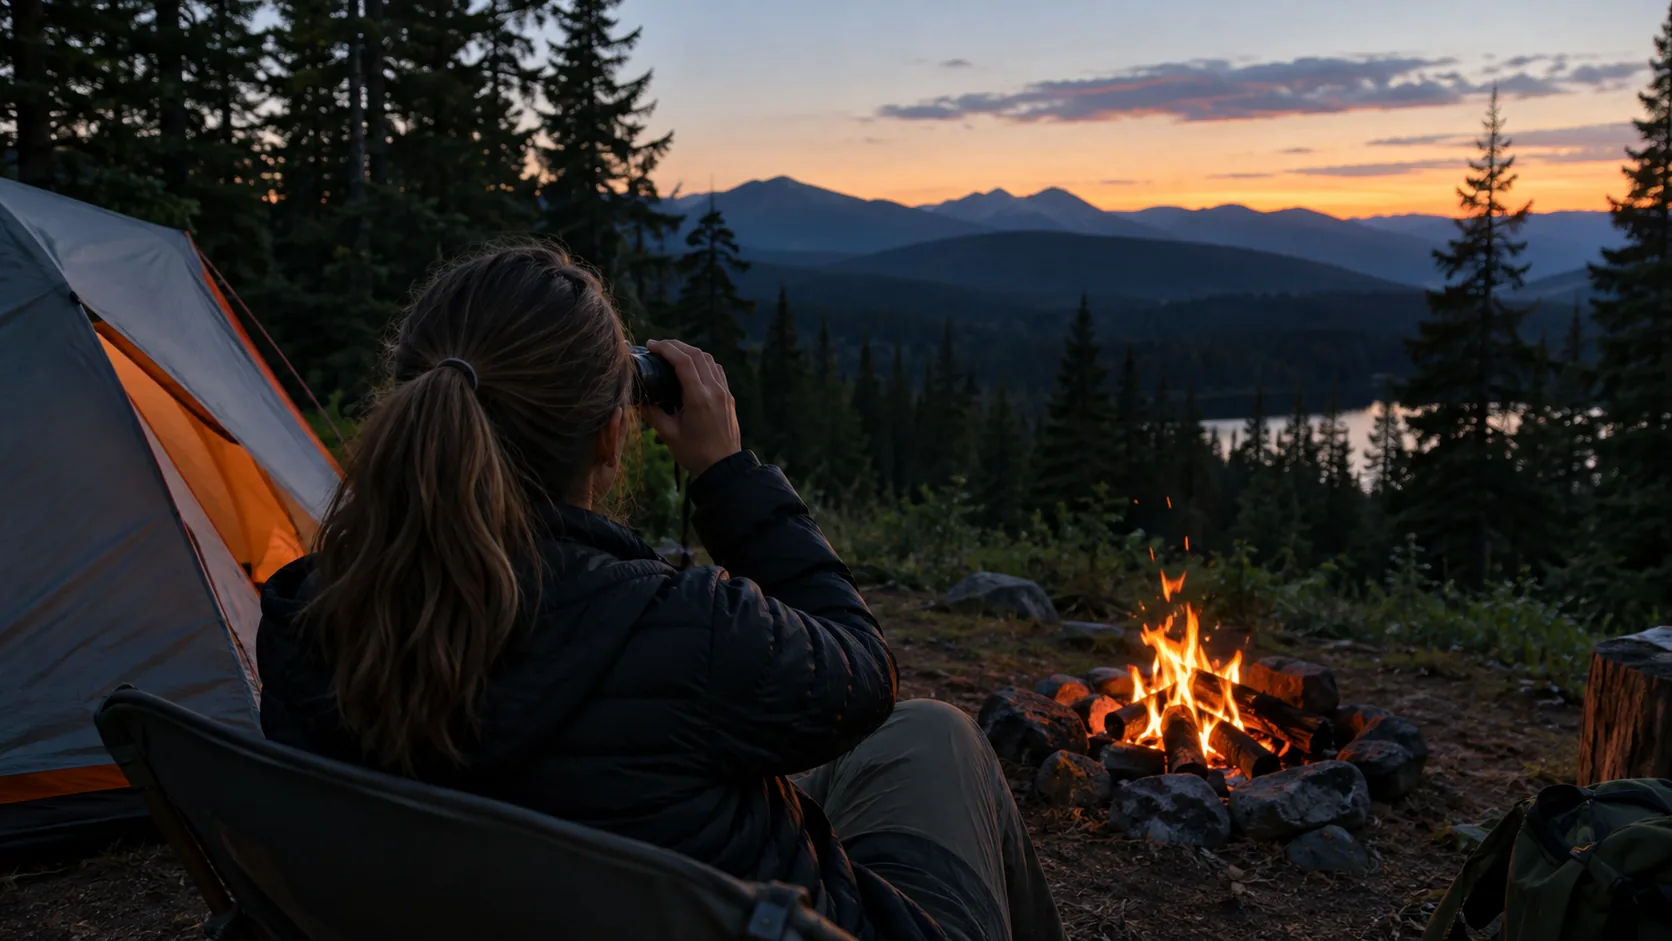
Night vision monoculars come in two main types: tube devices that intensify ambient light, and digital devices that read the scene with a sensor and show it on a screen. For hunting and camping, start with how you will carry it, whether you need to record, and how much infrared light you want to add. The sections below turn those questions into a short decision path.
A monocular is a single-eye optic, which is what "monocular vision" means: you look with one eye instead of two. It fits a jacket pocket and can be raised to your eye only when you need it. That makes it a practical tool for scanning a field edge or checking a sound outside the tent.
Goggles and binoculars use two eyepieces. A monocular uses one. Which format suits you depends on whether your hands are free, how long you look at a time, and what you want to do with the view.
Digital vs tube night vision
The core difference is how the image is made. A tube device uses an image intensifier, which amplifies the small amount of ambient light that reaches the objective lens. A digital device uses an image sensor and shows the result on a display, often with an infrared illuminator to add light.
| Feature | Tube (image intensifier) | Digital |
|---|---|---|
| How the image forms | Intensifier tube amplifies ambient light | Sensor feeds a display |
| Terms on the spec sheet | Gen 2, Gen 3, auto-gated, white phosphor | Resolution, frame rate, display size |
| Recording | Needs an add-on camera | Built in on some models |
| Added light | Optional infrared illuminator | Infrared illuminator on many models |
| Daytime use | Follow the manual for bright light | Depends on the model, so follow the manual |
| Format | PVS-14 style handheld or helmet units | Handheld units with a screen |
If you want a device you can record with and play back at camp, a digital unit covers that in one body. If you want a tube-style view through an eyepiece, look at tube monoculars and read the specification sheet closely.
What the tube terms mean
Listings for tube monoculars use terms such as auto-gated and white phosphor. Auto-gated describes how the power to the tube is regulated as light levels change. White phosphor describes the color of the image: a gray-white picture instead of the traditional green. Compare these line by line, and read each one next to the other specs.
Where thermal fits
Thermal monoculars are a third category. They form a picture from heat instead of light, so they work on a different principle from both tube and digital night vision. If a listing says thermal, read it as its own type of device and compare it with other thermal units.
Specs to check on night vision monoculars
Spec sheets look similar from one listing to the next, so focus on the few numbers that change how you use the device.
Magnification and objective lens
Magnification sets how large a subject appears. A wider field of view helps you scan; more magnification helps you identify something at a distance. Digital units can add a digital zoom on top of the optical view, which enlarges the picture from the sensor. The objective lens is the front lens. Its diameter and F-number (such as F1.2) describe how much available light it is built to gather.
Resolution and image quality
On a digital unit, resolution describes the sensor and the display. On a tube unit, it describes the intensifier. In both cases, look through the eyepiece or at the screen when you can, since a spec line does not show contrast or noise.
Field of view and eyepiece distance
Field of view is how much of the scene you see at once. Eyepiece distance, the gap listed as the distance between eye and eyepiece, is how far your eye can sit from the eyepiece while you still see the whole image. If you wear glasses, check this number on the spec sheet.
Power and charging
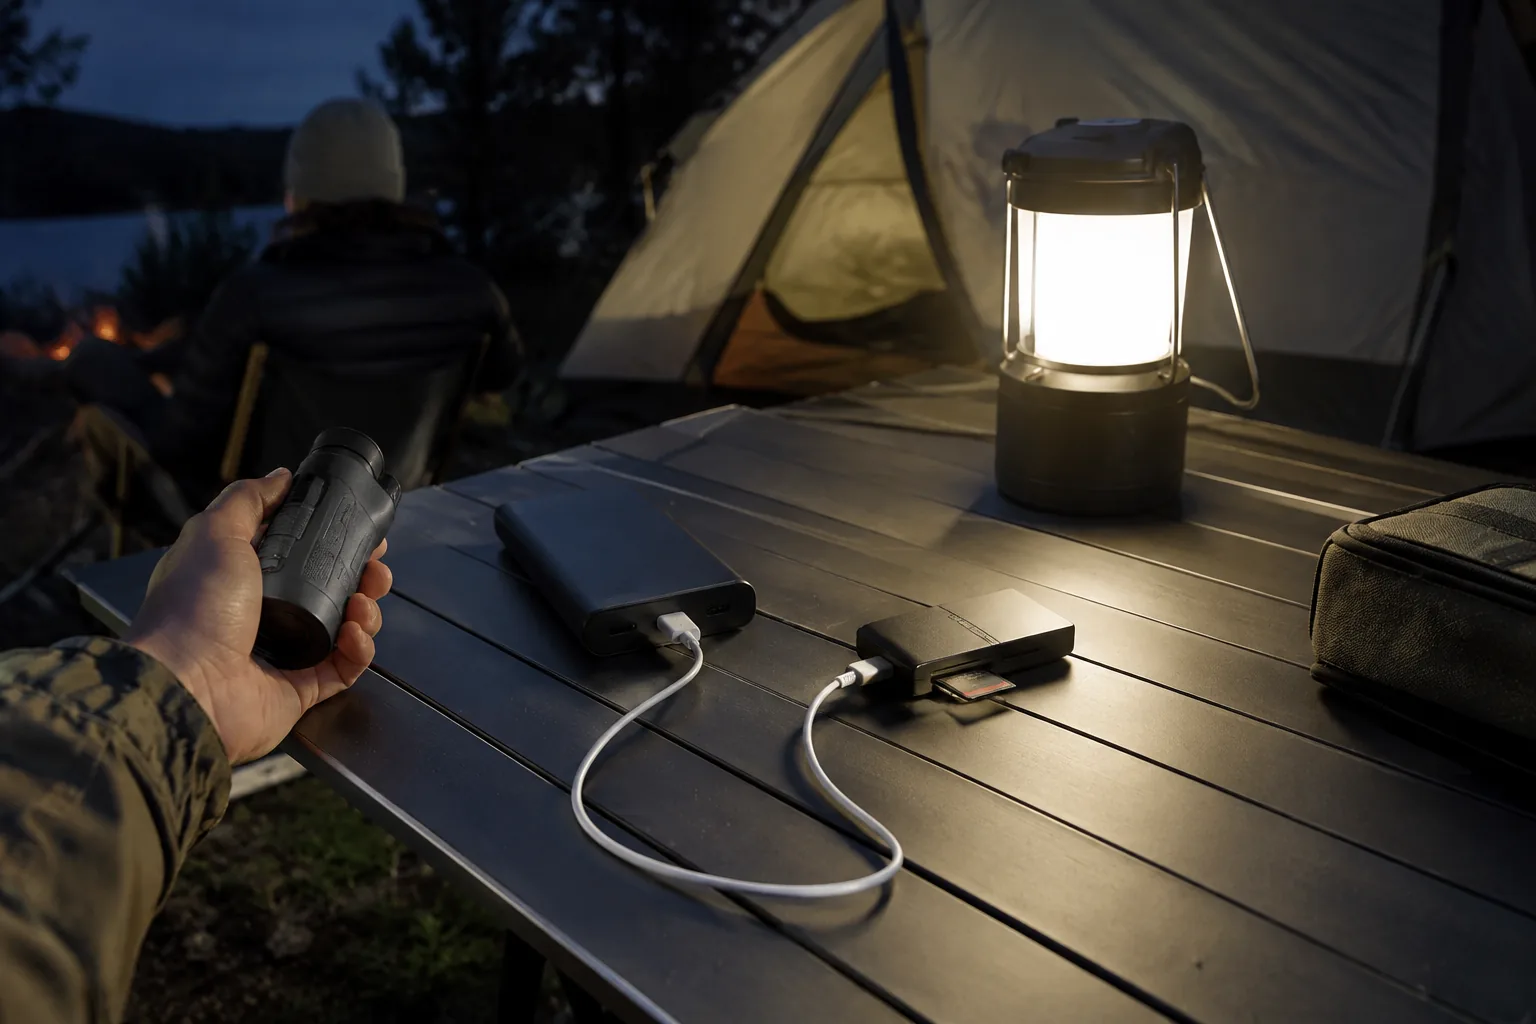
Check whether the unit uses a built-in battery or replaceable cells, and how it charges. For camping, a unit that charges over USB-C can be topped up from the same power bank you carry for a phone.
Display and recording
On a digital unit, the display size and the recording format tell you how you will watch the footage. Look for a memory card slot or a card reader in the kit, so you can move files to a computer after the trip.
Infrared illuminators and how far you can see
An infrared (IR) illuminator is a light source your eye cannot see but the sensor can. It matters in places with little ambient light, such as heavy timber or a moonless night. Tube devices rely on ambient light unless you add an illuminator.
Look for an illuminator with adjustable intensity. Close subjects can wash out when the output is high, and distant ones can look dim when it is low. Stepping the level up or down lets you match the terrain and your subject distance.
Actual viewing distance depends on the terrain, vegetation, weather and the subject itself, so treat any range figure as a starting point and judge it in the field. Fog, rain and dense brush all scatter or block light.
A short field routine helps. Start at a low level, raise it one step at a time, and stop when the picture looks even. Note the level that worked for each spot so you can set it again on the next trip.
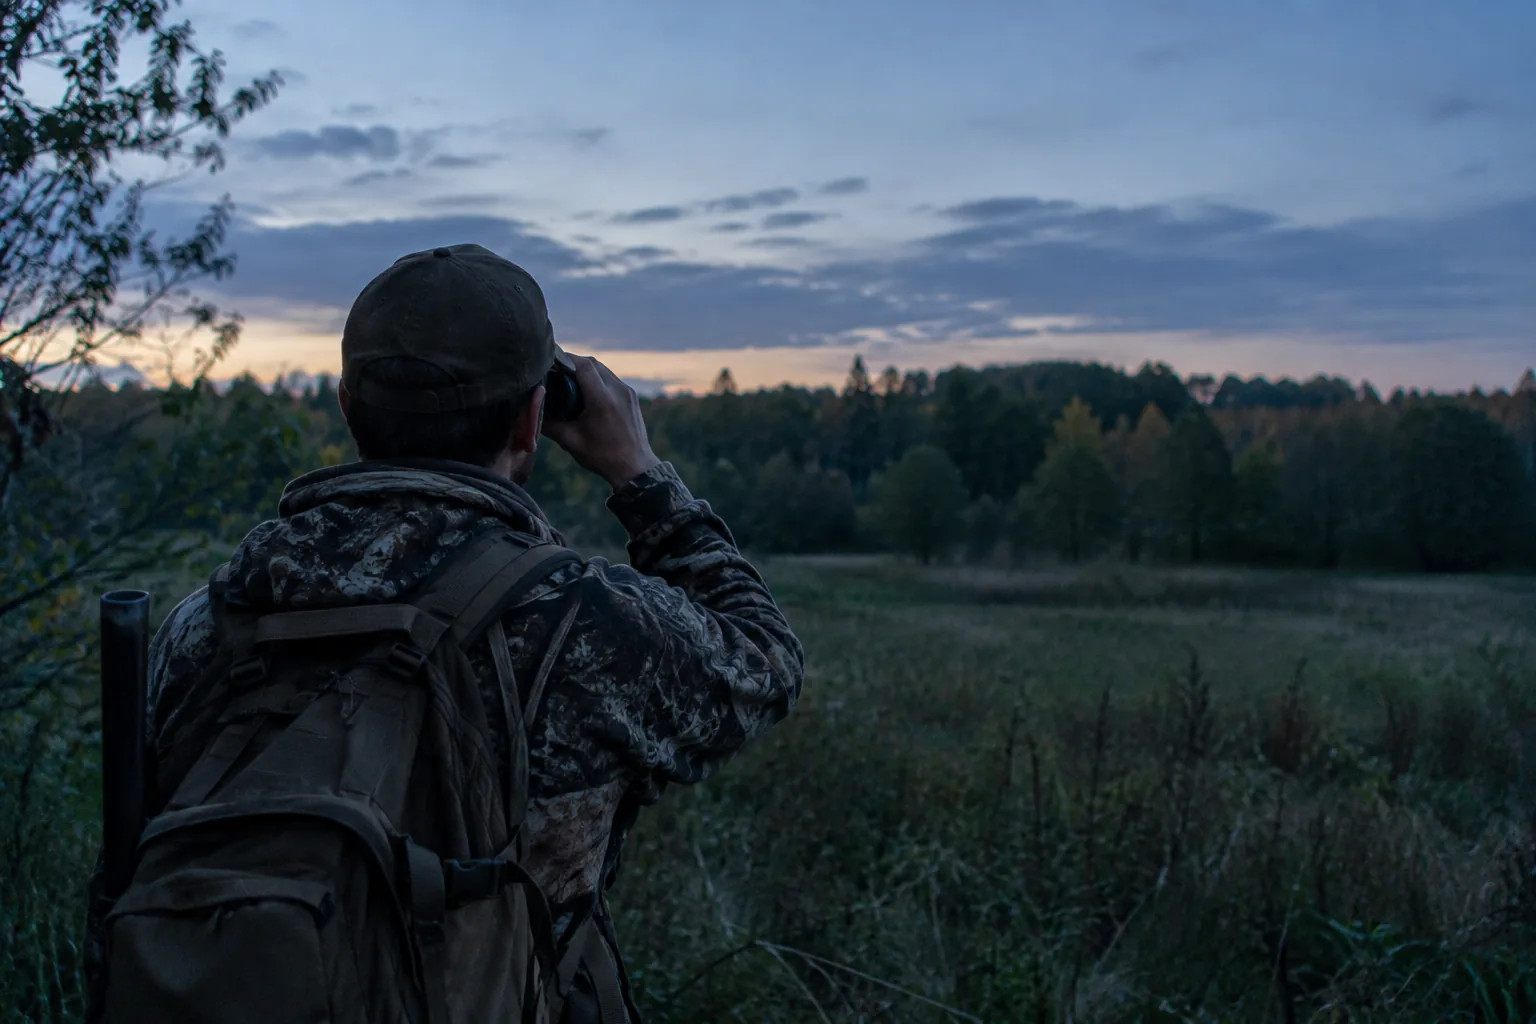
Handheld, helmet and other mounting options
Many monoculars are used handheld. You raise the unit, look, and lower it. A wrist strap, like the one included with some models, helps you keep hold of it in the dark.
Tube monoculars in the PVS-14 style are also made for helmet mounts and head harnesses, which free both hands. If you plan to wear one, choose the helmet mount and the monocular together and confirm they are compatible. Weight at the front of a helmet changes how it sits, so follow the mount maker's instructions.
Choosing a helmet mount
There is no single mount for every device. Check the mount's stated compatibility with your monocular, the way it attaches to the helmet, and whether it lets you flip the unit up out of the way. Ask the maker if the listing does not say.
Rifle scopes and firearms
Mounting a monocular in front of a rifle scope depends on the specific monocular, adapter and firearm, and it falls outside what a general guide can confirm. Check the manufacturer's documentation, and ask a qualified gunsmith before you attach anything to a firearm. Check your state rules too, since night-time hunting regulations vary by state and species.
Making your own
Home builds from a camera and a screen exist, but a finished device gives you a defined lens, illuminator, battery and housing to compare. If you build, follow the instructions for every part and keep batteries and wiring away from heat.
Match the monocular to your use
| Use | What to look for | Notes |
|---|---|---|
| Scouting game trails | Handheld size, adjustable IR, low weight | Pair with a pack that has a quick-access pocket |
| Hunting where legal | Clear image, lens cloth, strap | Check local rules on devices and hours |
| Camp security and wildlife watching | Built-in recording, screen, USB charging | Play back footage at the fire or in the tent |
| Hands-free navigation | Tube unit with helmet mount | Confirm mount compatibility |
| Long-distance glassing | Optical magnification, tripod | See the spotting scope guide below |
For long-range glassing in daylight, a stable platform matters more than a night device. Our guide to a spotting scope and tripod covers how to match and set up that rig. For multi-day trips, backpack hunting explains how to choose a pack that keeps your optics within reach.
When you choose among night vision monoculars, find the row of this table that describes your usual outings. Pick for that row first, then check the extras.
A digital option: NightHawk Pro
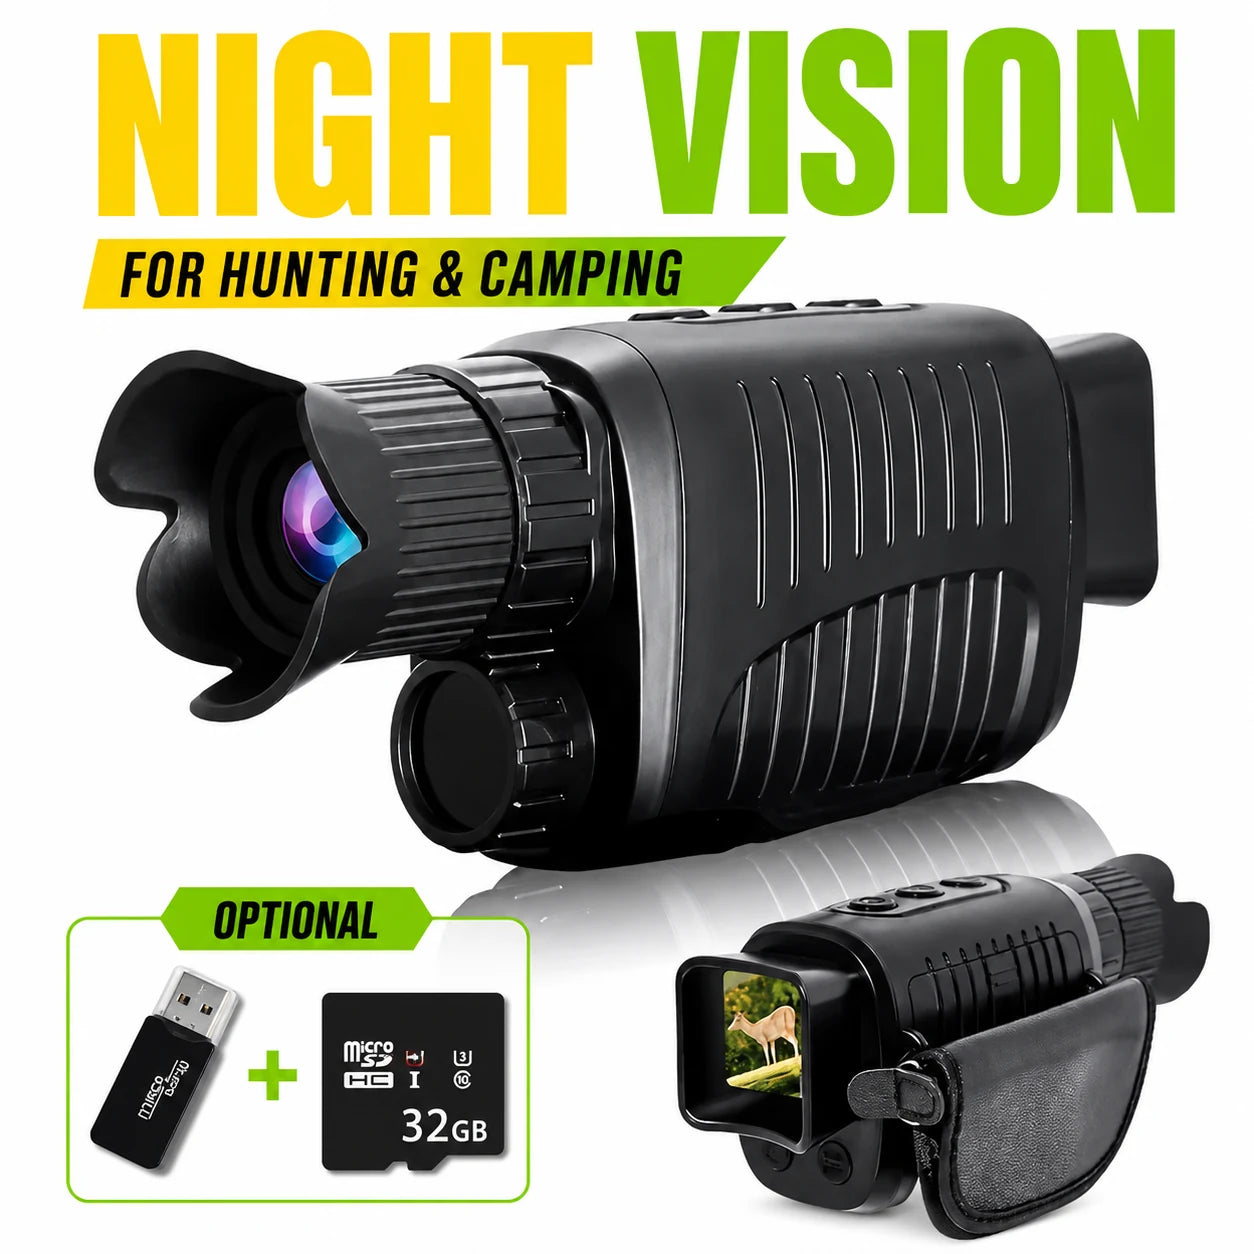
The NightHawk Pro is a night vision monocular with a built-in infrared illuminator, 1080P video capture and a 1.5-inch TFT display. You use it to observe in low light outdoors and to save photos and video to a memory card.
- Seven infrared intensity levels, so you can step output up or down
- F1.2 aperture with a 25mm lens
- Digital zoom for framing the view
- 3800mAh built-in battery, charged over USB-C with the included cable
- ABS housing
To use it, turn it on and pick one of the seven infrared levels for your surroundings and subject distance. Aim, frame the view with the zoom, then press record to save photos or video to your memory card. You can play the footage back on the display.
The box includes the monocular, a USB charging cable, a wrist strap, a lens cleaning cloth, a card reader and a protective carry bag. You can browse more optics in the Binoculars, Scopes & Night Vision collection.
 In this guideNightHawk Pro$99.99View
Buying checklist and common mistakes
- Decide whether you need recording. If yes, choose a digital unit with a card slot and display.
- Pick handheld or head-mounted. Head-mounted use calls for a compatible mount.
- Check the infrared illuminator: is the intensity adjustable?
- Read the lens numbers: objective diameter, F-number and magnification.
- Confirm power: built-in battery or replaceable cells, and the charging port.
- Check the kit: strap, cloth, case and card reader are useful extras.
- Check your local hunting and optics rules before the trip.
Common mistakes
Buying on magnification alone is a trap, since higher power narrows the field and magnifies hand shake. Another is using the maximum infrared level at close range, which can wash out the image. A third is skipping a trial at dusk before the trip, when you can still see the scene the device shows.
Care routine
After each trip, wipe the body clean, let it dry and wipe the lens with a lens cloth instead of your sleeve. Store the unit in its carry bag. Top up the battery before you leave, and follow the manual for charging and storage.