Spotting Scope and Tripod: How to Match and Set Up Your Rig
A spotting scope and tripod need a matched head, the right height and a steady zoom setting. Use this checklist to build a rig that holds still.
The Kesslund Team
October 19, 2026 · 7 min read

A spotting scope and tripod work as one system: the tripod needs a head that holds the scope's weight without drifting, legs that bring the eyepiece to your eye level without a fully raised center column, and a magnification you can hold steady. Match those three and the image stays still enough to read. This guide gives you the decision steps, a setup checklist and the mistakes to avoid.
The advice applies to any scope. Where it helps, we use the VistaPeak from our range as the worked example, since its box already includes a tripod.
How to match a spotting scope and tripod
Start with the scope, then choose support to suit it. A longer, heavier body with a large objective lens needs a sturdier head and thicker legs than a compact one. Check the scope's weight against what the tripod head is built to carry, using the maker's figures in the manual.
Then look at how you will use it. Shooting from a truck window, a blind, a beach or a hillside each calls for a different tripod height and leg spread. If you carry the rig far, the tripod must pack down small.
Three questions before you buy or pair
- Will you stand, sit or lie down when you look through it?
- Does the scope have an angled or straight eyepiece?
- Will you pan across a landscape or hold on one fixed subject?
Your answers drive everything below. Standing with an angled eyepiece, for example, allows a shorter tripod than standing with a straight one.
Setup checklist, step by step
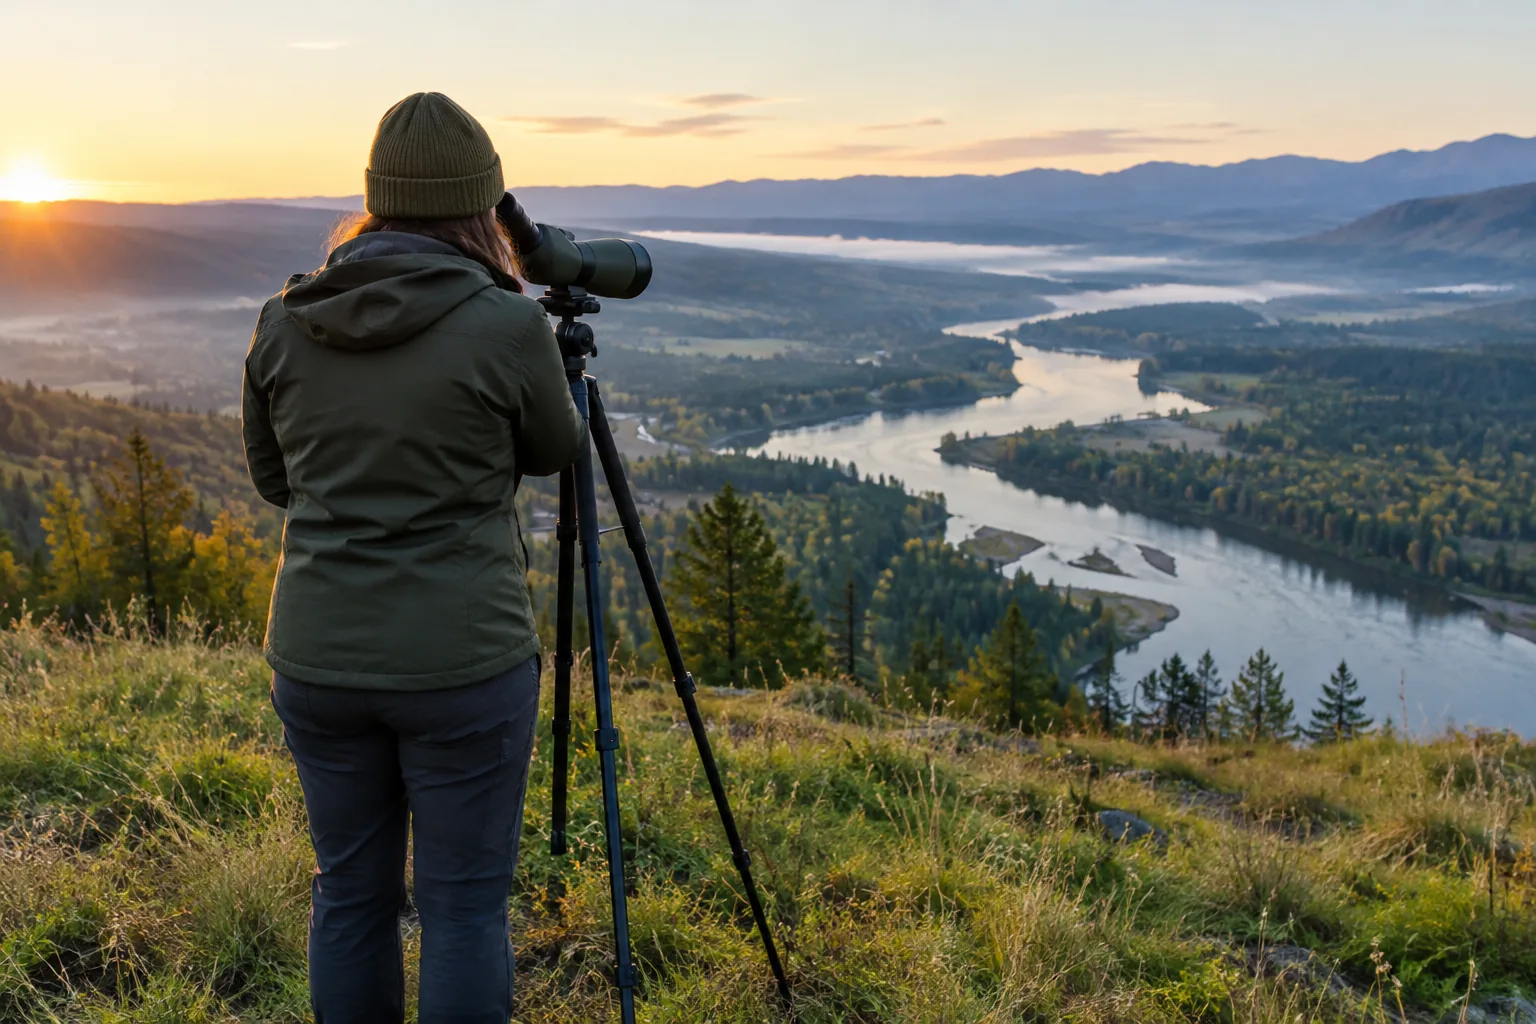
- Extend the tripod legs to the length that puts the eyepiece at your eye level while you stand or sit in your usual position.
- Raise the center column last, if the tripod has one. The legs carry the load, so a column should add only what you need.
- Spread the legs and set them on firm, level ground. On soft ground, press the feet in.
- Lock every leg clamp, then check that the legs do not slide when you press down on the head.
- Attach the scope to the head and tighten the mounting connection by hand. Follow the manual for your scope and head.
- Balance the scope so it stays where you point it when you release the pan and tilt controls.
- Extend the sunshade, start at low magnification, find your subject, then zoom in and focus.
Run through the list each time you move. A rushed setup can make a good scope look soft.
Tripod height, legs and eyepiece position
The goal is to look into the eyepiece without hunching or stretching. Hunching makes you lean on the scope, which shifts the image. Set the legs so you can stand upright and let the eye come to the eyepiece.
With a straight eyepiece, the scope sits at eye level, so the tripod needs to be taller. An angled eyepiece lets you look down into it, so you can set the tripod lower, which also lowers the center of gravity. Sitting or kneeling for long watches is an option when you use a shorter tripod.
Keep the center column low whenever you can. A raised center column acts like a long lever, so wind and your own touch move the scope more.
Leg material and leg locks
Tripod legs are made from materials such as aluminum or carbon fiber. Compare the weight and the load figure the maker gives, and pick the leg set that suits how far you carry it. Legs close with either flip (lever) locks or twist locks. Lever locks show at a glance whether they are shut, while twist locks sit flush against the leg. Whichever you have, check each lock before you load the head.
Low tripods and window mounts
For prone shooting or a low blind, a short tripod keeps the scope near the ground. For a vehicle, a window mount clamps to the door glass and holds the scope at the opening. Park, switch off the engine and follow the mount's manual before you attach the scope.
Tripod head types compared
The head is where the scope meets the legs, and it decides how you aim and track a moving subject. Here is how the main types differ in use.
| Head type | How it moves | Suits |
|---|---|---|
| Pan-and-tilt | Separate handle and locks for side-to-side and up-and-down movement | Scanning landscapes, following birds or animals along a line |
| Ball head | One lock frees the scope to swivel in any direction | Aiming at fixed subjects, photography |
| Fluid head | Damped movement for panning | Tracking a moving subject for long periods |
| Gimbal-style head | Scope hangs balanced on a pivot | Heavier scopes with long bodies |
A pan-and-tilt head is a sound starting point because each axis locks on its own. Whichever you choose, check that the plate or mounting screw is firm and that the head does not creep once locked.
Magnification guidance
The right spotting scope magnification depends on the job and on how steady your support is. Higher power shows more detail but also magnifies every vibration, heat shimmer and gust of wind. It also narrows the field of view, so finding a subject gets harder.
Use a low setting to locate the subject, then zoom in only as far as the image stays sharp and still. If the picture shakes or turns hazy, step the zoom back down. Light, distance and air conditions limit what you can use as much as the scope does.
| Situation | Starting magnification |
|---|---|
| Scanning a hillside or shoreline | Low end of the zoom range |
| Identifying a bird or animal at moderate distance | Middle of the range |
| Studying fine detail on a still subject | High end, with a firm tripod and calm air |
| Windy day or warm, shimmering ground | Drop back toward the middle |
A continuous zoom ring lets you slide between settings instead of switching eyepieces.
How far a zoom scope can see
No fixed distance applies to a zoom scope with a large objective lens. What you can make out depends on the size of the subject, the light, heat shimmer over the ground and how steady the support is. A large, still animal in clear air can be read at a distance where a small bird in haze cannot. Judge it in the field by raising the zoom until the detail stops improving.
A ready-made rig: VistaPeak with included tripod
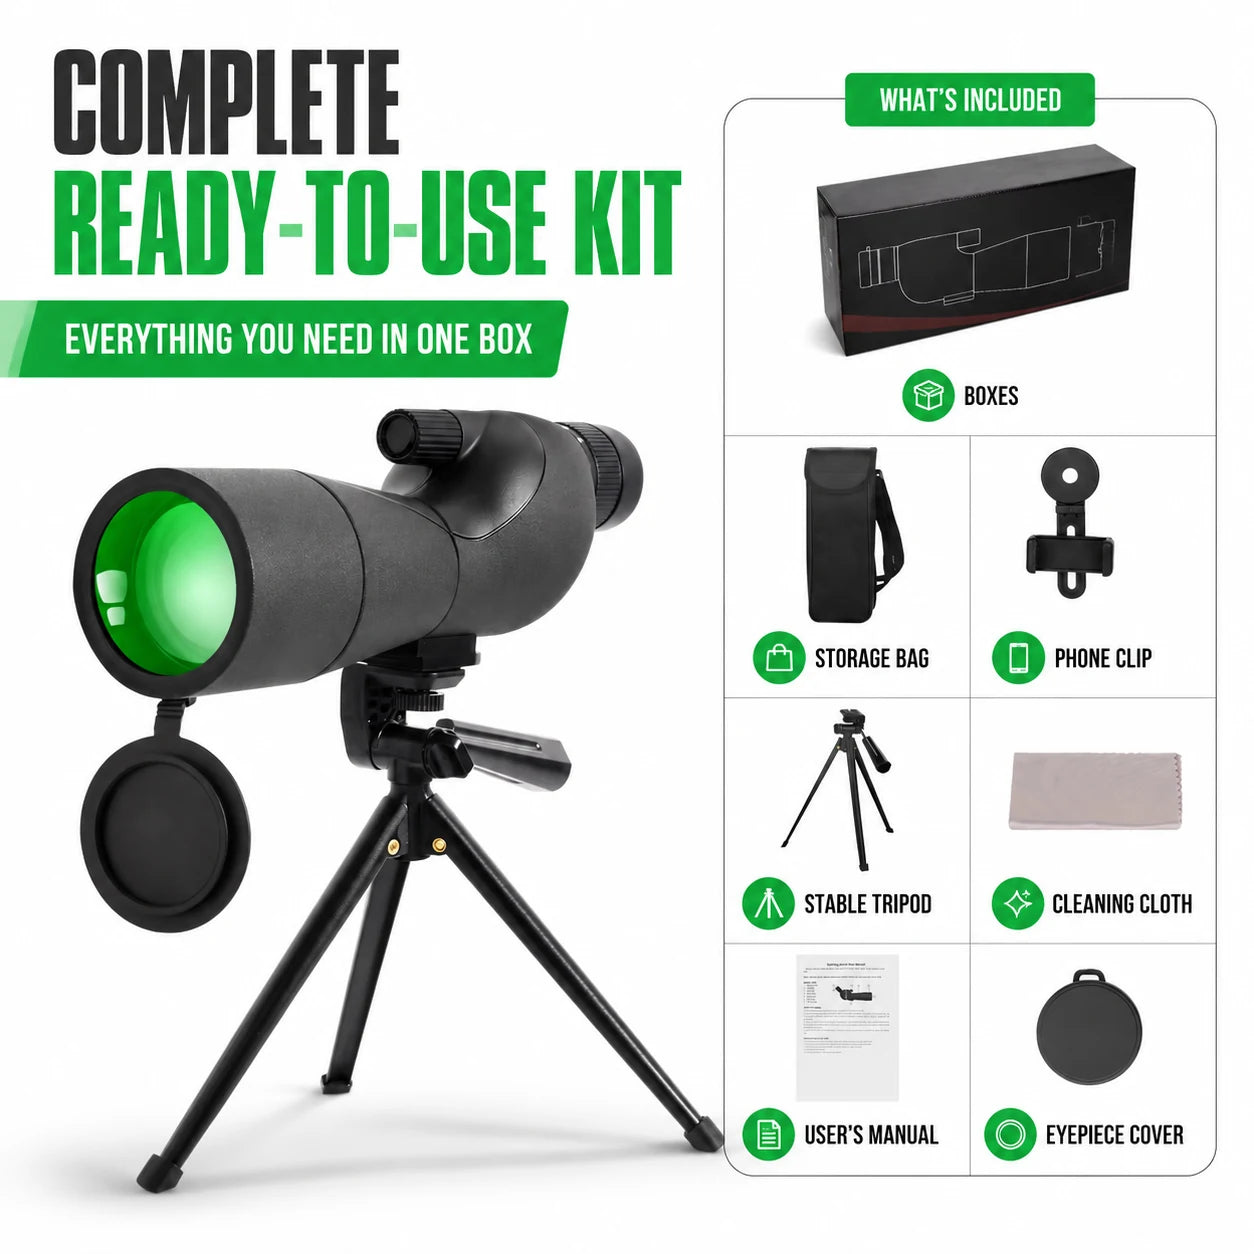
If you want a scope and support in one box, the VistaPeak is built that way. It has a 60mm fully multi-coated objective lens, a BAK4 Porro prism and a continuous zoom ring. The body is nitrogen-purged, sealed and rubber-armored.
The box holds the scope, an adjustable field tripod, a padded carrying case, a smartphone digiscoping adapter, a lens cleaning cloth and a protective eyepiece cover. To use it, set the scope on the tripod, extend the sunshade and point it at your subject. Turn the zoom ring to your chosen magnification, then sharpen with the focus knob.
 In this guideVistaPeak$134.99View
Browse more options in our Binoculars, Scopes & Night Vision collection if you want to compare formats.
Using the rig for phone photos and video
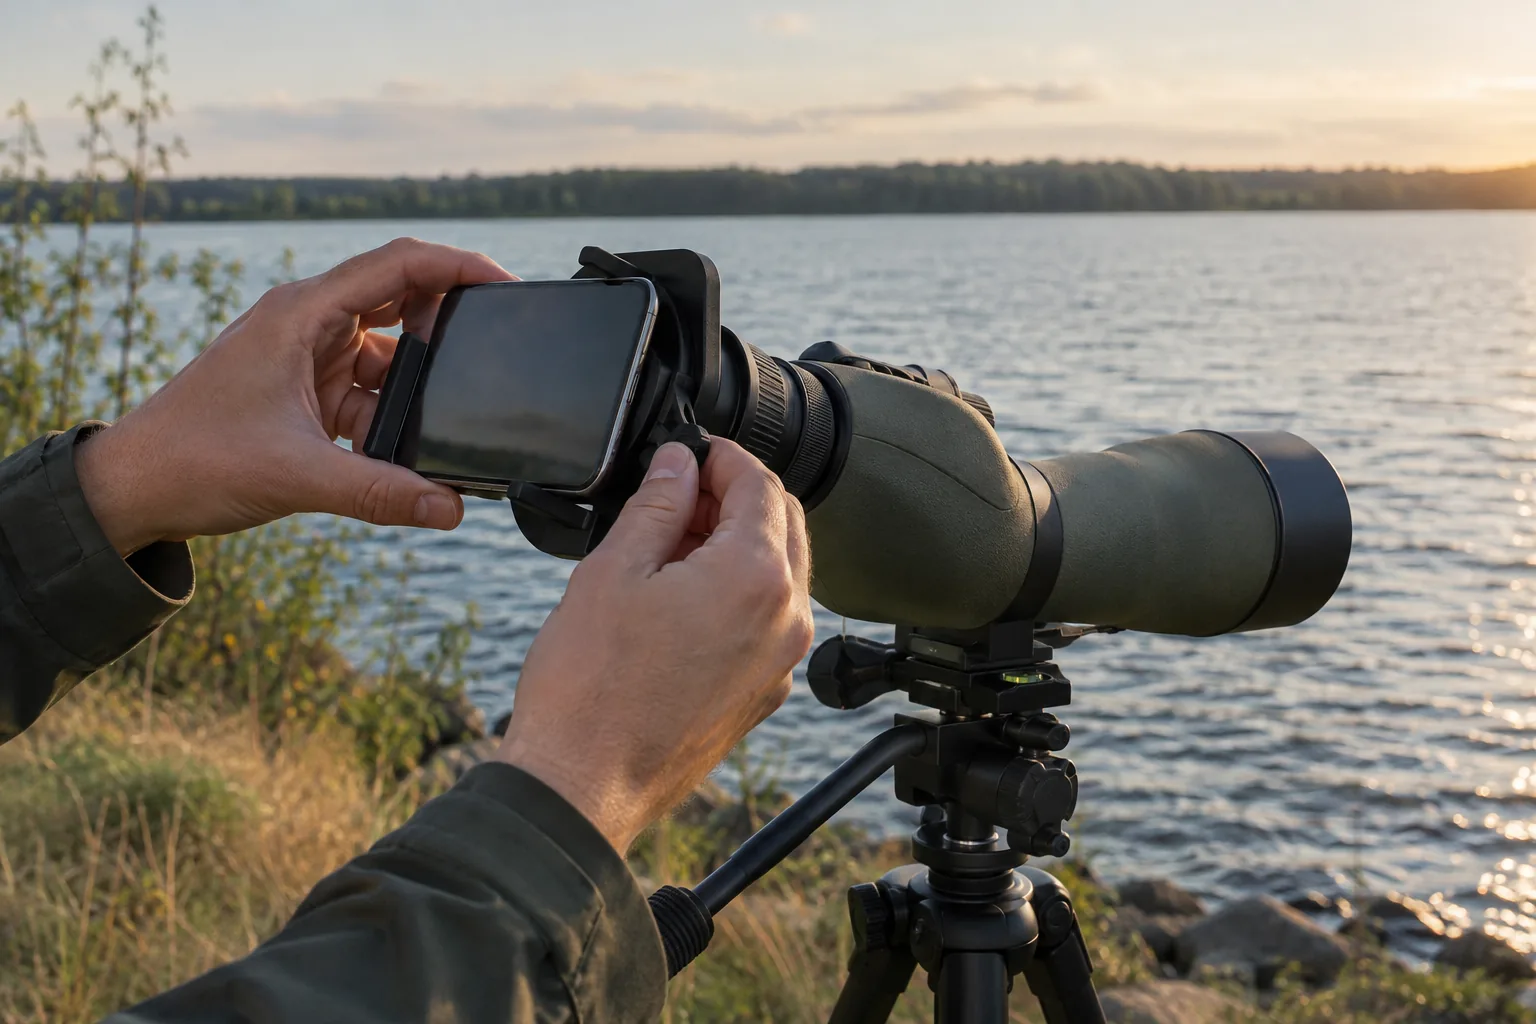
Digiscoping means shooting through the eyepiece. It puts extra demands on the tripod because even a light tap shows up in the frame. Mount the adapter, clip the phone in and line its camera lens with the eyepiece. The smartphone adapter in the VistaPeak box is made for this.
Start with a lower scope zoom. The phone's camera adds its own magnification and narrows the frame, so the view on the screen is tighter than the view through the eyepiece. A timer or remote shutter keeps your hand off the phone. For more on technique, see this digiscoping tips page, which covers hand-holding and framing.
If you walk in with the rig, a pack that carries the tripod outside is useful. Our day hiking backpack guide covers sizes and features, and the backpack hunting guide covers longer trips.
Field note
Hang a pack or small bag from the tripod's center hook, if it has one, only when the manual allows it, and keep the load low and still. Check that it does not swing in wind.
Common mistakes and care
Mistakes to avoid
- Extending the center column before the legs, which makes the rig top-heavy.
- Starting at the highest zoom and losing the subject.
- Leaving leg clamps half tight, so the scope sinks slowly.
- Touching the scope while shooting through the eyepiece.
- Setting up on soft or sloped ground without adjusting leg length.
Care routine
After each outing, wipe the body and tripod legs with a dry cloth, and brush off dust and sand from the leg joints before collapsing them. Clean lenses with a lens cloth, such as the one in the VistaPeak box, rather than your shirt. Put the cover on the eyepiece and store the scope in its case. Let wet gear dry before packing it away. For background on scope types and features, see this birder's page on choosing a scope.
A steady spotting scope and tripod rig comes from simple habits: legs first, low column, matched head and a zoom setting the air allows.