Astronomy With Binoculars: What to See and How to Start
Astronomy with binoculars begins with the Moon, Jupiter's four bright moons and open clusters. Here is the starter list, plus ways to hold the view steady.
The Kesslund Team
October 30, 2026 · 6 min read
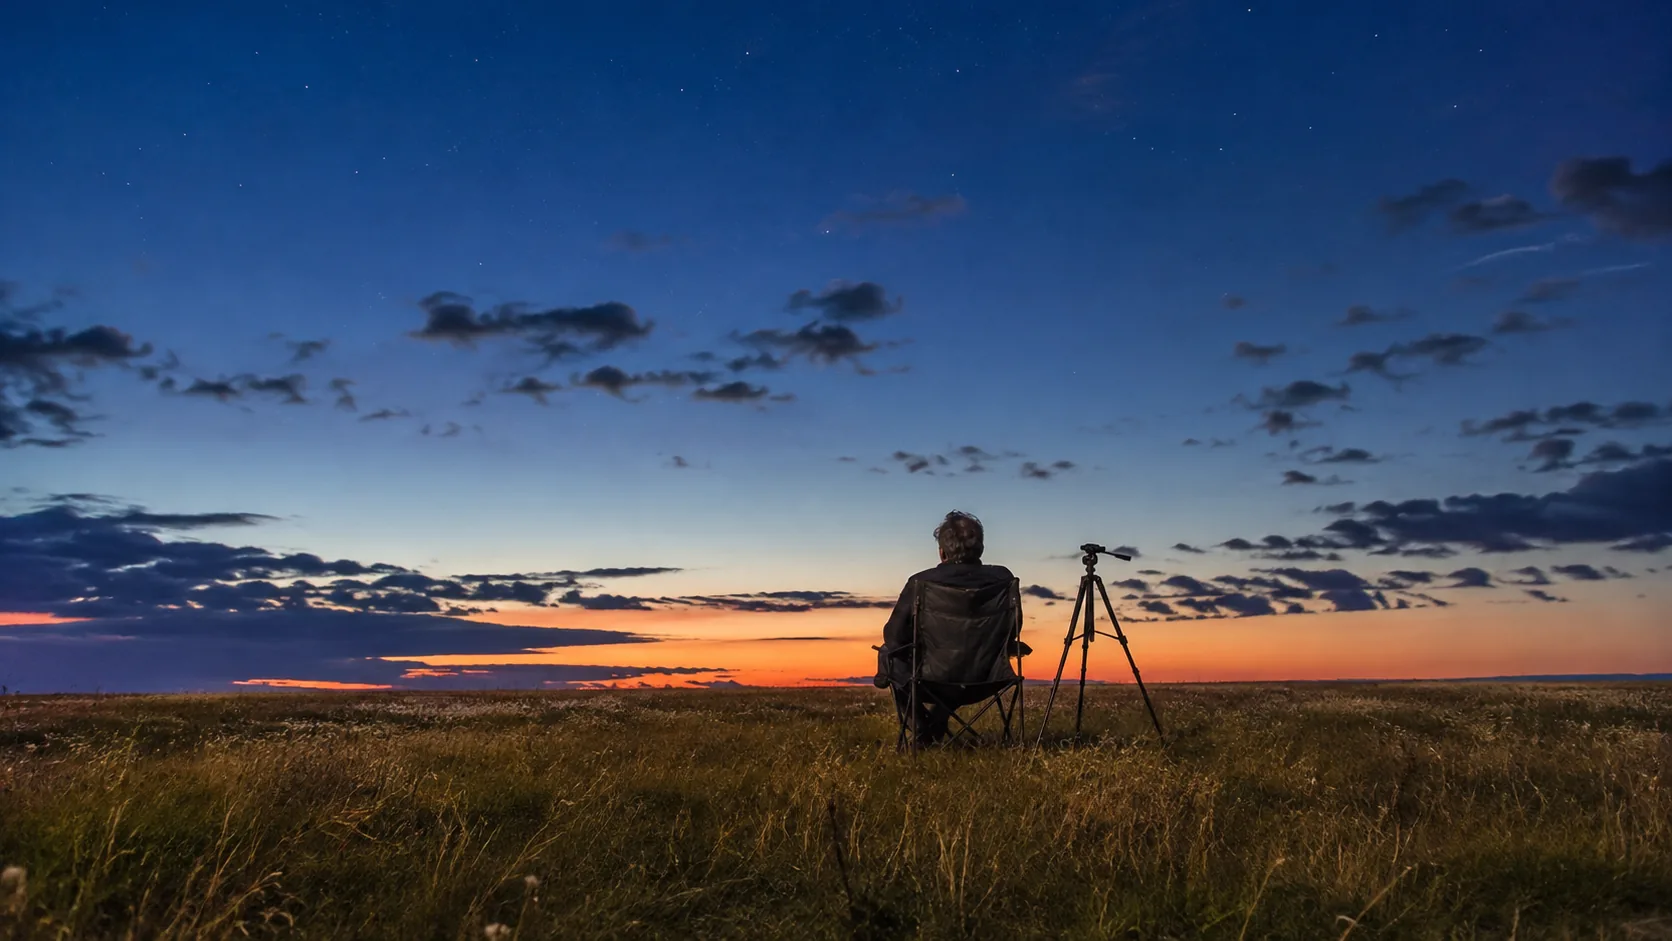
Astronomy with binoculars works because both eyes take in a wide patch of sky, so the Moon, Jupiter's four bright moons and open clusters show up without a telescope. Start with the Moon, then move to Jupiter and a few clusters. Hold the binoculars still, ideally on a tripod, and give your eyes time to adjust to the dark.
This guide gives you a starter observing list, a setup checklist, steadying methods and the mistakes to skip on your first night out.
What the numbers on binoculars mean for the night sky
Two numbers describe every pair. In 10x50, the first number is magnification: the view looks ten times closer. The second is the objective lens diameter in millimeters, which sets how much light enters. For a deeper look at reading these numbers, see our 10x42 vs 12x50 comparison.
Higher magnification enlarges the target and also enlarges every tremor of your hands. That trade-off drives most choices in this hobby.
| Type | What it suits | How to hold it |
|---|---|---|
| 7x50 or 10x50 | Wide sweeps, the Moon, big clusters | Handheld for short looks, or braced against a wall or car roof |
| 15x70 to 20x80 | Dimmer clusters, the Moon and Jupiter at higher magnification | Tripod or other support |
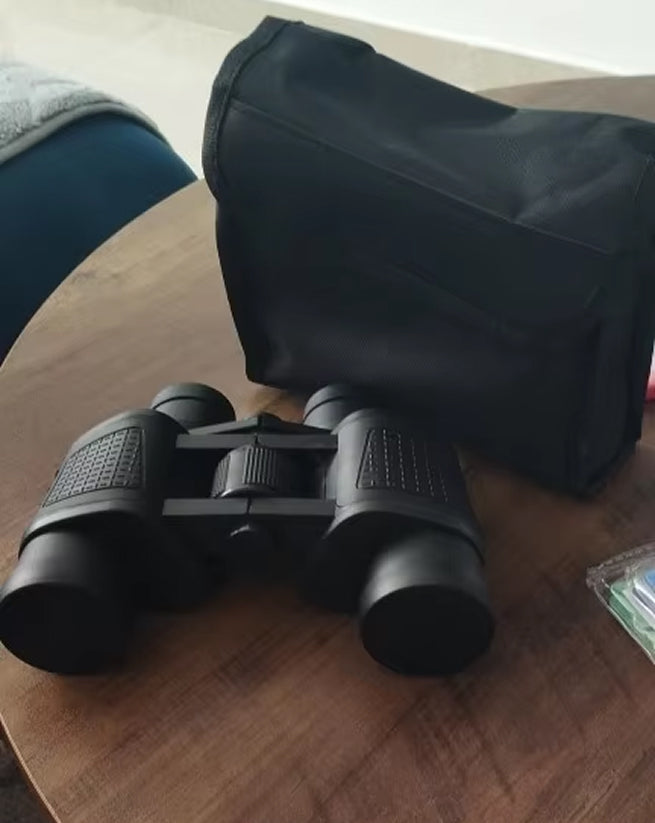
| 80x80 (such as the pair below) | Moon, clusters, nebulae and other night sky targets | Short looks by hand, longer sessions on a tripod |
Astronomy with binoculars: the starter observing list
Work through these targets in order. Each one teaches a skill you use on the next.
1. The Moon
The Moon is the first target to try. Look along the line between light and shadow, called the terminator, where crater walls and mountain ranges throw long shadows. A half Moon shows more depth than a full Moon, which looks flat and bright.
2. Jupiter and its moons
Jupiter appears as a bright, steady disk with a handful of tiny points of light lined up beside it. Those are the Galilean moons. Their positions change from night to night, so sketch what you see and compare it a day later. Cloud bands call for higher magnification and a very steady mount.
3. Saturn and the other planets
Yes, you can see planets using binoculars. Venus shows as a brilliant point or a small crescent shape, Mars as a reddish dot, and Saturn as a small, slightly stretched disk. Saturn's rings are the hard part: you need high magnification and a firm support to pick them out, so do not expect a telescope-style view.
4. Open clusters
Clusters are where binoculars shine. The Pleiades fill the field with blue-white points of light, and the Beehive Cluster in Cancer resolves into a loose scatter. Sweep slowly and let your eyes pick up the faint members.
5. The Andromeda glow and bright nebulae
Under a dark sky, Andromeda appears as an oval smudge. Bright nebulae show as soft glows rather than colorful clouds. Use a sky chart to locate them, and try averted vision: look slightly to the side of the target so faint objects show up.
| Target | What you see | Tip |
|---|---|---|
| Moon | Craters, mountain shadows | Look at the terminator |
| Jupiter | Disk plus a few tiny moons | Brace the binoculars |
| Saturn | Small oval shape | Use a tripod for any hint of rings |
| Pleiades, Beehive | Open clusters | Sweep slowly |
| Andromeda | Faint oval glow | Use averted vision, dark site |
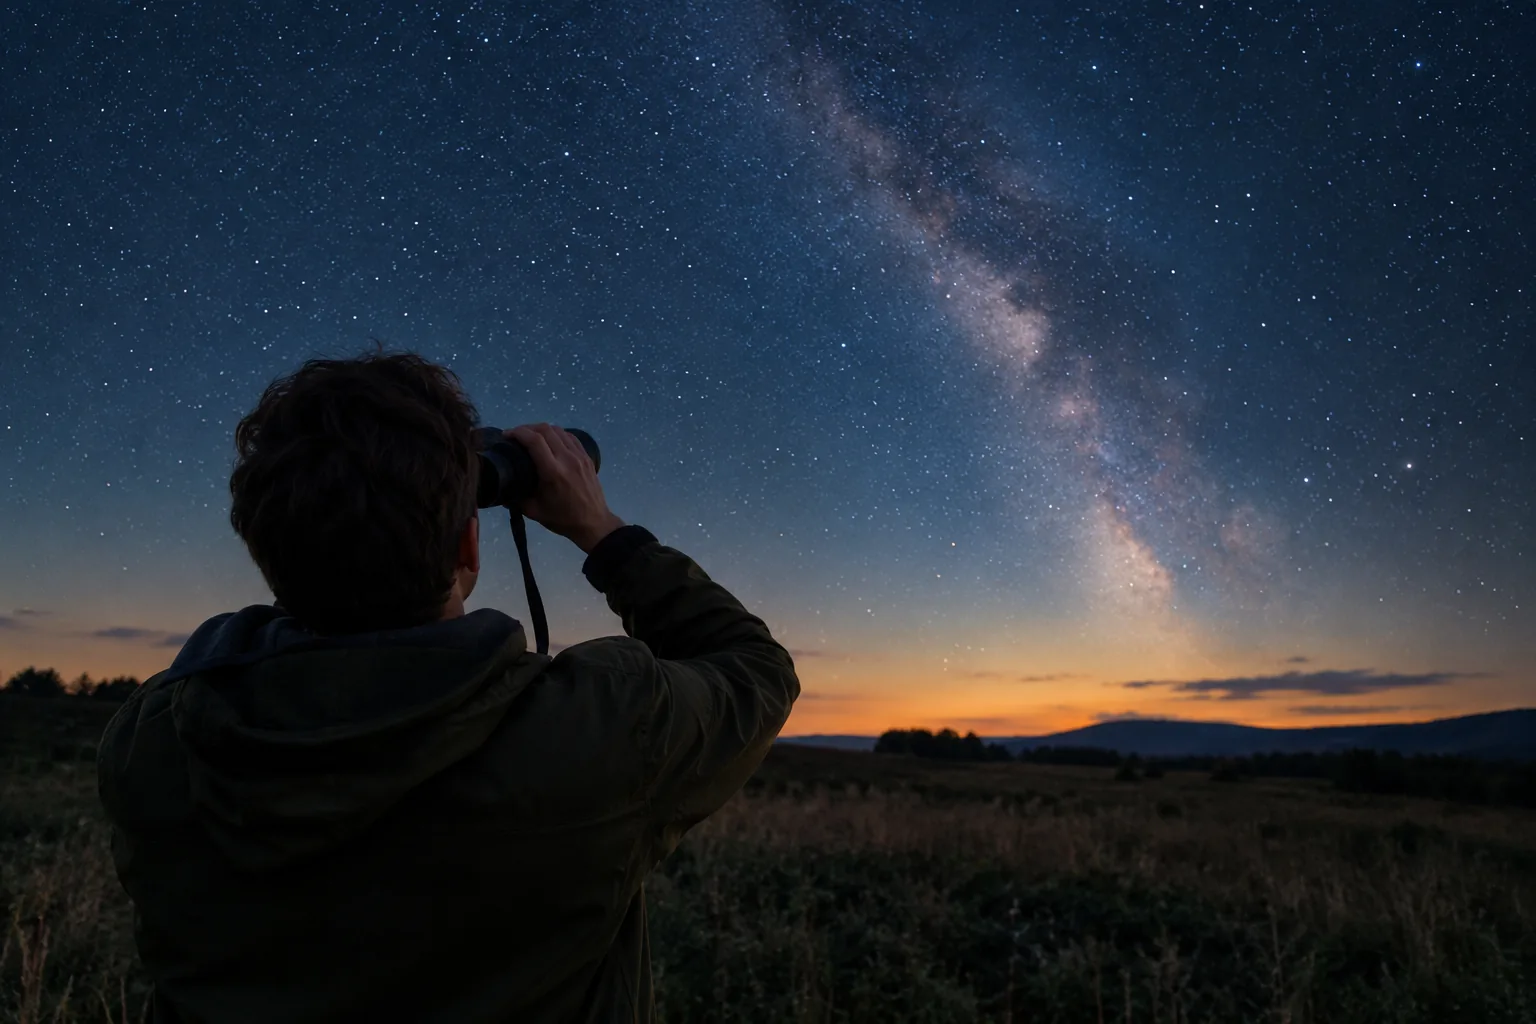
Choosing binoculars for the night sky
For a first pair, wide fields and manageable size matter more than raw power. Prism glass and coatings affect brightness and contrast, so look for multi-coated optics and BAK-4 prisms on the spec sheet. If you wear eyeglasses, check the manual for how far your eye can sit from the eyepiece.
If you also want to watch birds or wildlife by day, a mid-size pair such as 10x50 covers both jobs. If the night sky is your focus, an 80x80 design is meant for the Moon, clusters, nebulae and other night sky targets, and it asks for a support. Browse the binoculars, scopes and night vision collection to compare sizes, and keep the list above in mind when you pick binoculars for astronomy.
A pair built for the night sky
NovaVantage is a pair of 80x80 astronomy binoculars for viewing with both eyes. It has multi-coated BAK-4 prisms, a center focus wheel and a built-in mount that fits a standard tripod. Each pair is collimated individually, so both barrels point at the same spot. The barrels are nitrogen-purged and sealed with O-rings, and a microfiber cloth is included for wiping off dew.
 In this guideNovaVantage$129.99View
Setup checklist for your first night
- Pick a site with a clear view of the sky and as few lights as you can find. Follow local rules and tell someone where you are going.
- Check a sky chart, or a generic planetarium app on your smartphone, for the Moon phase and which planets are up.
- Take off the lens caps and set the neck strap around your neck.
- Adjust the eyepieces to your eye spacing until you see one round image.
- Turn the center focus wheel on a bright planet or the edge of the Moon until it is sharp.
- Note the focus position so you can return to it.
- Let your eyes adjust to the dark and keep any light dim and red if you can.
- Start with the Moon, then move to fainter targets.
Dress warmer than you expect, since you stand still for long stretches. A folding or reclining chair lets you look at targets high overhead while you stay seated. If you use a phone app, dim the screen so it does not spoil your dark adaptation.
Field note
Find the target with your naked eye first, then raise the binoculars without moving your head. Pick a nearby bright point of light as a landmark and hop from it to the target.
How to hold the view steady
Shaky hands blur Jupiter's moons and hide faint clusters, so steadying is worth learning early. These methods reduce the motion.
- Tuck your elbows against your chest and press the eyepieces gently against your brow.
- Lean against a wall, fence post or the side of a vehicle.
- Sit in a reclining chair and rest the binoculars on your forearms.
- Use a tripod with the built-in mount for long sessions.
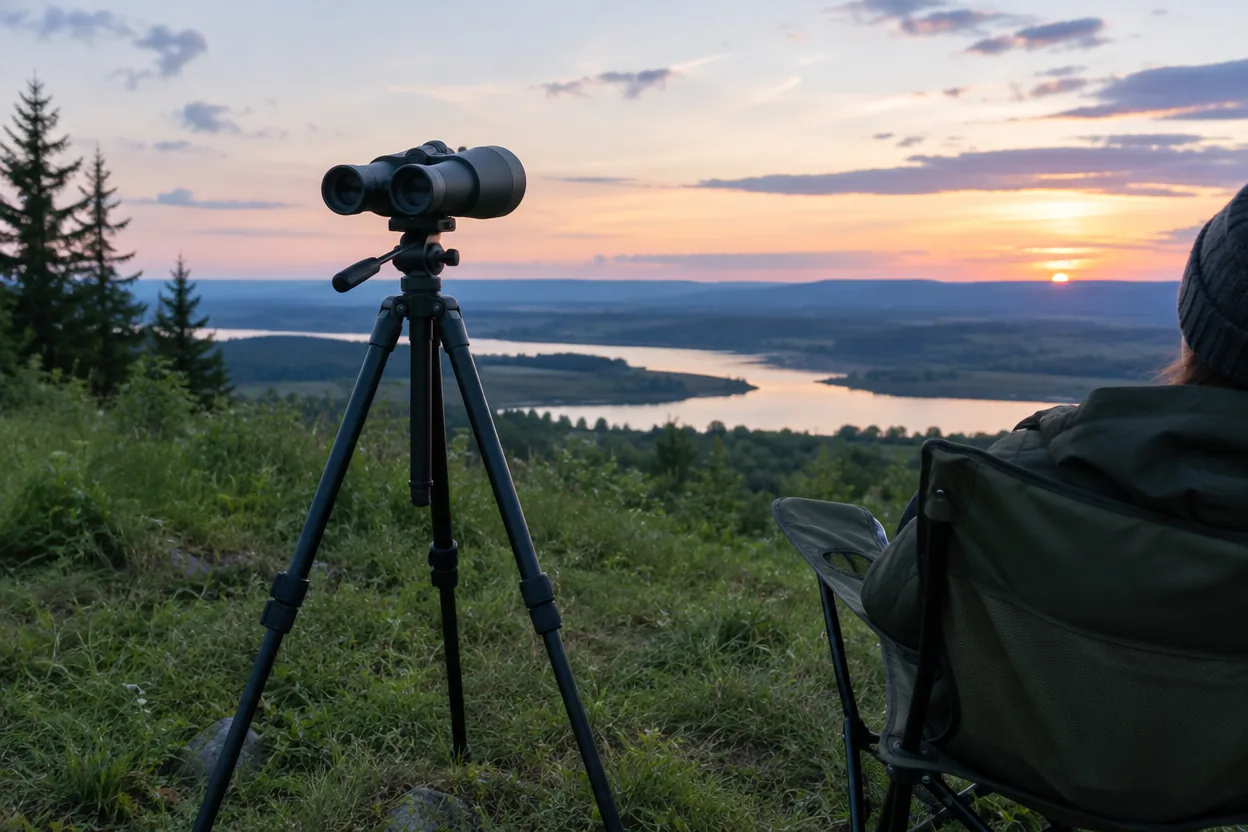
Large binoculars are heavy to hold beyond a short look, so plan on a tripod for anything past a check of the Moon. Choose one with a head that tilts upward far enough to reach high targets; our guide to matching a tripod and a scope covers leg height and head types that apply here too.
On the NovaVantage, the built-in mount attaches to a standard tripod, so you can rest the binoculars on a support instead of holding them for the whole session. Follow the tripod manual for locking the legs and the head before you let go.
Common mistakes to skip
- Starting with faint nebulae. Begin with the Moon and Jupiter, where the target is clear.
- Skipping the focus step. Refocus when you change targets, since the wheel position that suits the Moon may not suit a distant point of light.
- Expecting telescope images. Binoculars show wide fields of sky, not detailed planets.
- Ignoring dew. Wipe the lenses with a microfiber cloth and keep the lens caps on between targets.
- Observing near bright lights. Move out of the glare; even a few steps behind a building helps.
- Pointing at the Sun. Do not point binoculars at the Sun at any time; ask an astronomy club about solar filters first.
Care and packing after the session
Wipe dew off the exterior with a microfiber cloth, then let the binoculars dry before closing the case. Put the lens caps back on, coil the strap and store the pair in the padded carrying case. Remove dust from the lenses with a gentle blower or brush before any wiping, so you do not scratch the coatings.
Keep a short notebook of dates, targets and what you saw. After a few nights of astronomy with binoculars, it shows which objects suit your sky and which need a darker site.