How to Sharpen a Knife: Rolling, Electric and Serrated Methods
Match the method to the blade: rolling sharpener, electric pull-through or stone for plain edges, and a tapered rod for serrated. Steps, a camp routine and a sharpness test follow.
The Kesslund Team
November 3, 2026 · 8 min read
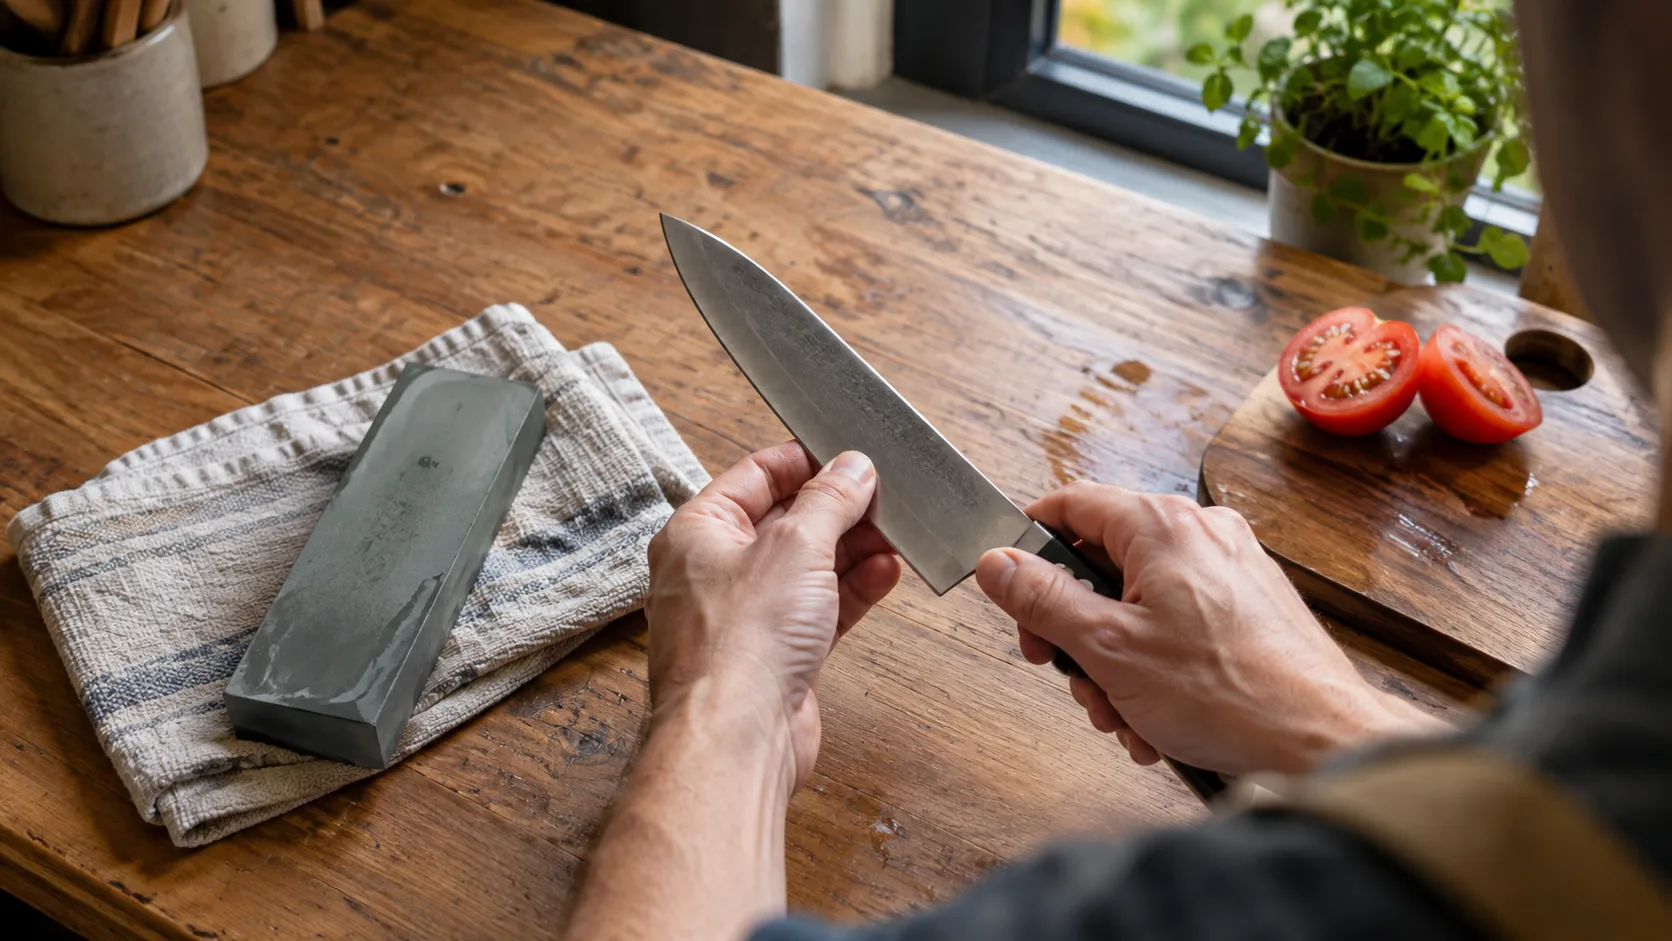
To learn how to sharpen a knife, match the tool to the blade: a rolling sharpener or whetstone for straight edges, a pull-through electric sharpener for kitchen knives you use daily, and a tapered rod for serrated edges. Hold one angle, work both sides evenly, raise a burr, then finish on a finer grit and test the edge.
This guide compares the methods in a table, walks through each one, adds a routine for field and camp knives, and ends with a sharpness test and a care schedule.
How to sharpen a knife: pick the method by knife type
The right method depends on the blade shape, how dull it is, and where you work. A paring knife on a kitchen counter and a fixed blade in a tent vestibule call for different tools.
| Knife type | Method | Angle control | Suited to |
|---|---|---|---|
| Chef, santoku, slicer | Rolling sharpener | Preset angle held by magnet | Routine touch-ups and nicked edges |
| Daily kitchen knives | Electric pull-through | Spring-loaded guides in fixed slots | Several knives in one sitting |
| Serrated bread or steak knife | Tapered rod or ceramic rod | By hand, one scallop at a time | Restoring the points of the teeth |
| Camp, hunting, pocket knife | Pocket stone, then a strop | By hand | Trail and campsite upkeep |
| Scissors, shears, pruners | Dedicated scissors channel or file | Follow the existing bevel | Garden and craft tools |
If you are a beginner, start with a guided tool. Freehand work on a stone gives you the most control, but it takes practice to hold one angle across the whole blade.
Set up before you sharpen
Mistakes often start before the first stroke. A short checklist keeps the work steady and keeps your hands away from the edge.
- Clean the knife and dry it, so no grease or food film sits on the steel.
- Put a damp towel or non-slip mat under the stone or base so it cannot slide.
- Find the factory angle. Western kitchen knives often sit near 20 degrees per side, and thinner Japanese-style knives near 15. The maker's page or the manual lists the exact figure.
- Check for chips. A deep nick needs a coarse stage before any polishing.
- Keep your fingers behind the edge and move the blade away from your body. Follow the manual for any powered tool, and unplug or switch it off before you clean it.
Work in good light, on a stable surface, with a dry cloth within reach.
Rolling sharpener: steps and angle presets
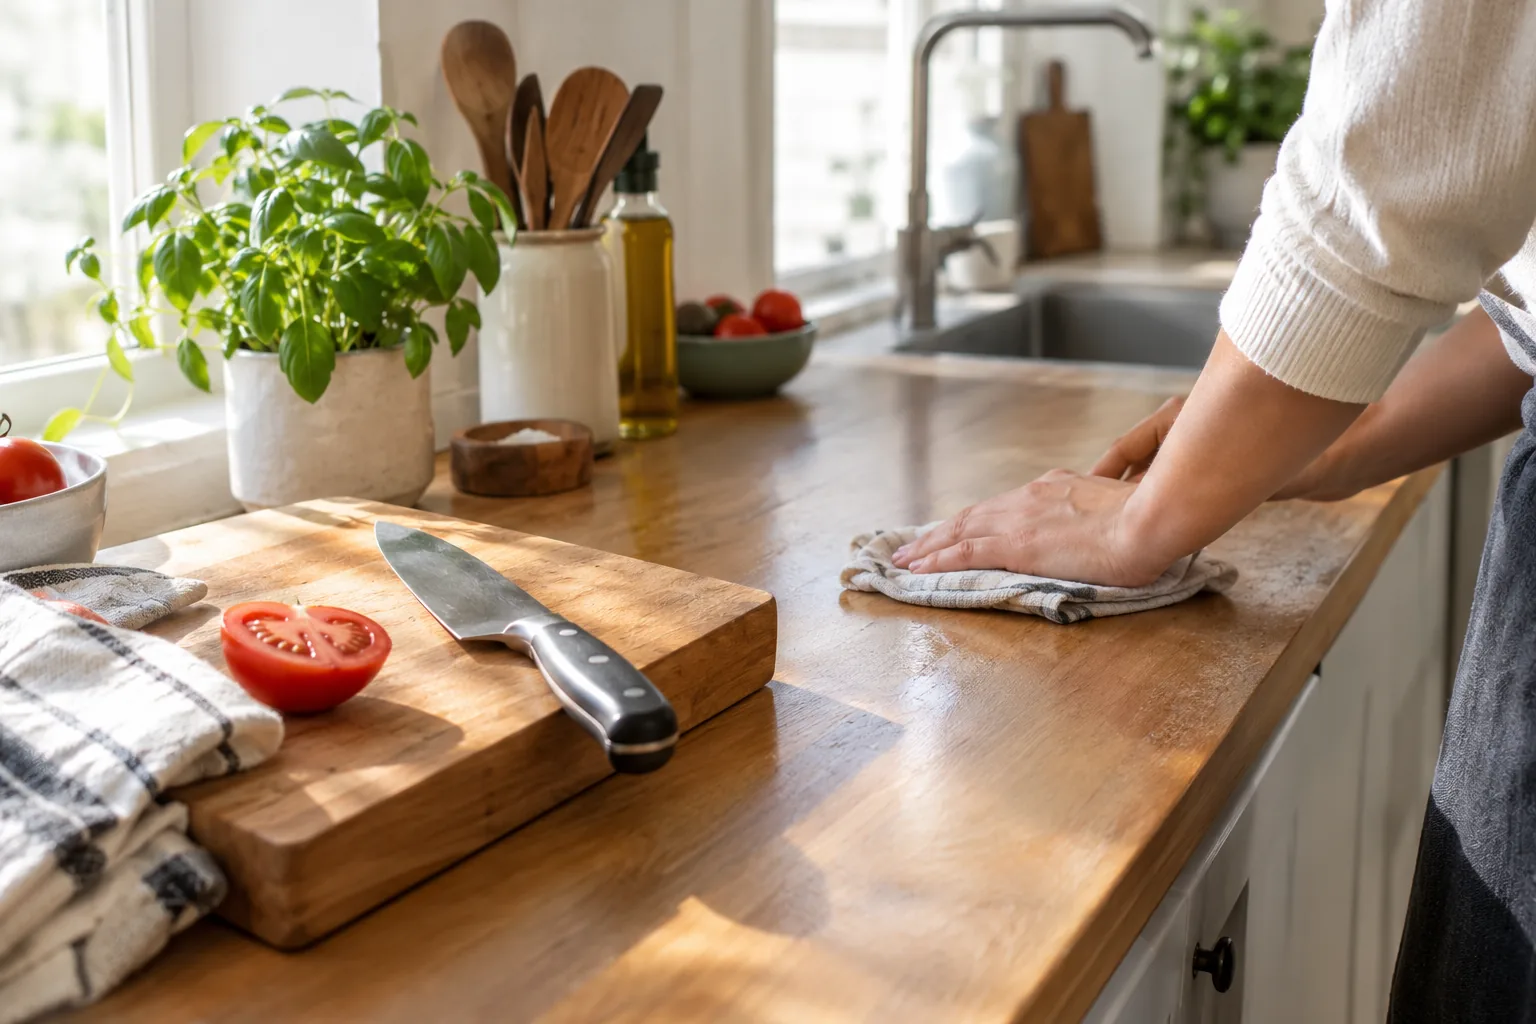
A rolling sharpener lays the knife on a base at a fixed angle and has you roll an abrasive disc along the blade. The tool holds the angle, so your hands only need to move the disc.
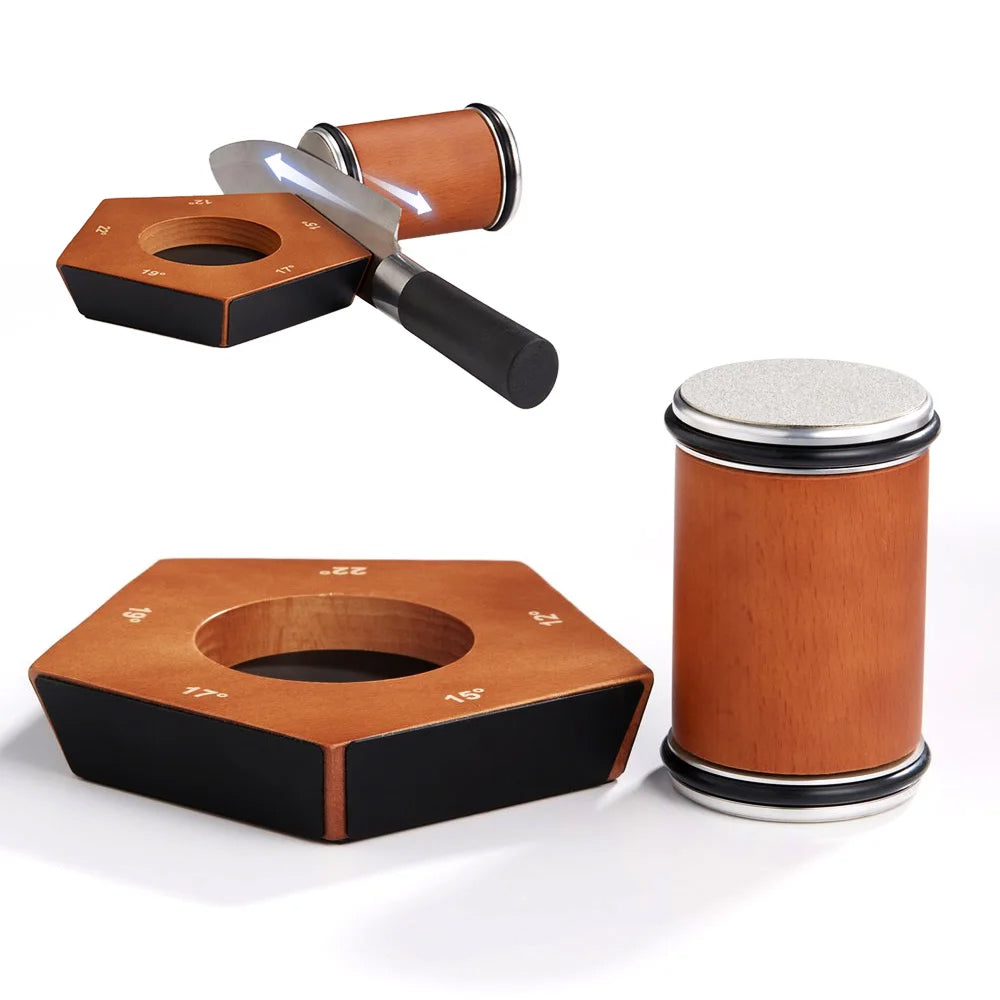
EdgeRoll is a rolling knife sharpener on a walnut and beech base with a five-angle magnet lock. It offers presets at 12, 15, 17, 19 and 22 degrees. The box includes a 400-grit diamond disc, a 1000-grit ceramic disc, a disc thread tool, a microfiber wipe cloth, a printed angle guide and a storage box.
 In this guideEdgeRoll$69.99View
Steps with a rolling sharpener
- Pick the angle for your blade: 12 degrees for sushi knives, 15 for chef knives, 22 for cleavers.
- Lay the knife on the wood base. The magnet holds it spine-up, and the N42-grade magnets hold a 10-inch (25 cm) chef knife from heel to tip.
- Roll the 400-grit diamond disc down the blade, four passes per side. This is the coarse stage for nicked or rolled edges.
- Switch to the 1000-grit ceramic disc and roll four more passes per side. This is the fine stage that polishes the edge.
- Wipe the blade clean with the microfiber cloth and test it on a tomato.
The discs are replaceable, and the thread tool in the box is what you use to swap them.
Electric sharpener: how to sharpen a knife with a knife sharpener
An electric pull-through sharpener suits the cook who wants to sharpen several knives in one sitting. You choose a slot, and the guides hold the angle while you draw the blade through.
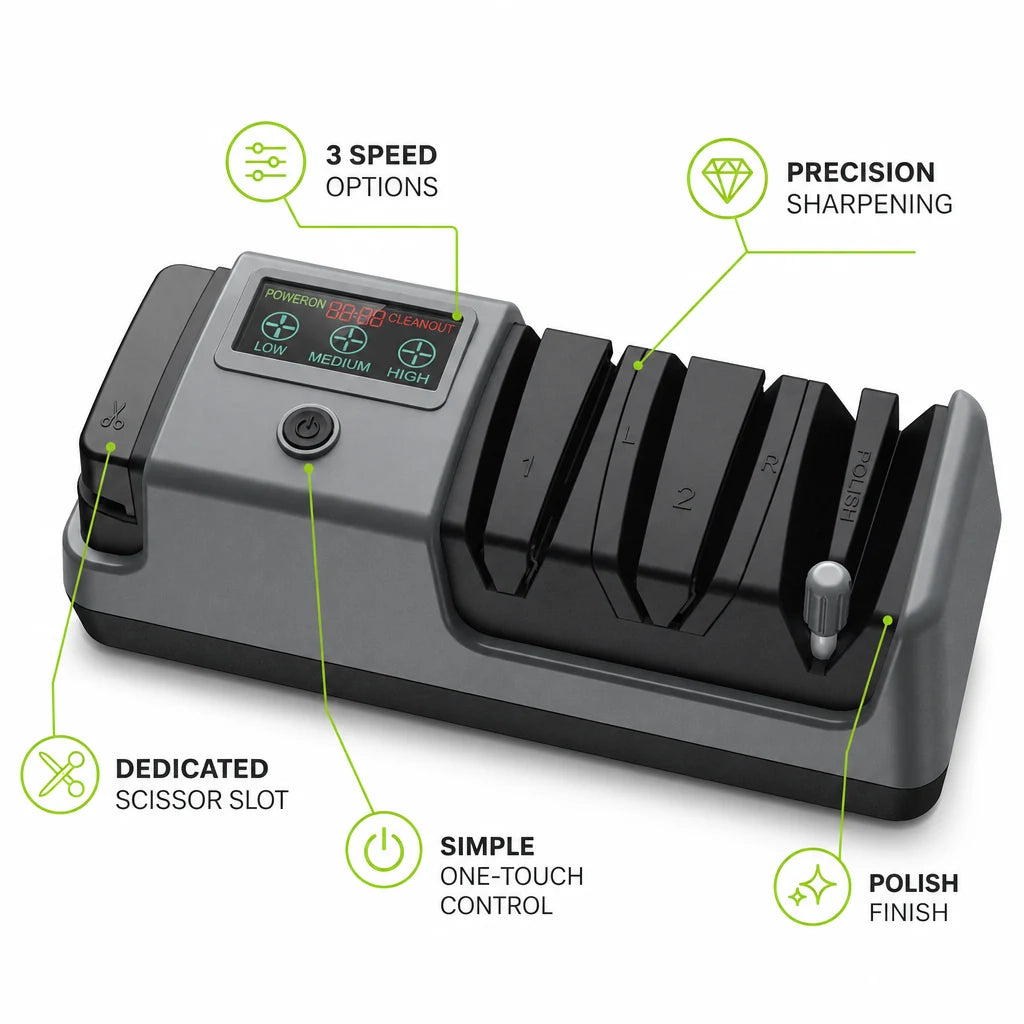
BladeVault is a rechargeable electric knife sharpener with three diamond-based stages: coarse grind, fine hone and ceramic polish. Color-coded slots with spring-loaded guides hold the blade at 15° or 20°. It charges by USB and runs cordless in use.
 In this guideBladeVault$149.99View
Steps with an electric sharpener
- Choose a speed setting: LOW for fine blades, MEDIUM for daily knives, HIGH for heavy-duty tools.
- Match the slot color to your blade's factory angle, 15° or 20°, and slide the blade in until the spring-loaded guide holds it.
- Draw the blade straight back through Stage 1, then Stage 2, then Stage 3, in one smooth direction at an even pace.
- Wipe the blade and the slots with a dry cloth.
- Charge the unit over USB when needed and store it in the case.
The same unit has a separate channel for kitchen shears, garden pruners and craft scissors. Follow the manual, and keep your fingers clear of the slots while the wheels turn.
How to sharpen a serrated knife
A serrated knife has scallops, and each one is a tiny curved edge. A flat stone or a straight pull-through slot does not reach into them, so use a tapered sharpening rod that fits the curve.
- Find the beveled side. Serrated knives are often ground on one face only, and the flat face stays flat.
- Choose a rod that sits snugly in a scallop without being forced.
- Lay the rod in the first scallop, match the bevel angle, and push the rod through with light pressure, moving from the bevel side toward the flat side.
- Use the same number of strokes in each scallop. Skip the small pointed teeth between them.
- Turn the knife over and draw the flat face once, flat against a fine stone, to knock off the burr.
The points of the teeth do the cutting, but they still dull. If the rod pass leaves some scallops untouched, go back and match them one by one.
Field and camp knife routine
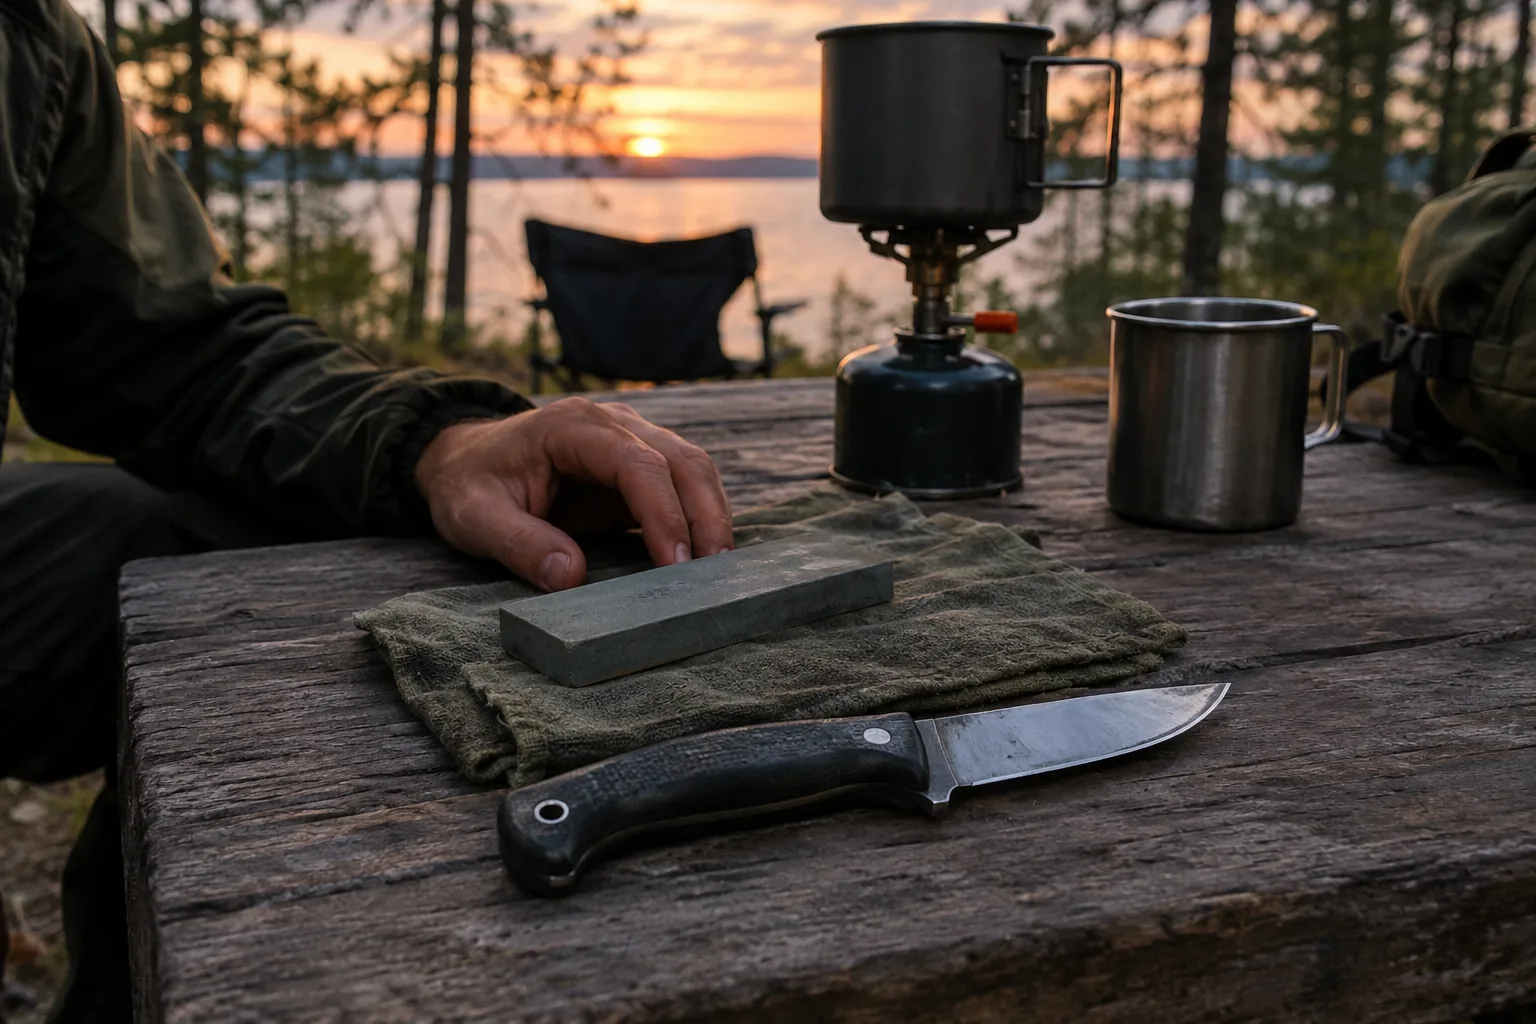
A camp knife cuts rope, cardboard, food packaging, wood shavings and fish line, so grit and dirt dull it. Keep the routine light and repeat it often instead of waiting for a ruined edge. If you pack a small kit, the Travel Bags & Trail Tools collection is a place to look for carry gear, and our carry-on pack guide covers how to organize it.
Camp sharpening steps with a stone
- Wet the stone with water, or follow the maker's directions for dry use.
- Rest the stone on a flat log, a pack lid or a folded towel.
- Set the blade at your angle. You can stack a coin or two under the spine as a visual spacer and rough guide.
- Push the edge across the coarse side as if slicing a thin layer off the stone, working from heel to tip.
- Keep the same stroke count on each side until you can feel a burr, a thin curl of metal along the opposite side.
- Move to the fine side with lighter strokes to remove the burr.
- Wipe the blade, dry it fully, and add a few light strokes on a leather strop or cardboard scrap.
Rinse the stone, let it dry, and store it where grit cannot rub against other gear.
Test if the edge is sharp enough
Check the edge after each stage, not only at the end. Several tests work with household items and no special tool.
| Test | What to do | Sign the edge is ready |
|---|---|---|
| Tomato | Rest the edge on the skin and draw lightly | The blade bites in without pressure |
| Paper | Hold a sheet by one corner and slice downward | The cut is clean, with no tearing or snagging |
| Light | Tilt the edge under a lamp | No bright line or shiny flat spot along the edge |
| Burr check | Draw a fingertip across the side of the blade, not along the edge | No catch of metal on either side |
A bright reflection means a rounded or flat section that needs more coarse work. If the paper catches in one spot, repeat that section on the coarse stage. Add finer work only after the edge is even.
Common mistakes and a care schedule
What dulls a knife
- Cutting on glass, stone, ceramic plates or granite counters.
- Storing loose in a drawer where blades knock into other tools.
- Putting knives in a dishwasher, where they bump other items.
- Leaving a wet blade to sit, which invites rust on carbon steel.
- Twisting or prying with the tip, or using the edge to scrape a board.
Use a wood or plastic cutting board, and hand wash and dry each knife after use.
Mistakes while sharpening
- Changing the angle partway through a stroke, which rounds the edge.
- Pressing hard. Use light, even pressure so you can see progress.
- Skipping the coarse stage on a chipped edge and polishing a damaged bevel.
- Working one side much longer than the other, so the burr does not form evenly.
- Skipping the cleanup, which leaves metal dust on the edge.
Does aluminum foil work?
Cutting foil does not sharpen a knife. At most it can nudge a slightly bent edge, and it removes no metal. Use a rod, stone or sharpener for real work.
Care schedule
| When | What to do |
|---|---|
| After each use | Hand wash, dry fully, store with the edge covered |
| Weekly, for knives in daily use | Run a honing rod or the fine stage, then test on paper or a tomato |
| When the tomato test fails | Start with the coarse stage, then fine, and wipe clean |
| Before a trip | Sharpen the camp knife, oil carbon steel lightly, and pack the stone |
Keep a simple sharpening log: note the angle you used so the next session matches it.
Field note
Color the bevel with a washable marker before you start. After a few strokes, the spots where the ink is gone show where the edge is making contact, so you can correct your angle.