How to Sight In a Bow: Step-by-Step Pin Setup
Start at 20 yards, shoot a group, and move the sight toward where the arrows landed. Then set each pin by distance, using this step-by-step guide.
The Kesslund Team
October 21, 2026 · 7 min read
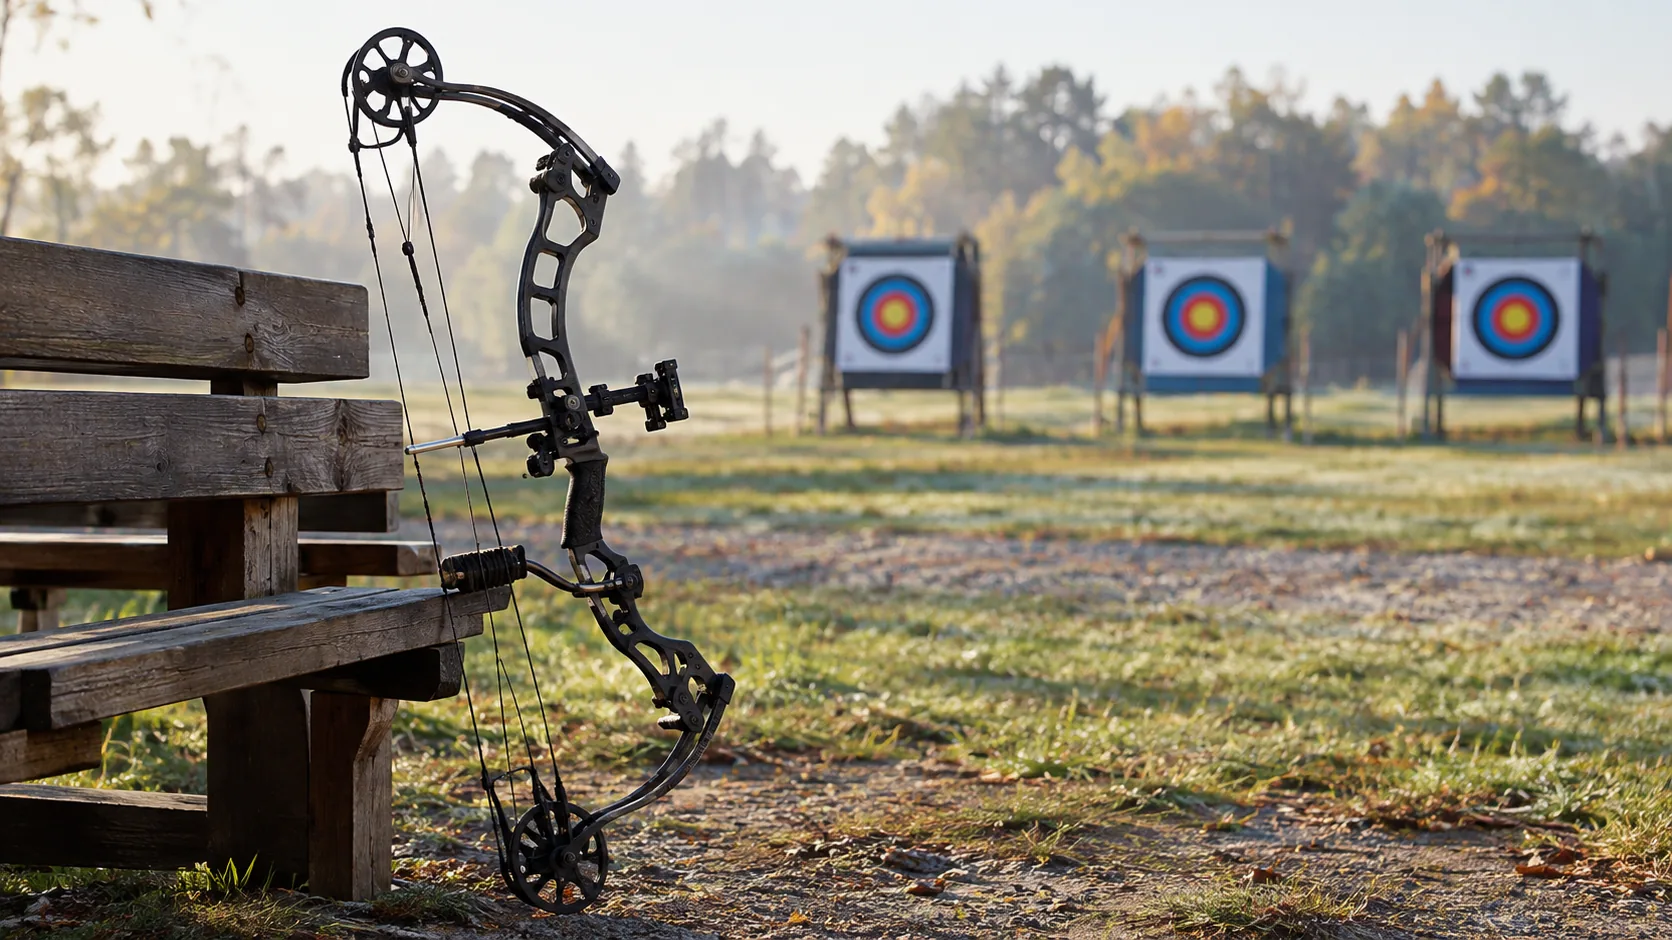
To learn how to sight in a bow, start at 20 yards: shoot a group, then move the sight toward where the arrows landed until they hit the point you aim at. Set your first pin there, lock it, and repeat the same process at each longer distance for the next pins. Do it with a bow that is tuned and a form you can repeat, because the sight can only follow the arrow, not fix your shot.
This guide gives the steps in order, with the direction to move the sight, a pin-by-pin distance table, and the mistakes that throw a setup off.
What You Need Before You Start
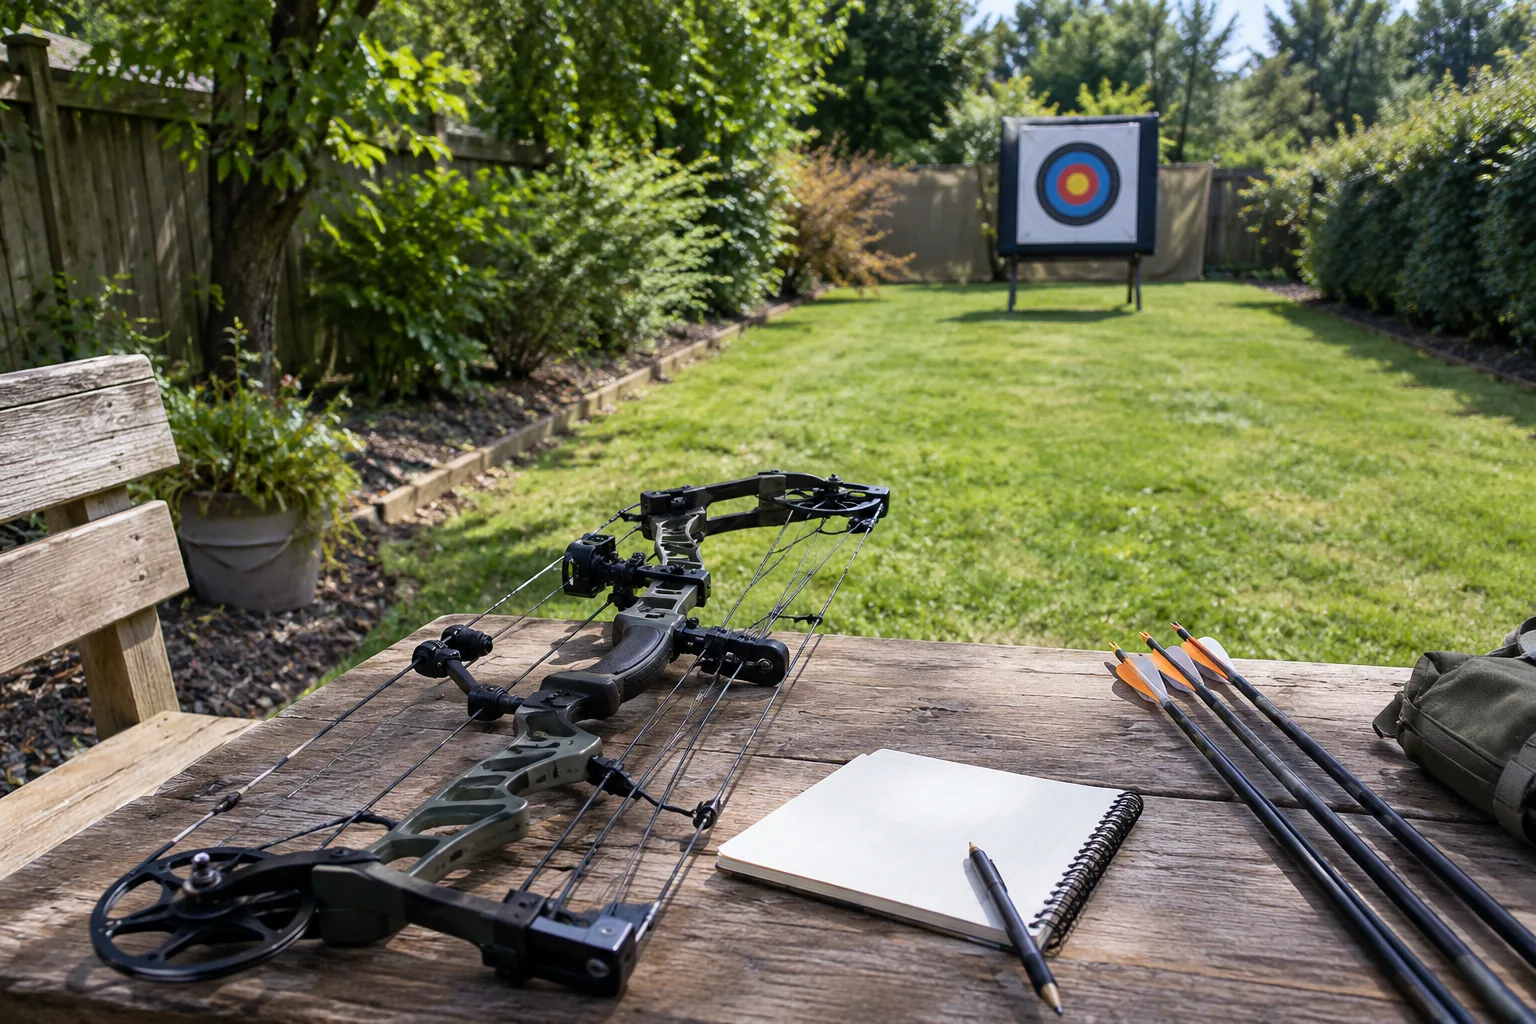
Collect everything first so you are not changing variables halfway through a session.
- A bow that is already tuned, with a fixed draw length and the string, cables and limbs checked as the bow's manual describes
- The sight, mounted and snug on the riser, with the sight window level
- The arrows and broadheads or field points you plan to hunt or shoot with
- A target with a clear aiming spot and a backstop that can stop every arrow
- A rangefinder or a pre-measured shooting lane, plus a tape measure
- A notebook or phone note to record each setting
- The hex keys your sight needs, unless it has tool-free adjustment
Follow the bow maker's manual for any work on the bow itself, and ask an archery shop if you are unsure about the bow's condition. Keep the area behind and around the target clear of people and animals.
How to Sight In a Bow: Step by Step
The same sequence works for a multi-pin sight and for a single-pin sight. With a multi-pin sight you do it once for the top pin, then set the others. With a single pin you do it once and build a sight tape or marks from there.
- Mount the sight on the riser and level it. Use the bubble level or a bow level so the sight is not canted, since a tilted sight sends arrows off sideways at longer range.
- Set the pin roughly. Put the top pin near the center of the sight window as a starting point.
- Stand 20 yards from the target. Use a large target face or a big paper sheet so the first arrows land on it.
- Shoot a group of three to five arrows. Hold the same anchor point and the same grip on every shot, and aim with the pin on the same spot each time.
- Read the group, not a single arrow. Find the center of where the arrows landed relative to your aiming spot.
- Move the sight toward the group. If arrows land low, move the pin down. If they land left, move the sight left. Make small moves.
- Shoot another group and repeat until the arrows land where the pin sits.
- Lock the settings. Tighten the locking knobs or screws, and write the setting down.
- Move back and set the next pins at their distances, using the table below.
Why 20 yards first
Starting close lets the group show a horizontal error clearly before distance magnifies it. Get the left-right position correct at 20 yards, then adjust only the vertical position for the longer pins.
 In this guideTruArc Sight$119.99View
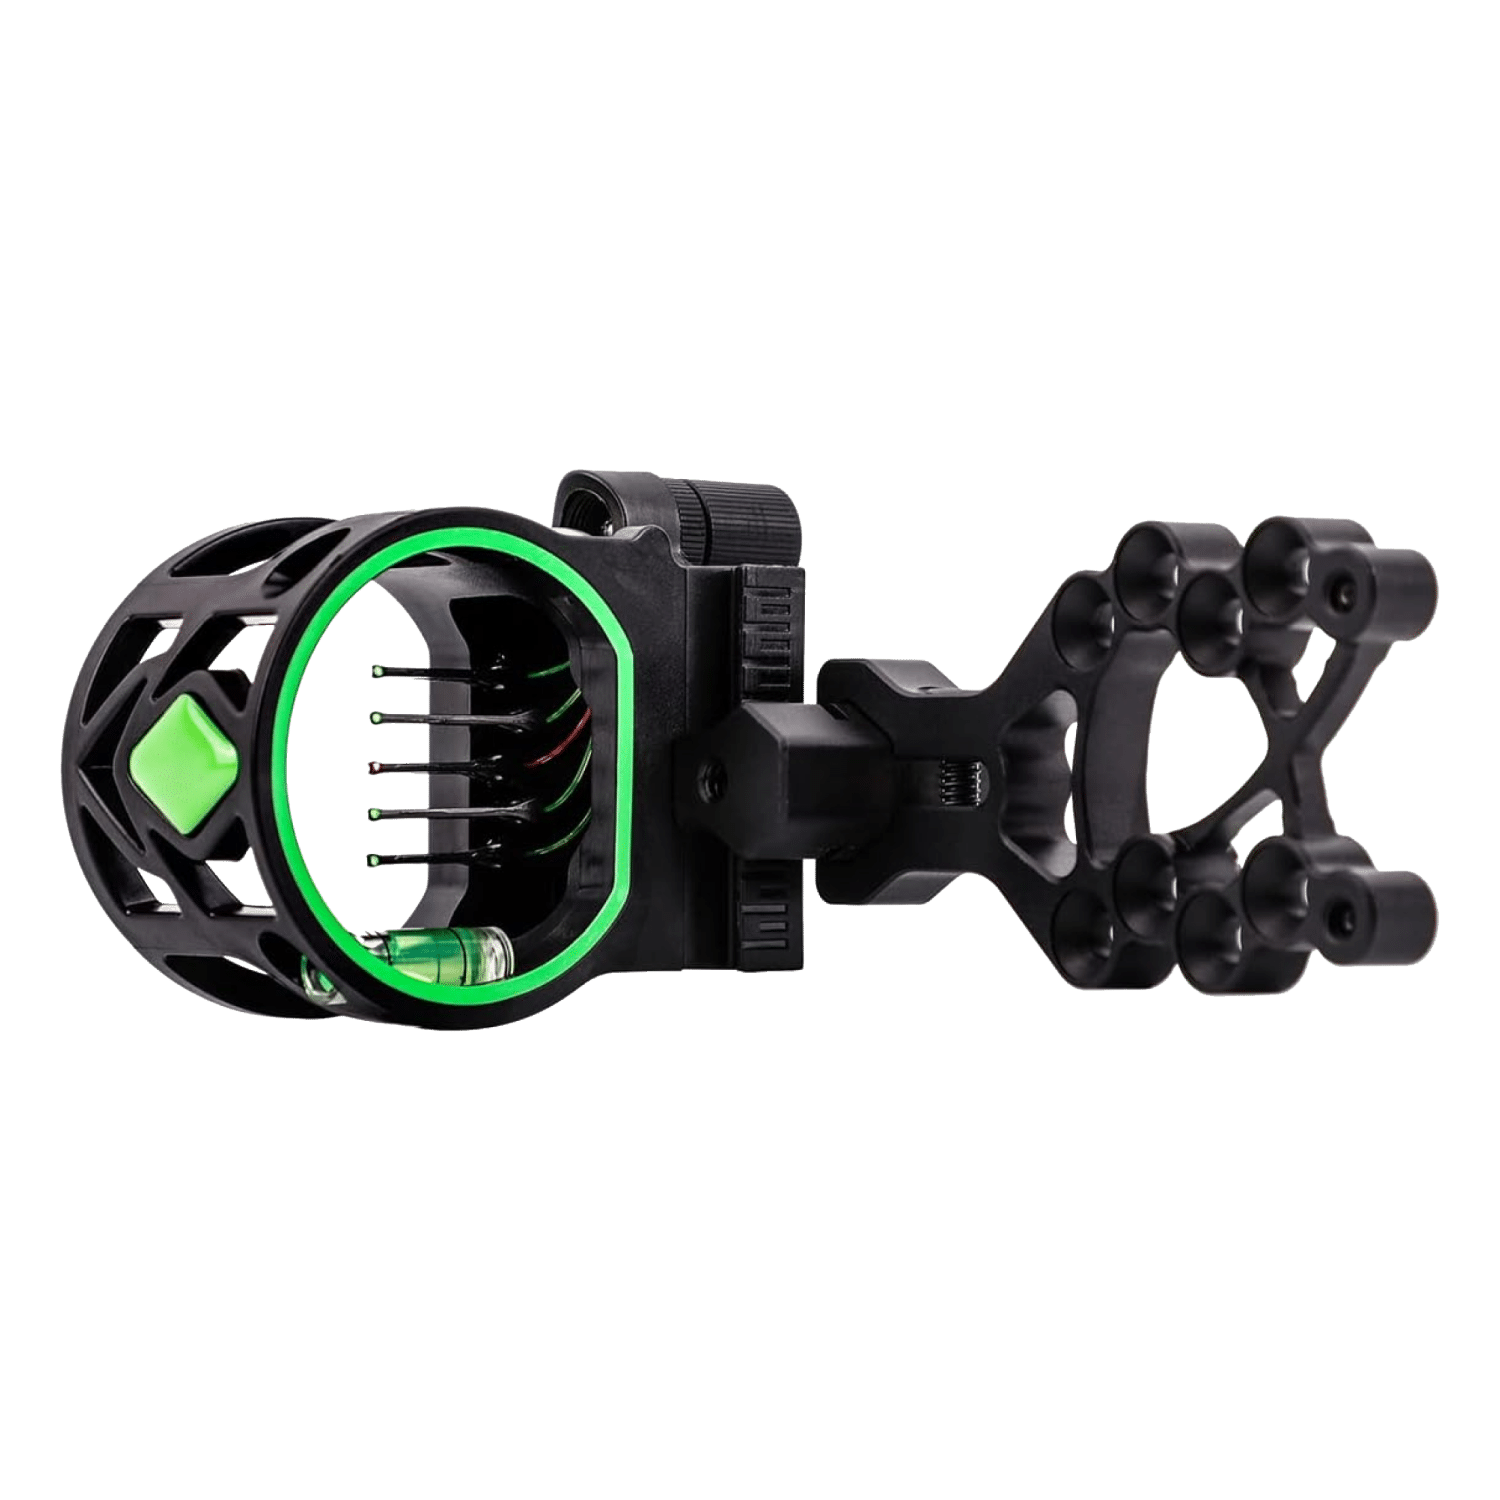
If you want a sight that adjusts without hex keys, TruArc Sight has a tool-free 4-way micro adjustment dial for windage and elevation, and a built-in bubble level to help you check bow position. It has five fiber optic pins with adjustable spacing, so you can set each pin to the yardage you practice, and its brightness-adjustable LED light is built in. Follow the included manual for mounting.
Which Way to Move the Sight
A frequent slip is moving a sight the wrong direction. The rule is simple: chase the arrow. Move the sight, or the pin, in the direction you want the next arrow to travel.
| Where the group lands | Adjustment | Setting involved |
|---|---|---|
| Left of the aiming spot | Move the sight or pin left | Windage |
| Right of the aiming spot | Move the sight or pin right | Windage |
| High | Move the pin up | Elevation |
| Low | Move the pin down | Elevation |
Some sights are built so that the dial turns in the opposite sense, so look for the arrows or marks printed on the sight and read its manual. Make one change at a time and shoot another group before the next change.
Setting Pins by Distance
A 3 pin bow sight is often set at 20, 30 and 40 yards, and a five-pin sight adds 50 and 60, or other steps. These distances are examples. Pick the yardages that match how you shoot or hunt, and stay inside the range where you can hold steady and place every shot.
| Pin | Example distance | How to set it |
|---|---|---|
| Top pin | 20 yards | Set windage and elevation first, then lock |
| Second pin | 30 yards | Move back, aim with the second pin, change only the vertical position |
| Third pin | 40 yards | Same method, change only the vertical position |
| Fourth pin | 50 yards | Add only if you practice at this range |
| Fifth pin | 60 yards | Add only if you practice at this range |
Setting the lower pins
Pace off or measure each distance, shoot a group aimed with that pin, and move that pin toward the group. If the pin needs a horizontal change, check your form and the sight's level before touching windage, because the top pin's windage should already carry down the row.
If you shoot a single pin
A single-pin sight uses a slider. You set the pin at 20 yards, then shoot at longer distances and mark the slider position for each. Some shooters then build a sight tape with those marks so the pin can be set to a measured distance. Re-shoot the marks to confirm them, and add yardages in between by shooting them rather than estimating.
Field note
Write the setting for every pin in a notebook. If a knob gets bumped in the truck, you can return to the recorded numbers and confirm them with a group at 20 yards.
Measuring Distance Accurately
A pin setting is only as good as the distance behind it. Pacing off yardage in a lane is fine for a backyard, but when you move to a field, a stand or an uneven site, you need a measured number.
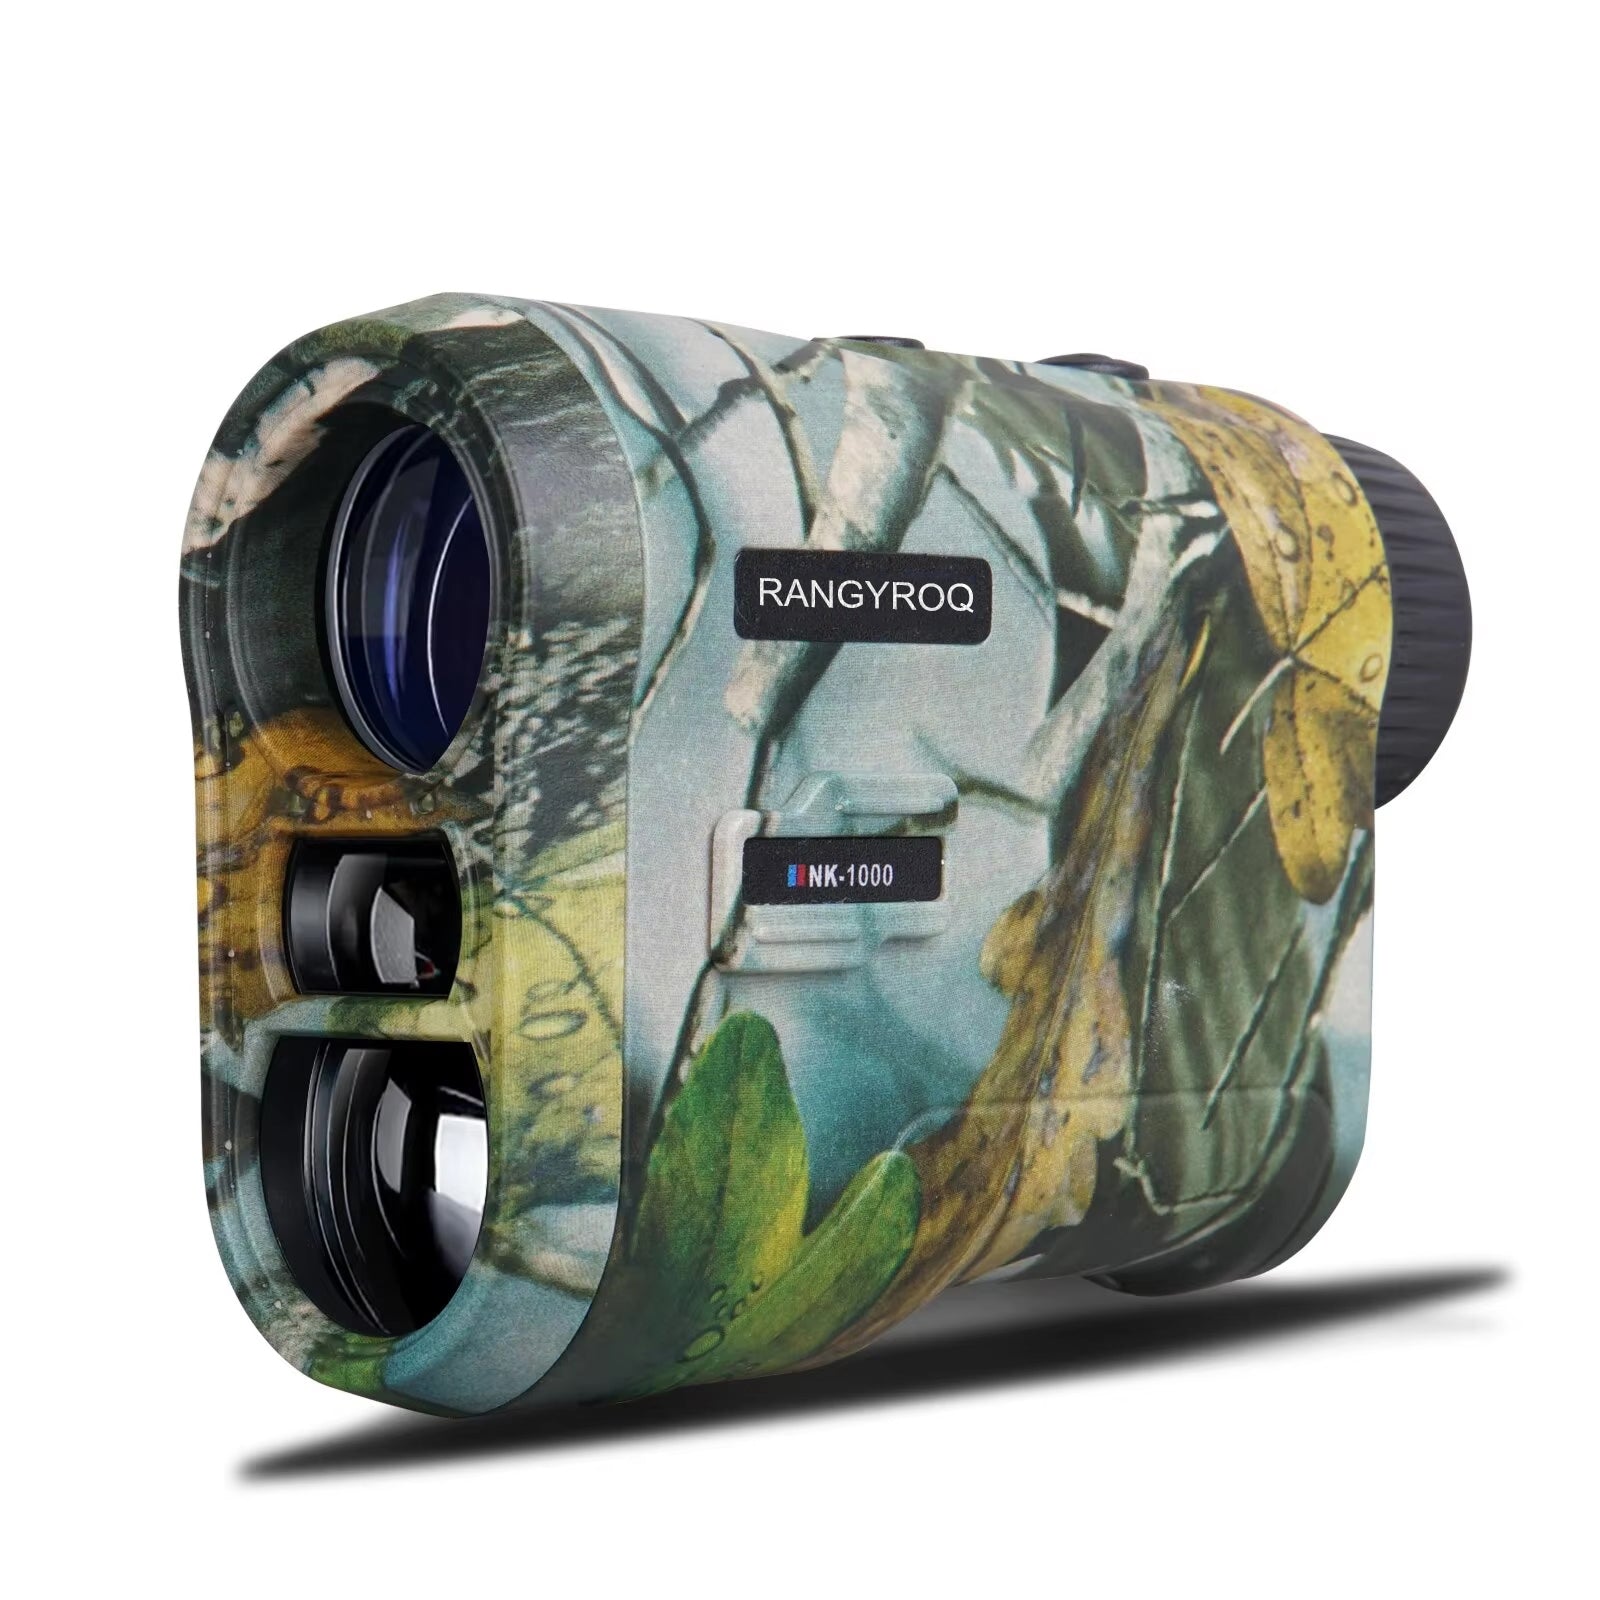
SightForge is a hunting rangefinder with 6X magnification and seven measurement modes, including a bow mode. You aim through the eyepiece, choose the mode and read the distance on the LCD, adjusted for slope. Its Brush Mode filters near objects such as twigs and grass and reads the farther target. It charges over USB-C and weighs 4.94 ounces (about 140 grams), with a neck lanyard.
 In this guideSightForge$179.99View
Browse the Trail Cameras & Rangefinders collection for other ranging and scouting gear. To read arrow holes at a distance without walking up each time, see Spotting Scope and Tripod: How to Match and Set Up Your Rig.
Basics of Shooting a Bow with Sights
Once the pins are set, the shot is a repeat of the same steps each time.
- Stand with your feet set the same way and bring the bow to full draw at a consistent anchor point.
- Look through the peep, so the sight picture shows the peep, the sight housing and the pin all in line.
- Place the pin for the distance on the spot you want to hit. Pick the pin that matches the range you measured.
- Keep the bubble level centered, release, and hold your follow-through until the arrow hits.
Sight pins, the sight housing (also called the sight window or ring), the slider on a single-pin sight and the micro-adjust knobs are the main parts you will hear named. Together they make up the bow sight.
Common Mistakes When You Sight a Bow In
- Changing the sight after one bad arrow. Shoot a group first.
- Moving the sight the wrong way. Chase the arrow.
- Shooting with a different arrow or broadhead than you will use later. Re-check the sight when you change either one.
- Leaving the sight loose. Tighten every lock after each change and re-check it before a trip.
- Skipping the level. A canted bow throws arrows to the side at longer yardage.
- Setting pins at distances you cannot hold steady. Keep to the yardages you practice.
- Starting with a sight that does not fit the bow. Check the mounting holes on your riser and the sight's bracket before you buy, and confirm the fit first.
For a pre-hunt check, look at the glass you carry in the field in Hunting Binoculars: 10x42 vs 12x50 and How to Choose.
A Re-Check Routine
Treat the setup as something you confirm, not set once and forget.
- Before the season, shoot groups at every pin distance.
- After any change to arrows, broadheads, string, rest or draw length, repeat the 20-yard step.
- After travel or a hard knock, check the locks and the level.
- On the day of the hunt, shoot one or two arrows to confirm the sight before leaving the range.